Different Flavors of Hadoop & Spark

There are four main ways to install Hadoop & Spark:

This blog post shows the different options in the context of Azure.

From Apache (http://hadoop.apache.org/releases.html)

This option is chosen by people who want to select the components themselves, and want to get the releases as soon as they are available.

If you want that option, it’s probably because your want to have control, rather than using a cluster somebody tailored for you.
The recommended way to do in Azure is to use Azure Virtual Machines, virtual network, and install everything yourself.
For that, you may want to leverage Azure Resource Manager templates. A number of examples are available on GitHub. For instance, this one deploys a Zookeeper cluster on Ubuntu VMs.

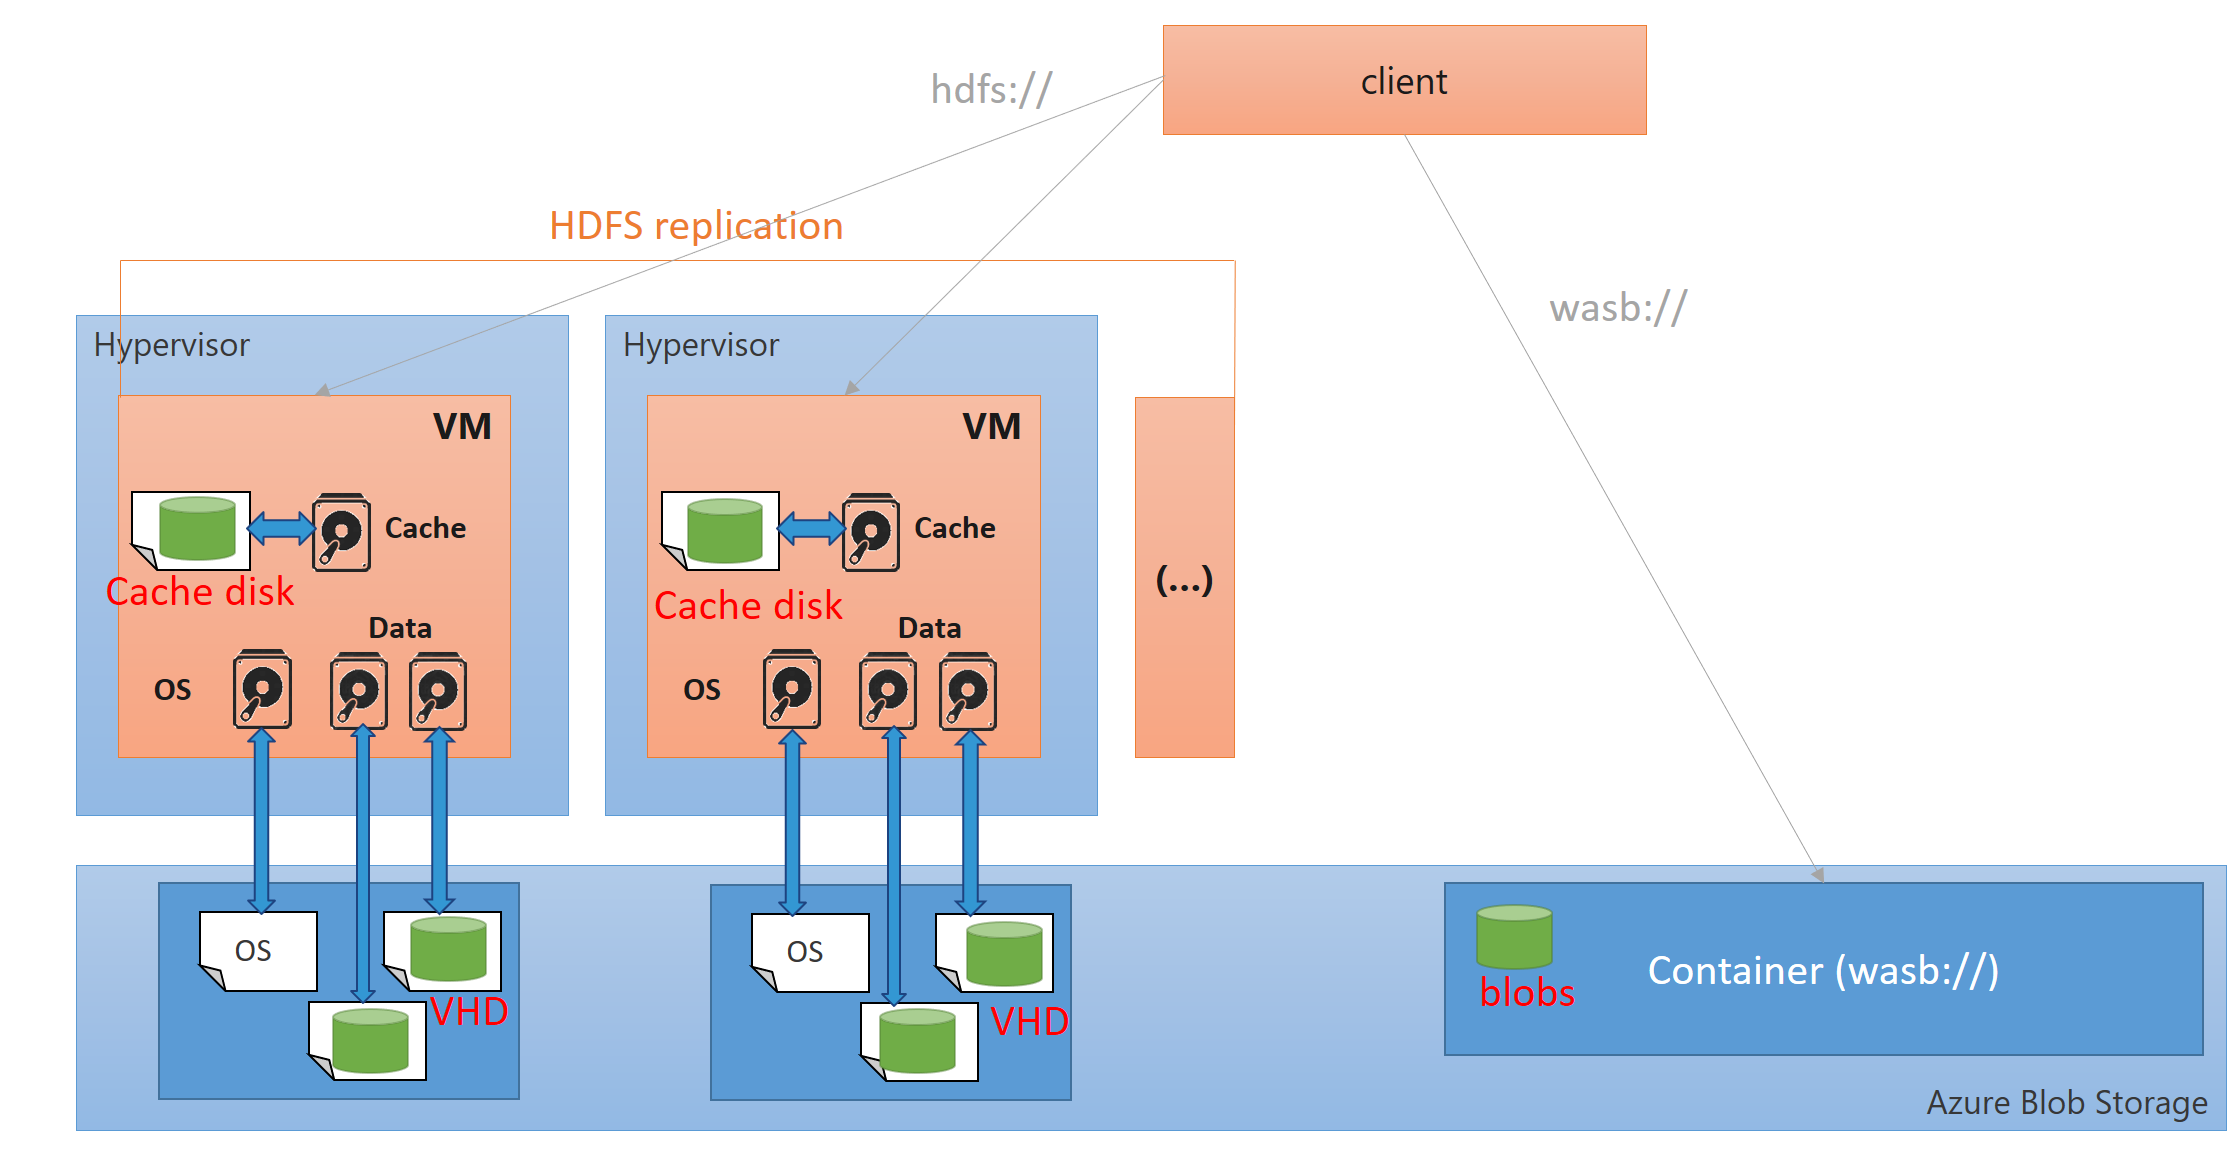
Hadoop architecture on Azure

There are several ways to deploy a Hadoop cluster on Azure, and several ways to store the data.
A virtual machine on Azure has

  • local disk which is mainly used for cache (Cache disk),
  • Virtual Hard Disks (VHD) that live in the Azure storage; in particular, this is the case of the OS disk (the only exception is with web and worker roles)
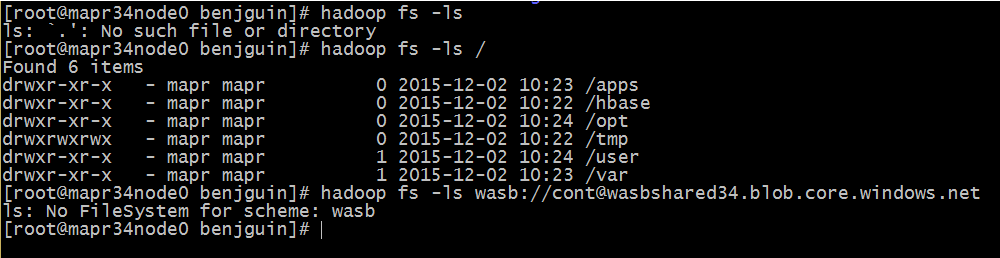
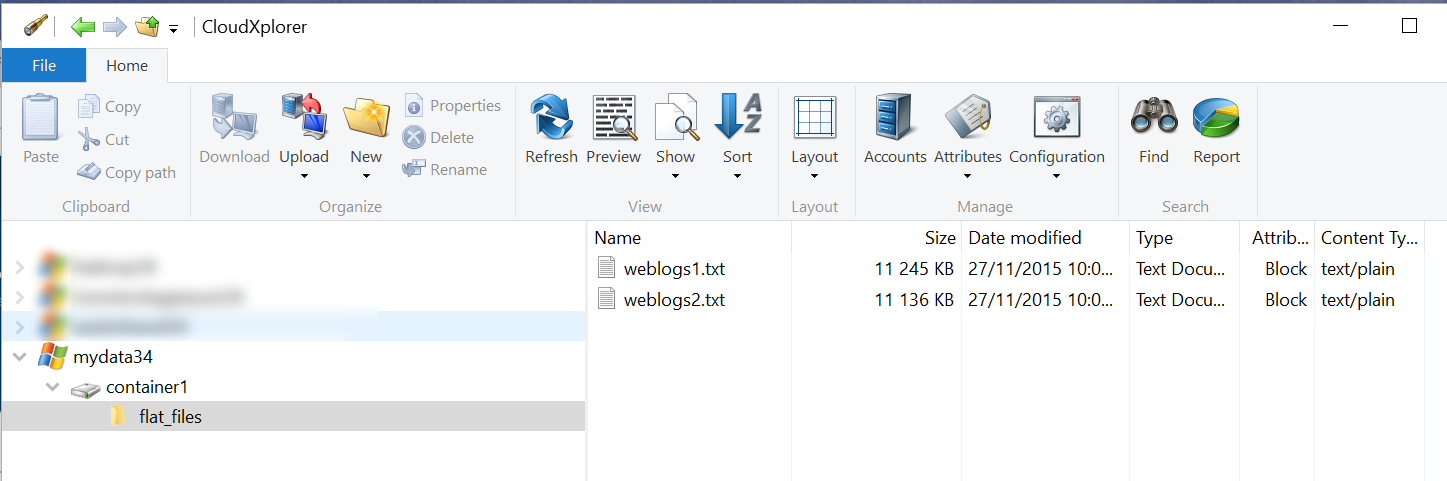
  • the virtual machine can also access blob storage which is a storage service where one can put files. It is accessible thru REST API, but also thru the wasb (Windows Azure Storage Blob) driver which is available in Hadoop.

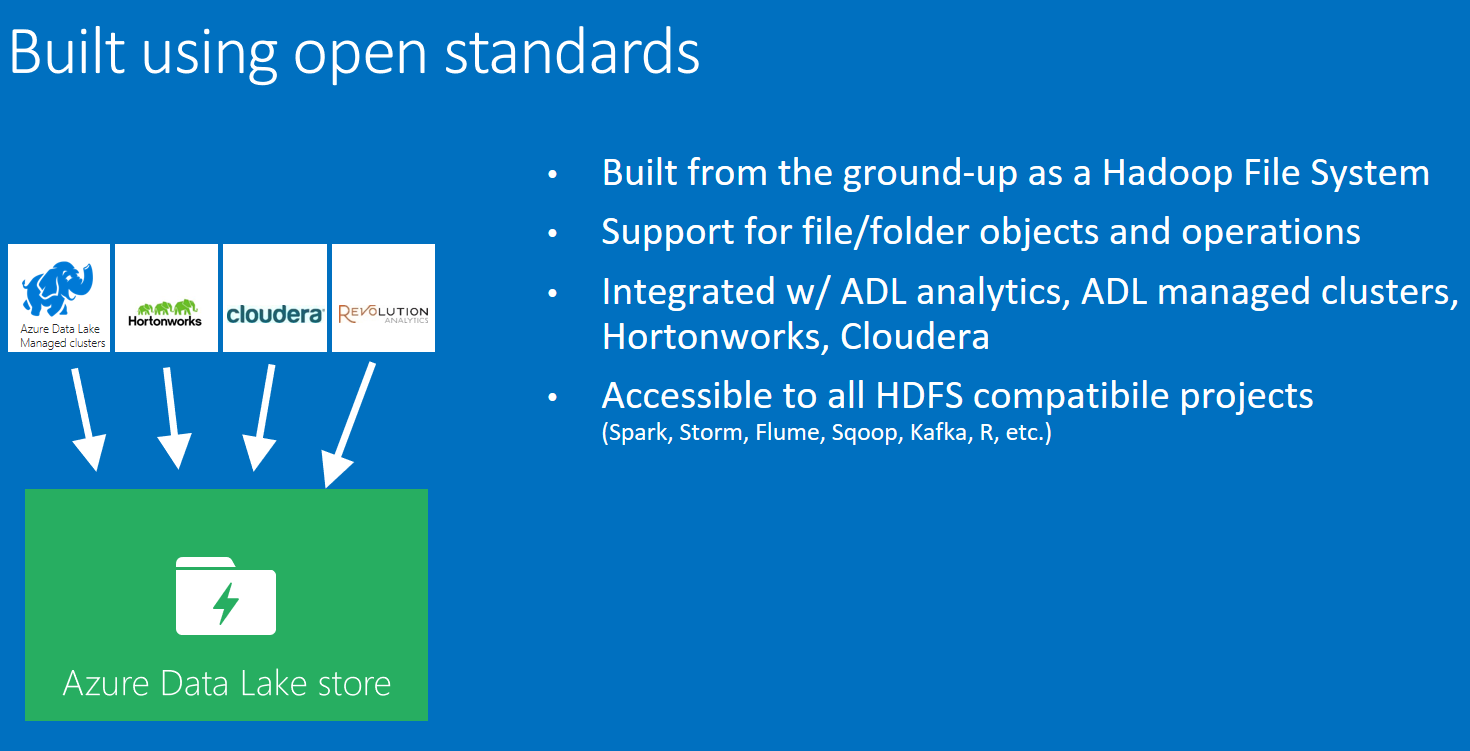
Data Lake Store is also a new way of storing big data. For now (NOV 2015) it is in preview and can be used from Data Lake Analytics and HDInsight; later on, it will also be usable from standard distributions:

Comparing Cloudera, Hortonworks and MapR

Many articles have been written on how the distributions compare.

Here is how I see them.

Hortonworks is the closest to the Apache Hadoop distribution; All their code is Apache’s code and 100% open source. Hortonworks Data Platform (HDP) is described here.

Cloudera is the mots popular; in particular, users like Impala and Cloudera Manager. Their code is 100% open source, but not 100% Apache code (yet?). They recently decided to donate Impala and Kudu to the Apache Software Foundation.

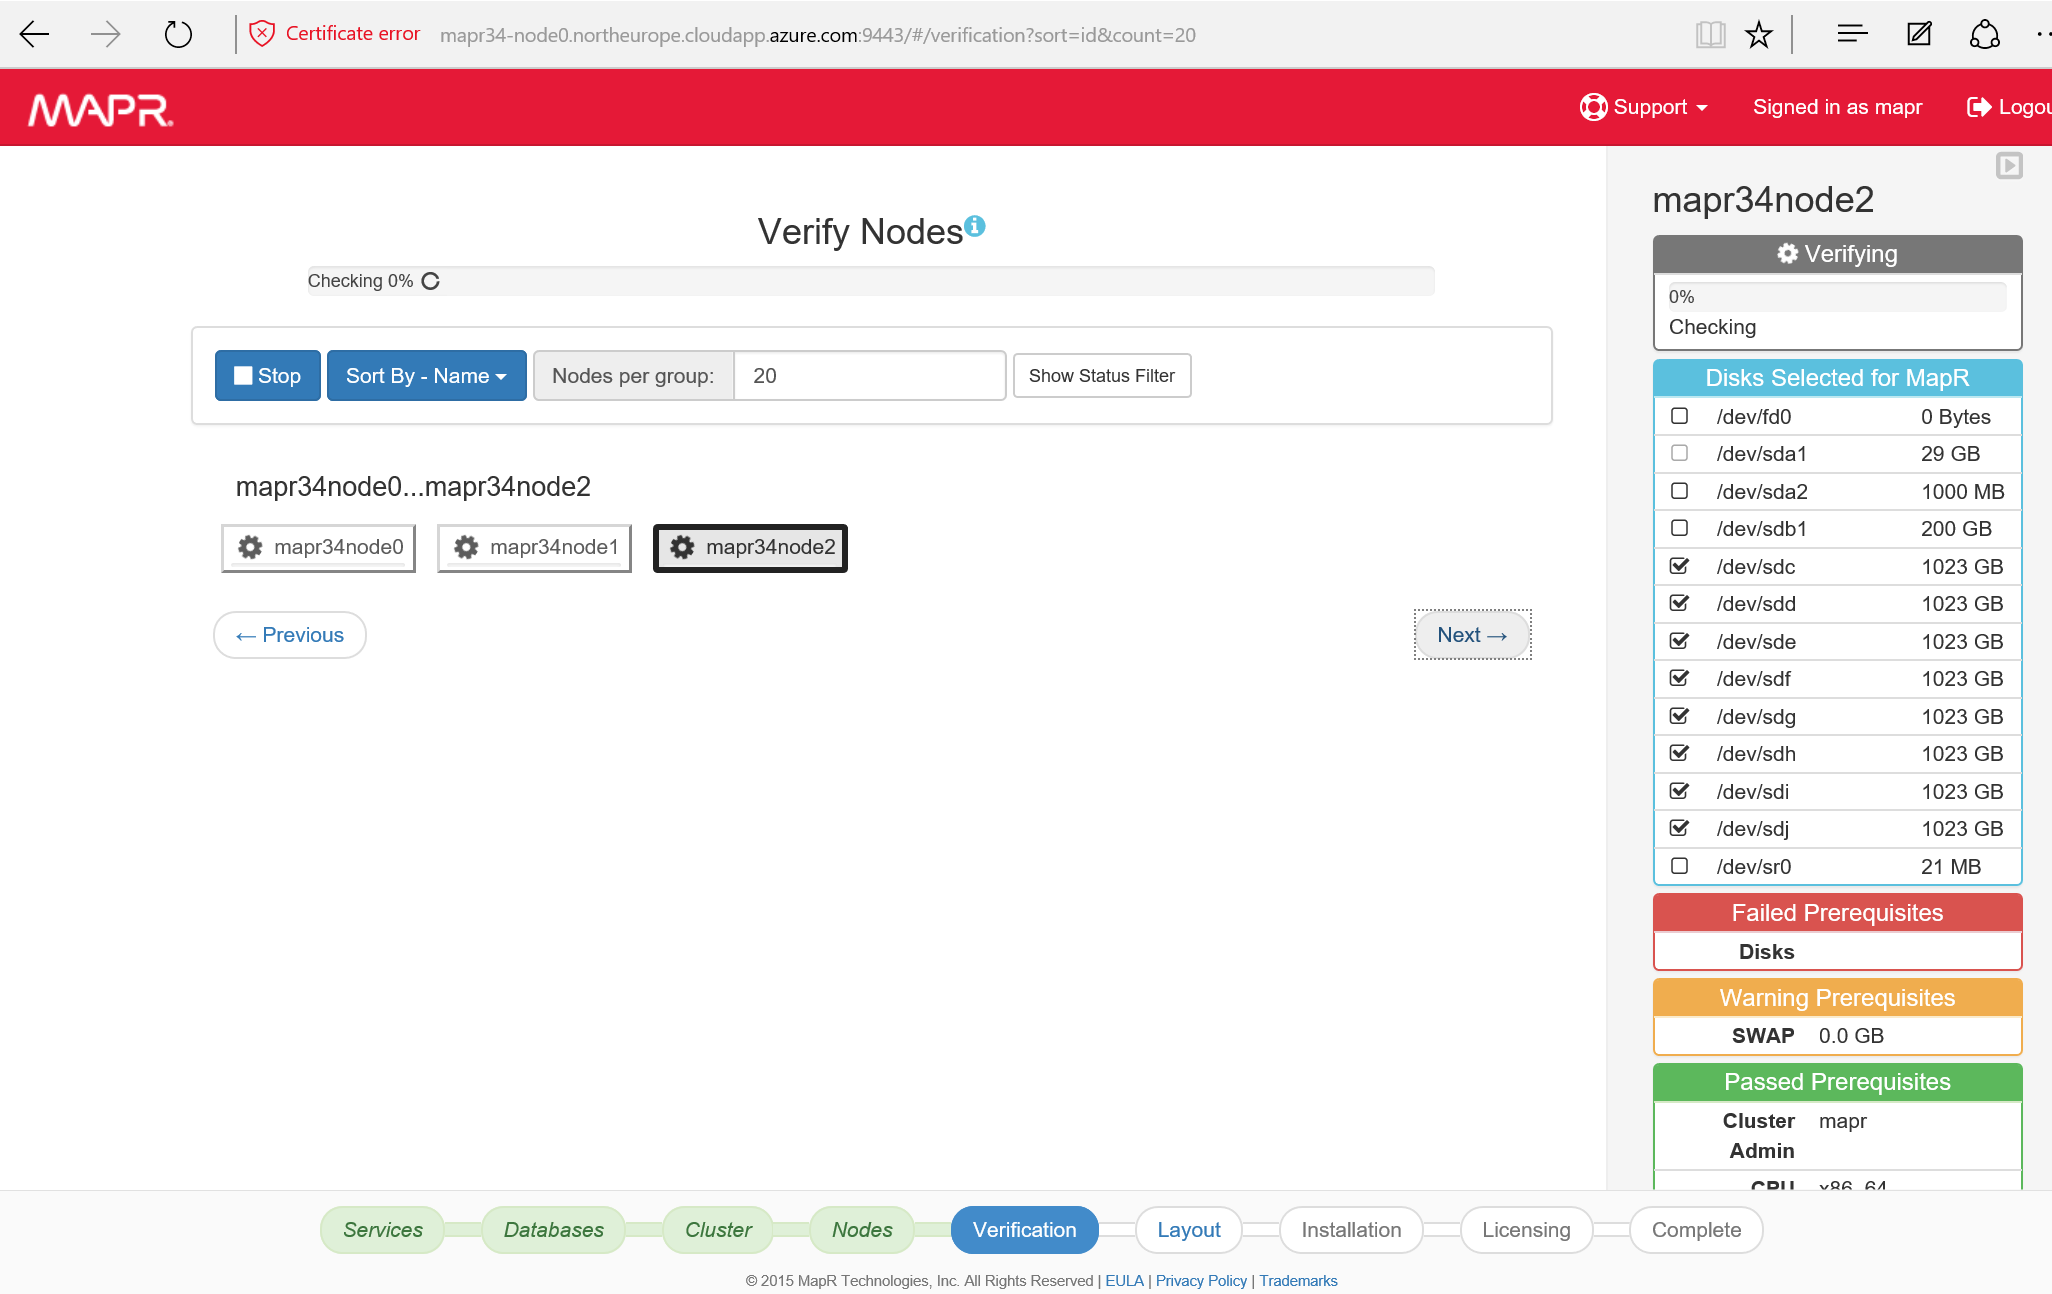
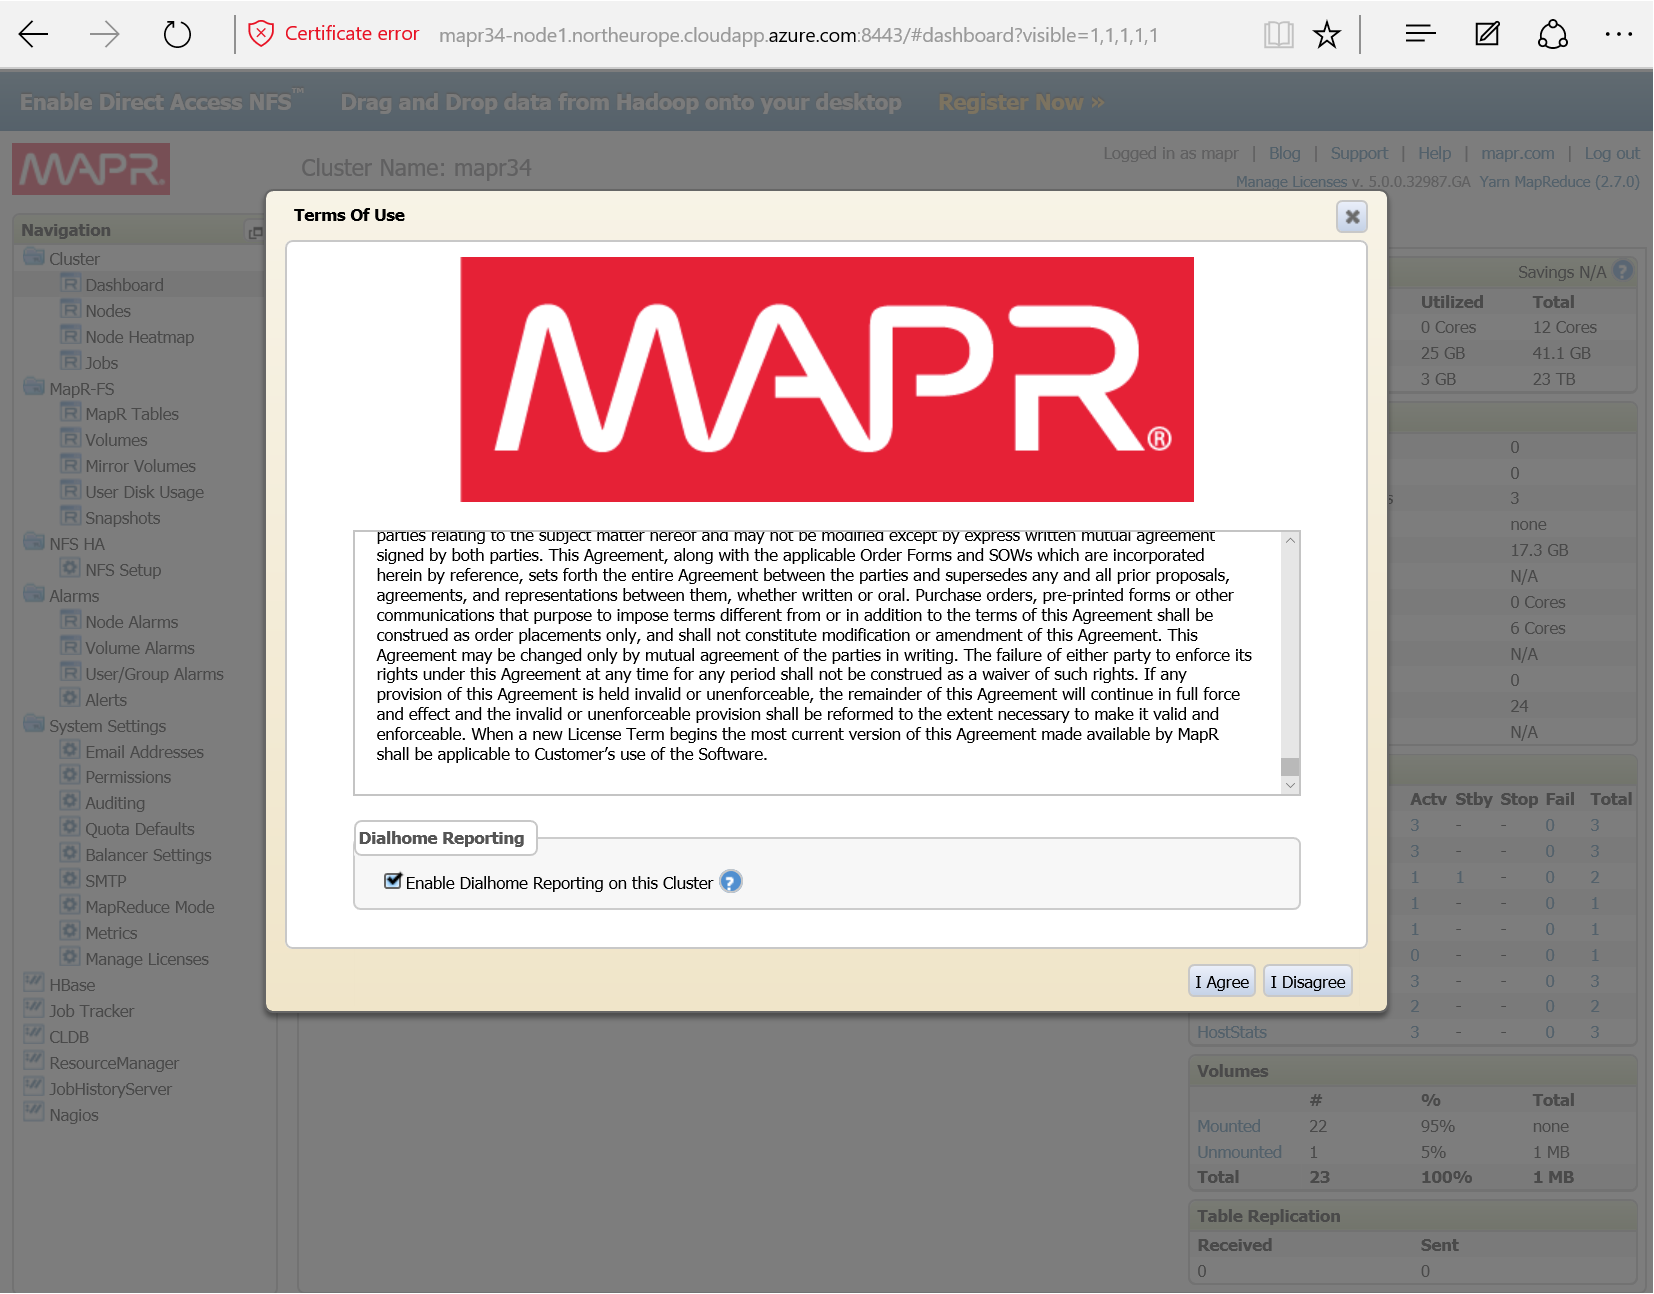
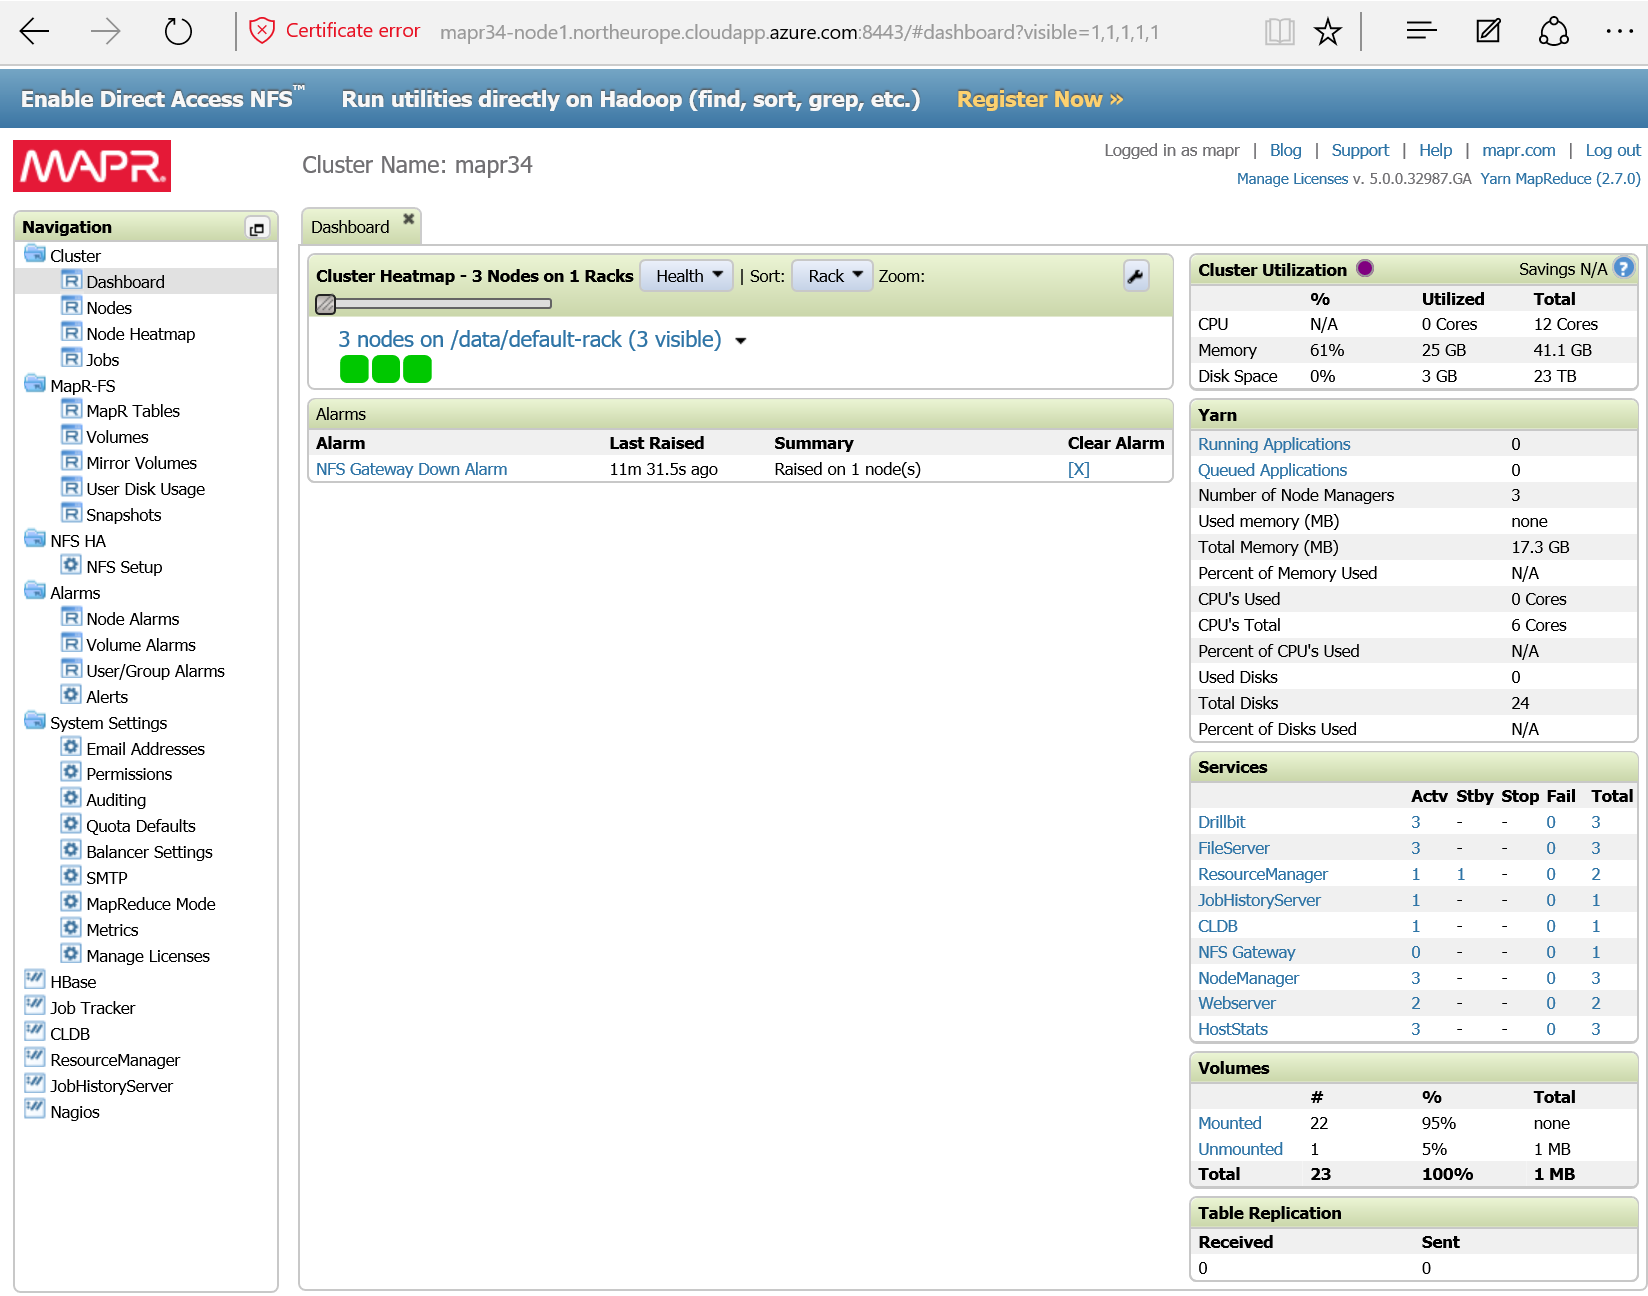
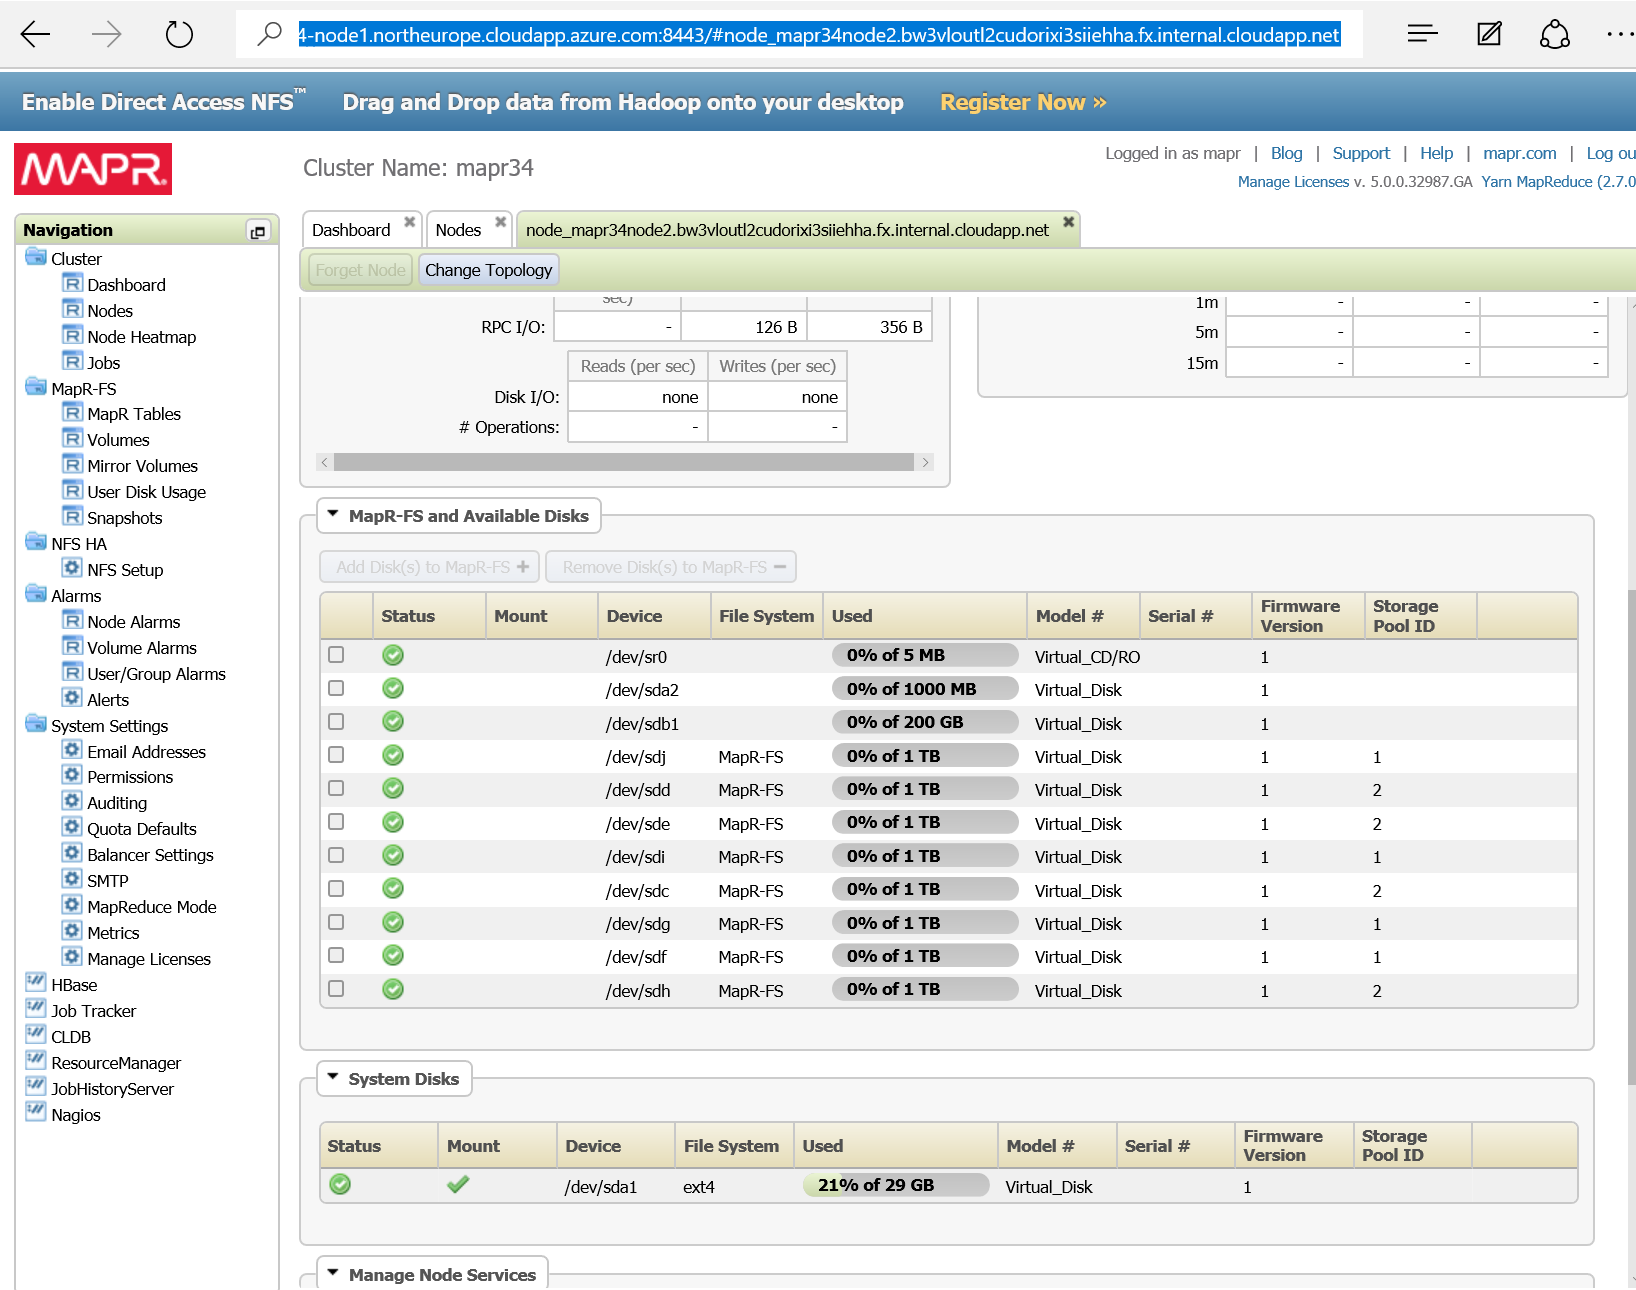
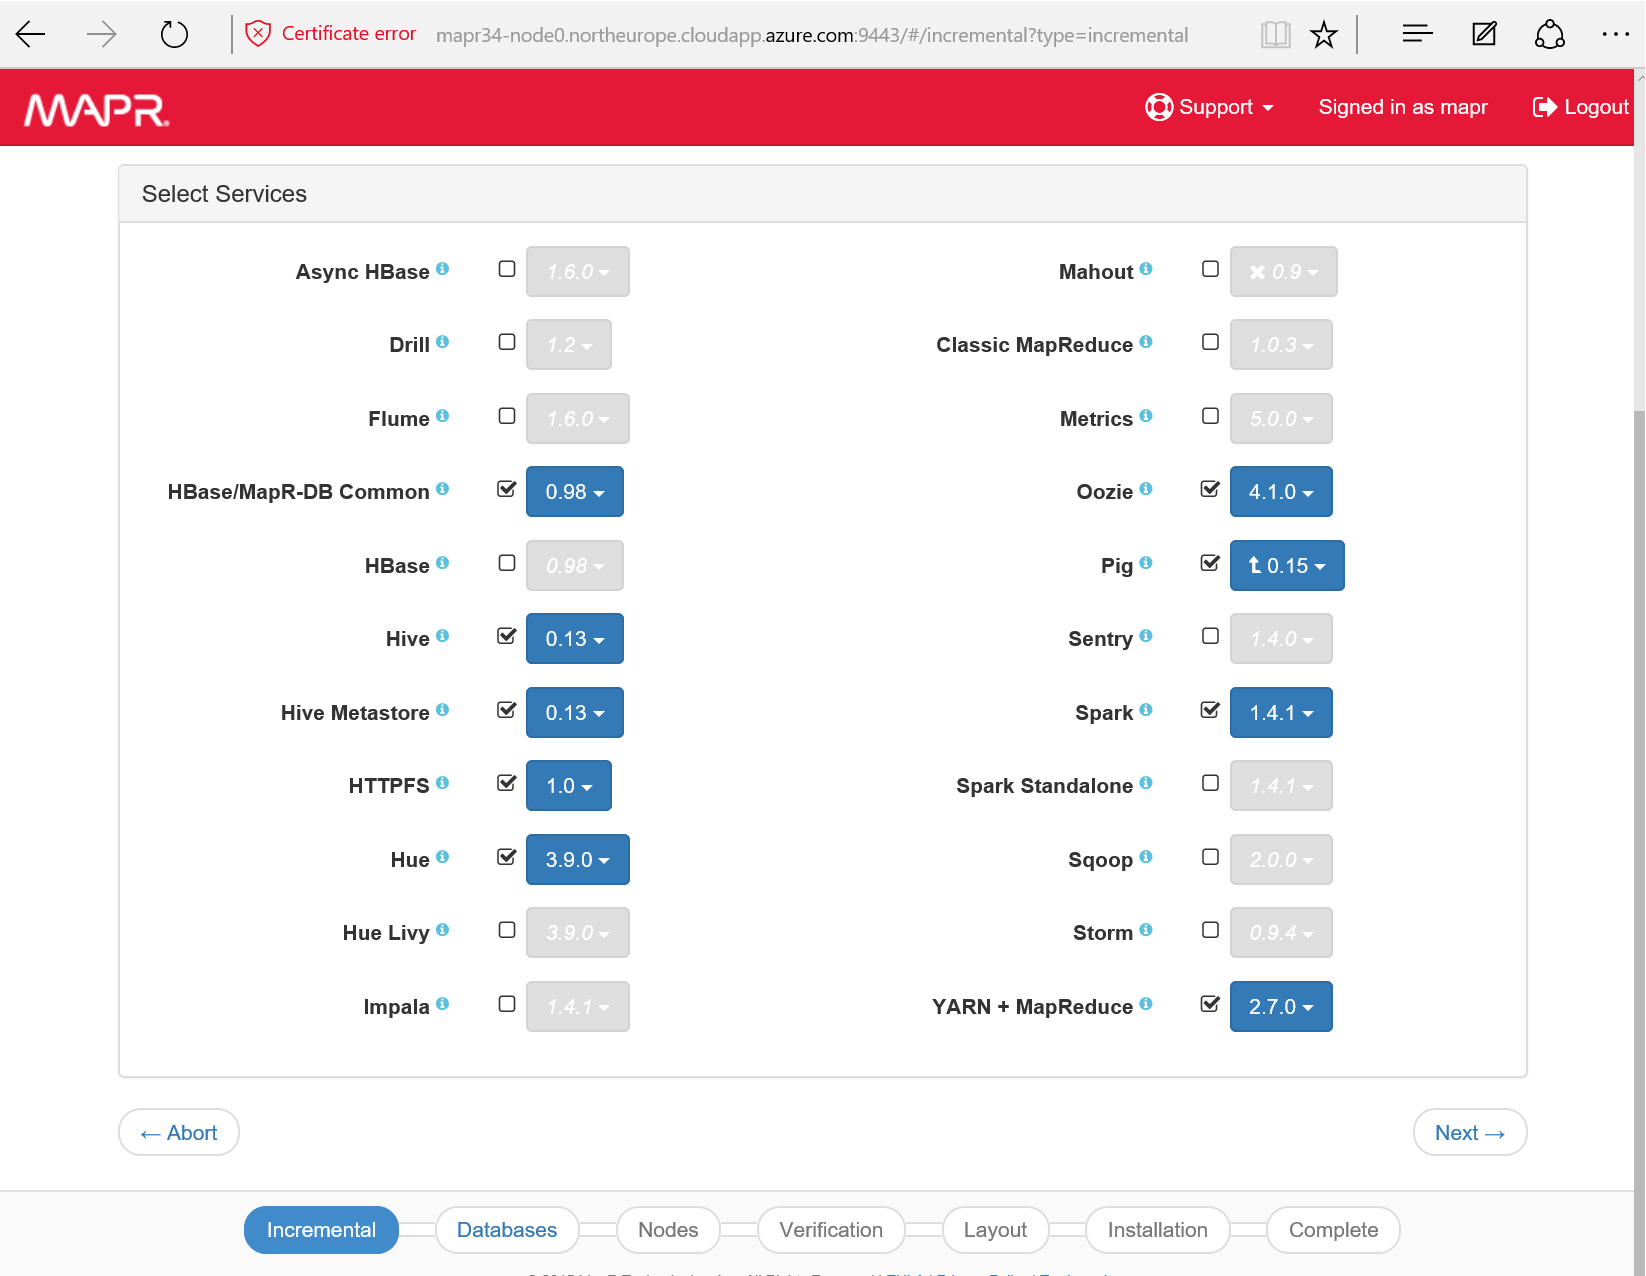
MapR builds a distribution for business critical production applications; they are well known for their MapR file system (MapR-FS) which can be viewed as HDFS (Hadoop Distributed File System) and NFS (Network File System), and has the reputation of being fast. Mapr-FS is proprietary. The distribution is described here.

Anyway, the best solution is the one you chose!

Here is how those distribution leverage Azure. They have different approaches.

Distribution|uses Cache Disk|uses VHD|uses blobs|prices|options
——-|—–|—–|—–
Cloudera|Yes|Yes, premium storage only|for cold archive only|high only because Cloudera supports only high end performances|Cluster, single VM
Hortonworks|not by default (HDFS)|Yes (HDFS)|Yes|low to high|Cluster, single VM, Hadoop as a service (HDInsight)
MapR|Yes (Mapr-FS)|Yes (Mapr-FS)|No. wasb driver is not installed|low to high|Cluster

NB: the options mentioned above are automated ones. Of course, you can leverage Azure virtual machines and virtual networks to install any distribution you like on a single VM or on a cluster.

The fact that Cloudera only supports blob storage as a cold archive makes it more difficult to create different clusters on the same storage. It also requires that you save the data to blob storage explicitely before shutting down if you need to access the data while the cluster is off.

With MapR, as you don’t have the wasb driver, it is difficult to make the data available while the cluster is shut down.

With Hortonworks, you can use Azure blob storage as the default distributed file system. With that, you can start the cluster only when you need compute power. The rest of the time, you can bring data to the storage thru REST API, or SDKs in different languages. When you need compute, you can create a cluster that has the required size. You loose collocality (which is mainly important in the first map phase, before shuffle), but you win a lot of flexibility.

I hope that MapR and Cloudera will enhance their usage of cloud storage with Azure Data Lake Store. Azure Data Lake should meet the performance requirements of Cloudera so that they don’t use it only for cold archive. I’m quite confident that Hortonworks will add Azure Data Lake driver. This is already the case with HDInsight.

Let now see how you can deploy those distributions on Azure.

Cloudera (http://www.cloudera.com)

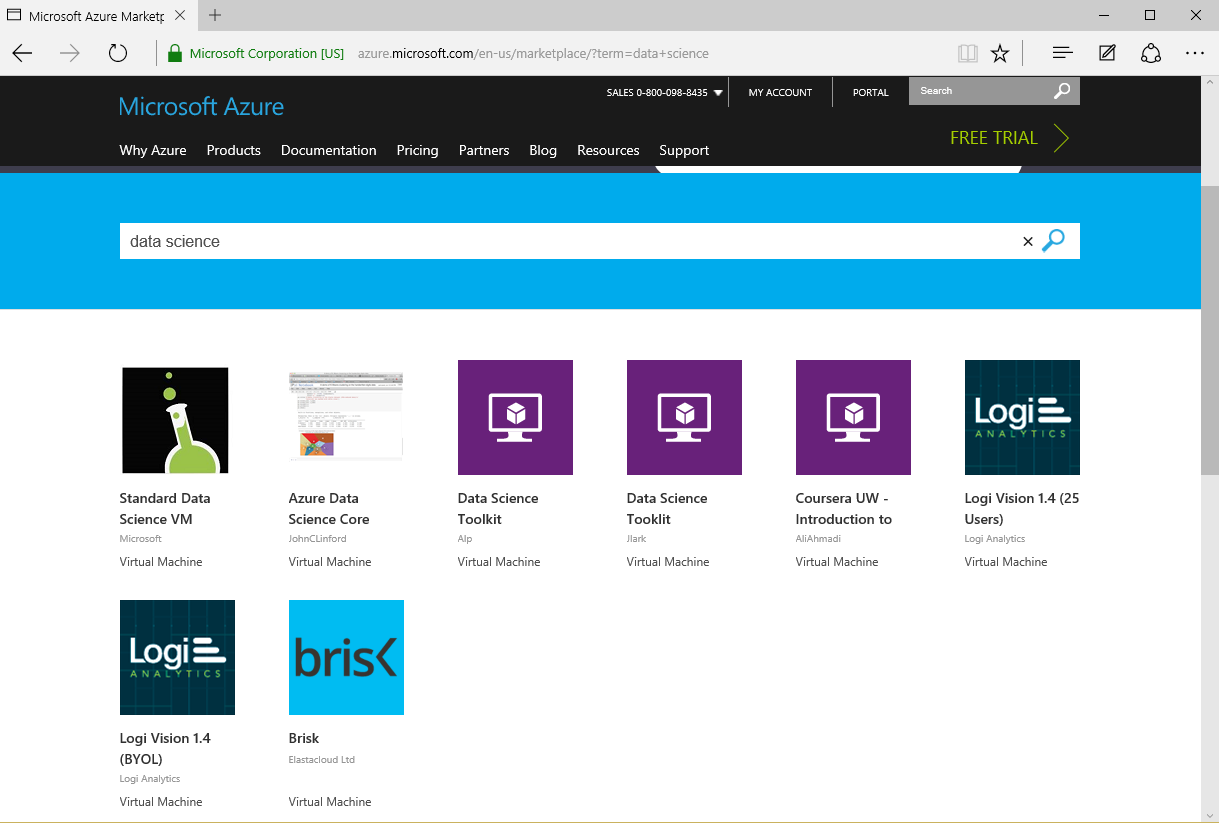
There are different options. This page from Cloudera’s web site show the different available distributions. From Azure marketplace, you can find the following (as of 2 DEC 2015):

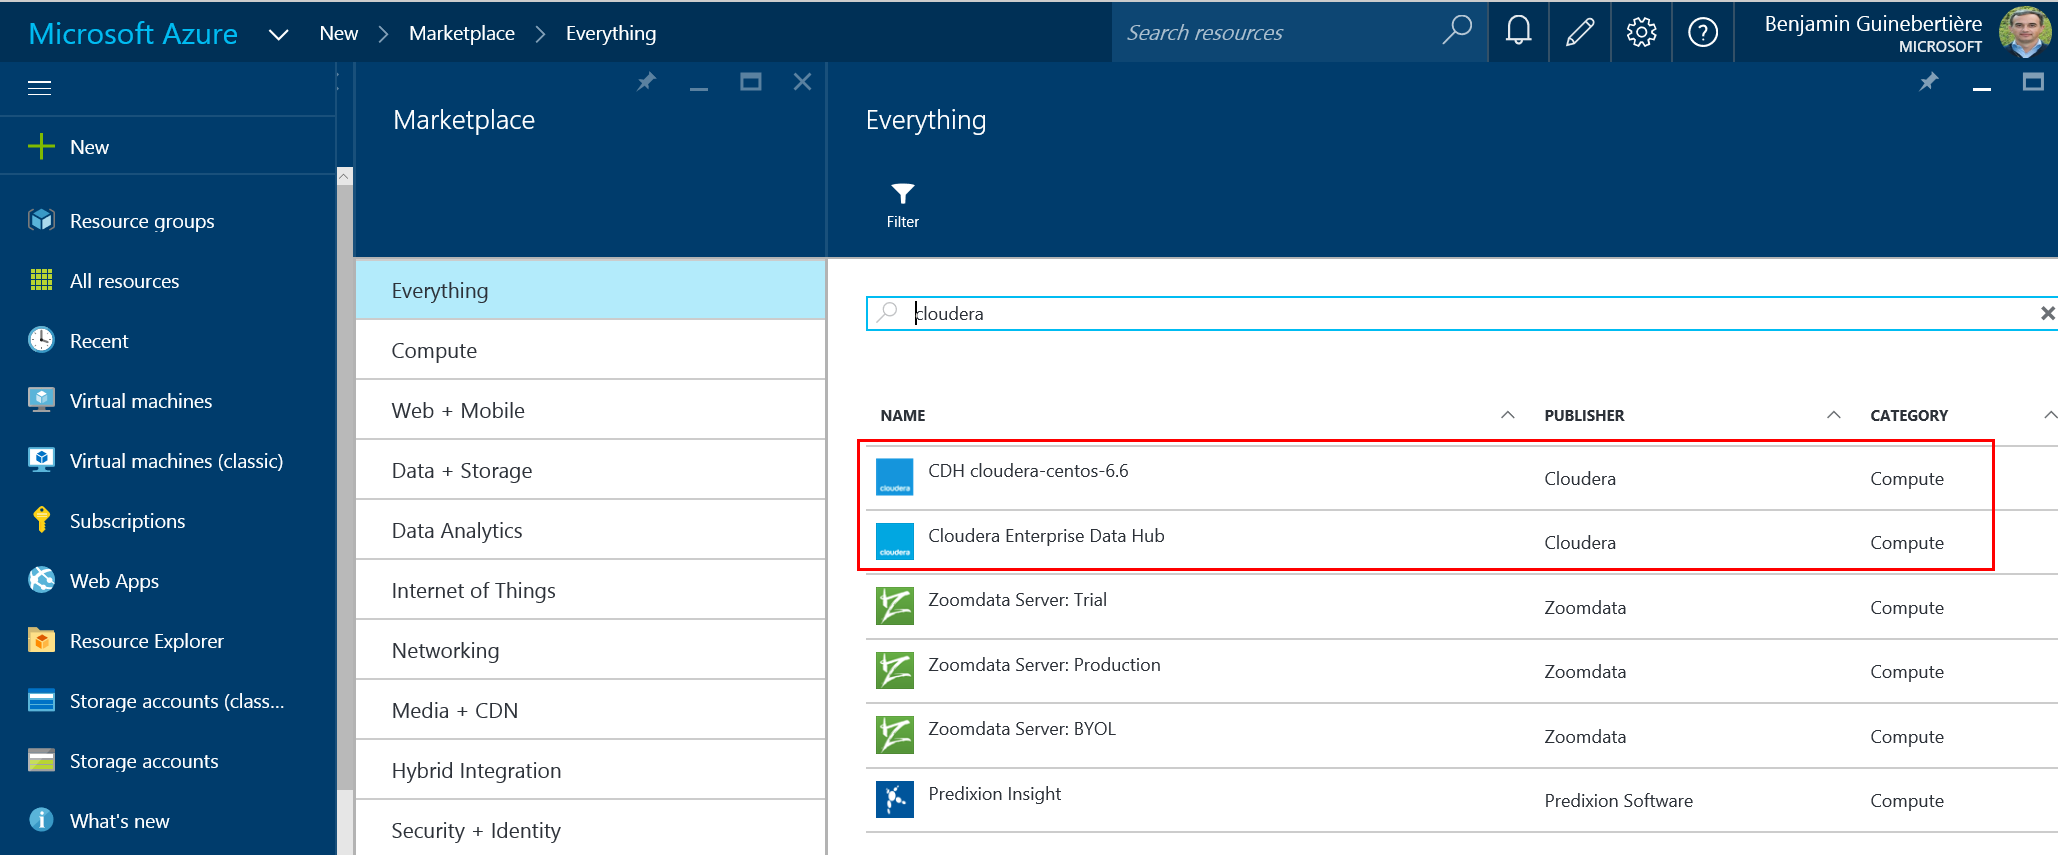
An automated way of deploying a Cloudera Enterprise Data Hub cluster has been made available by Cloudera on Azure.

You’ll find a blog post on how to deploy it on the Azure web site. Also make sure to read the last paragraph (Cloudera Enterprise Deployment from GitHub) which explains there is also a template on GitHub if you need more flexibility.

If you prefer to install a single VM, you can use the Cloudera-Centos-6.6 offer. Its documentation is available at azure.microsoft.com/en-us/marketplace/partners/cloudera/cloudera-centos-6/.

HortonWorks (http://hortonworks.com)

In order to install Hadoop as a service with an Hadoop Data Platform, you can leverage HDInsight on Windows or Linux nodes. Documentation is available at azure.microsoft.com/en-us/documentation/services/hdinsight/.

Besides HDInsight, the marketplace has other options:

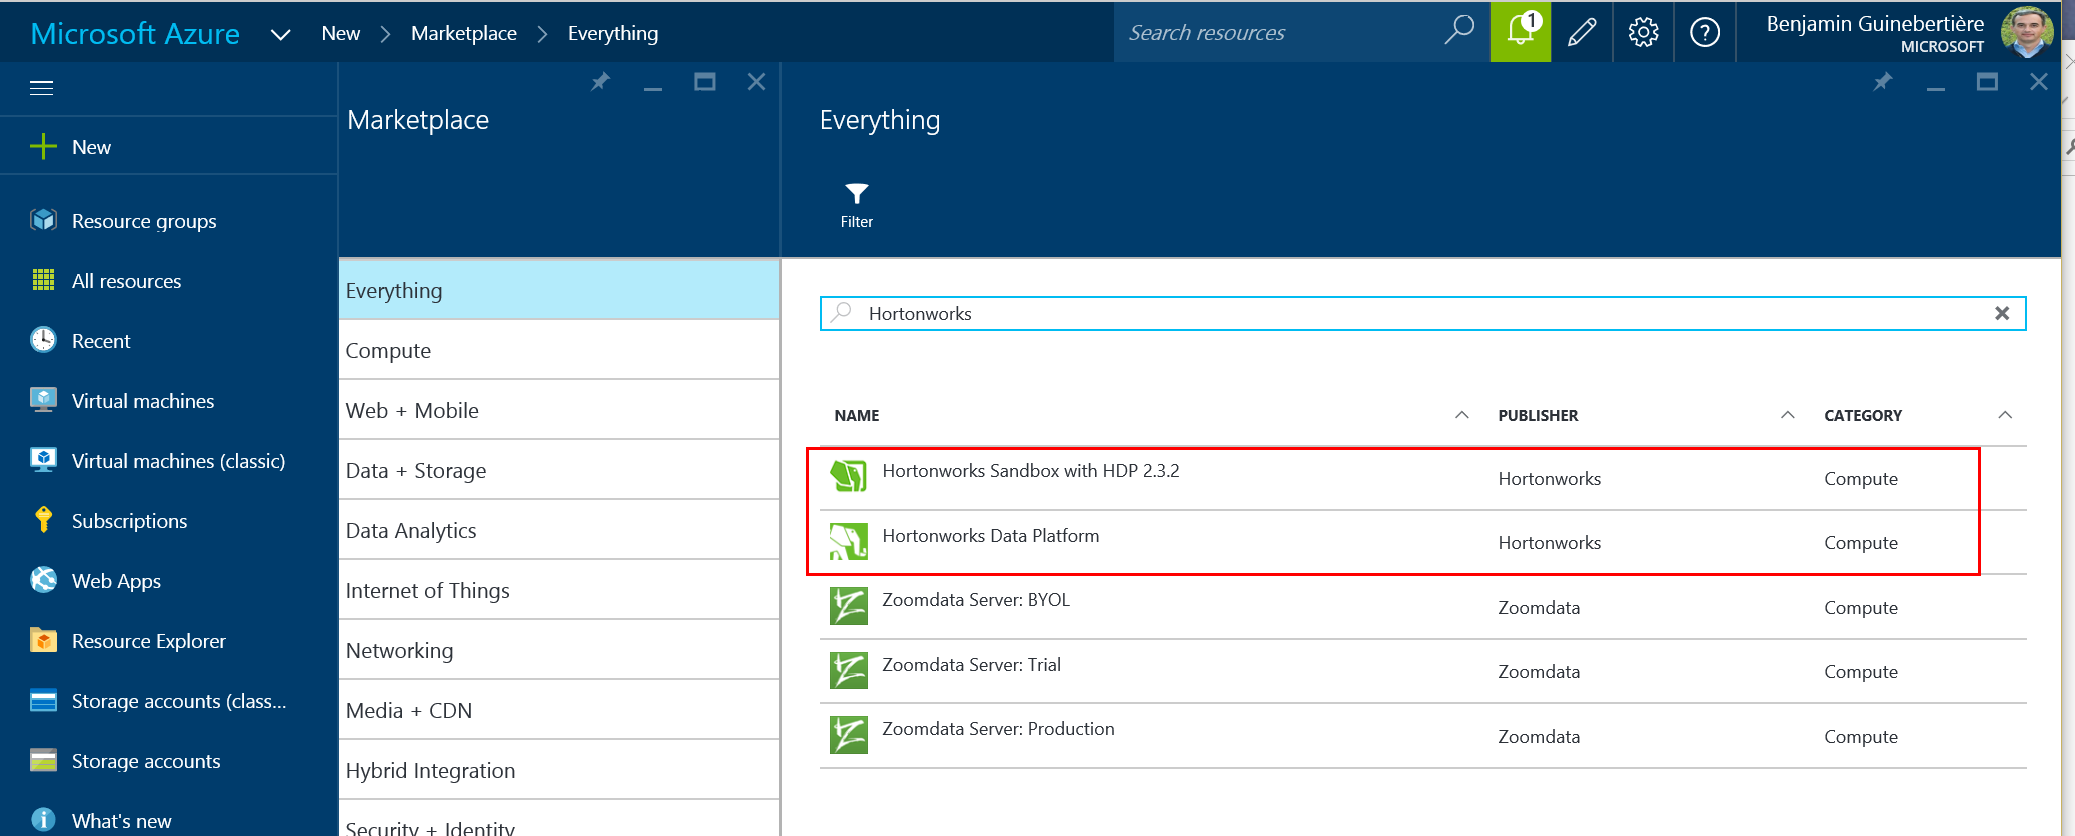
In order to install an HDP cluster, you can leverage the wizzard. Note that as of today (2 DEC 2015), the wizzard deploys HDP 2.1, while latest version of HDP is 2.3. An updated version of this wizzard should be made available in the coming weeks, hopefully. If you want to have an early look at this, I think this is on Github: github.com/Azure/azure-quickstart-templates/tree/master/hortonworks-on-centos.

If you want to install a single VM, a sandbox is available. If you can read French or if you know how to have the page translated for you, you are welcome to read my previous post: Hadoop : Comment réduire ses coûts HDInsight pour le développement

MapR (http://mapr.com)

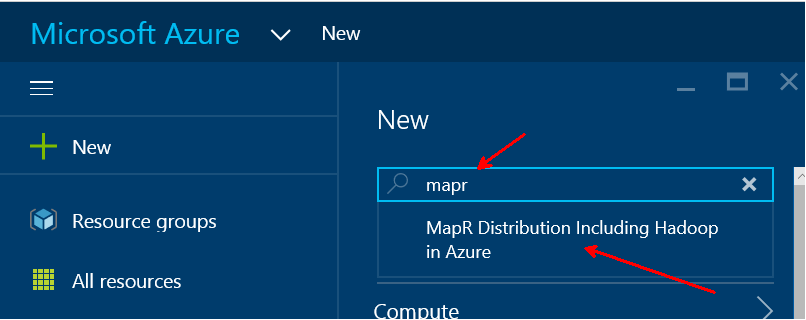
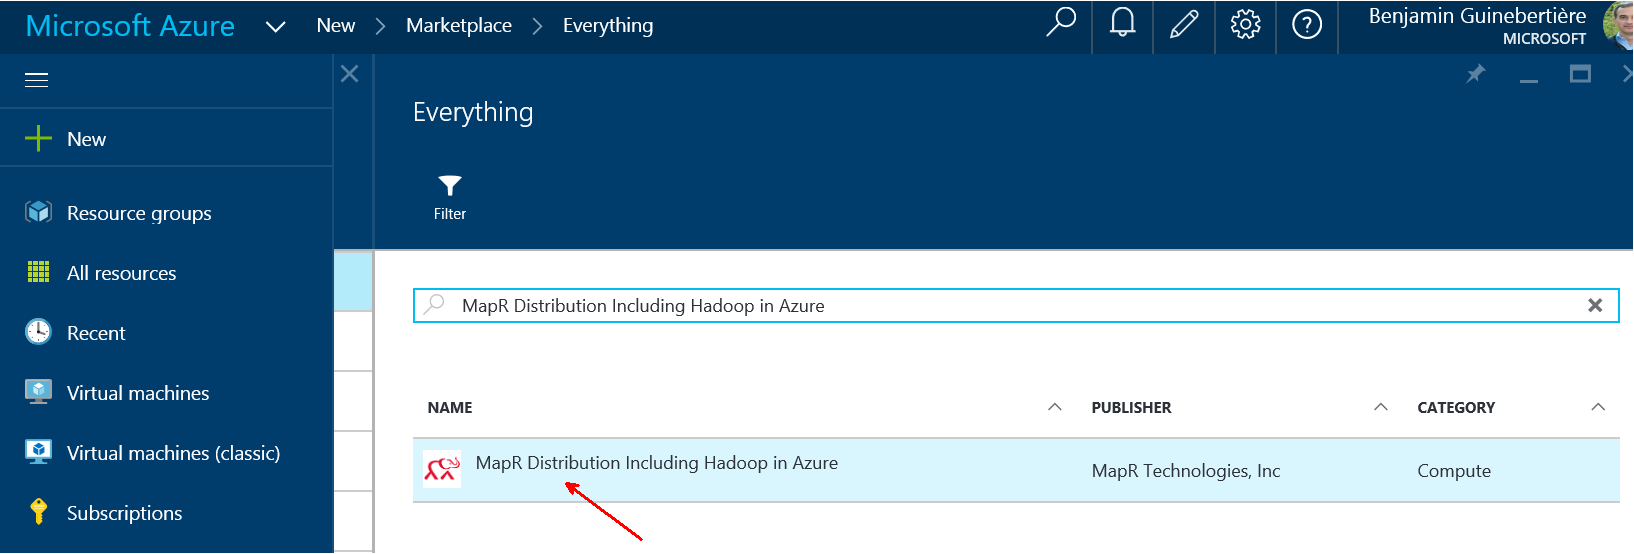
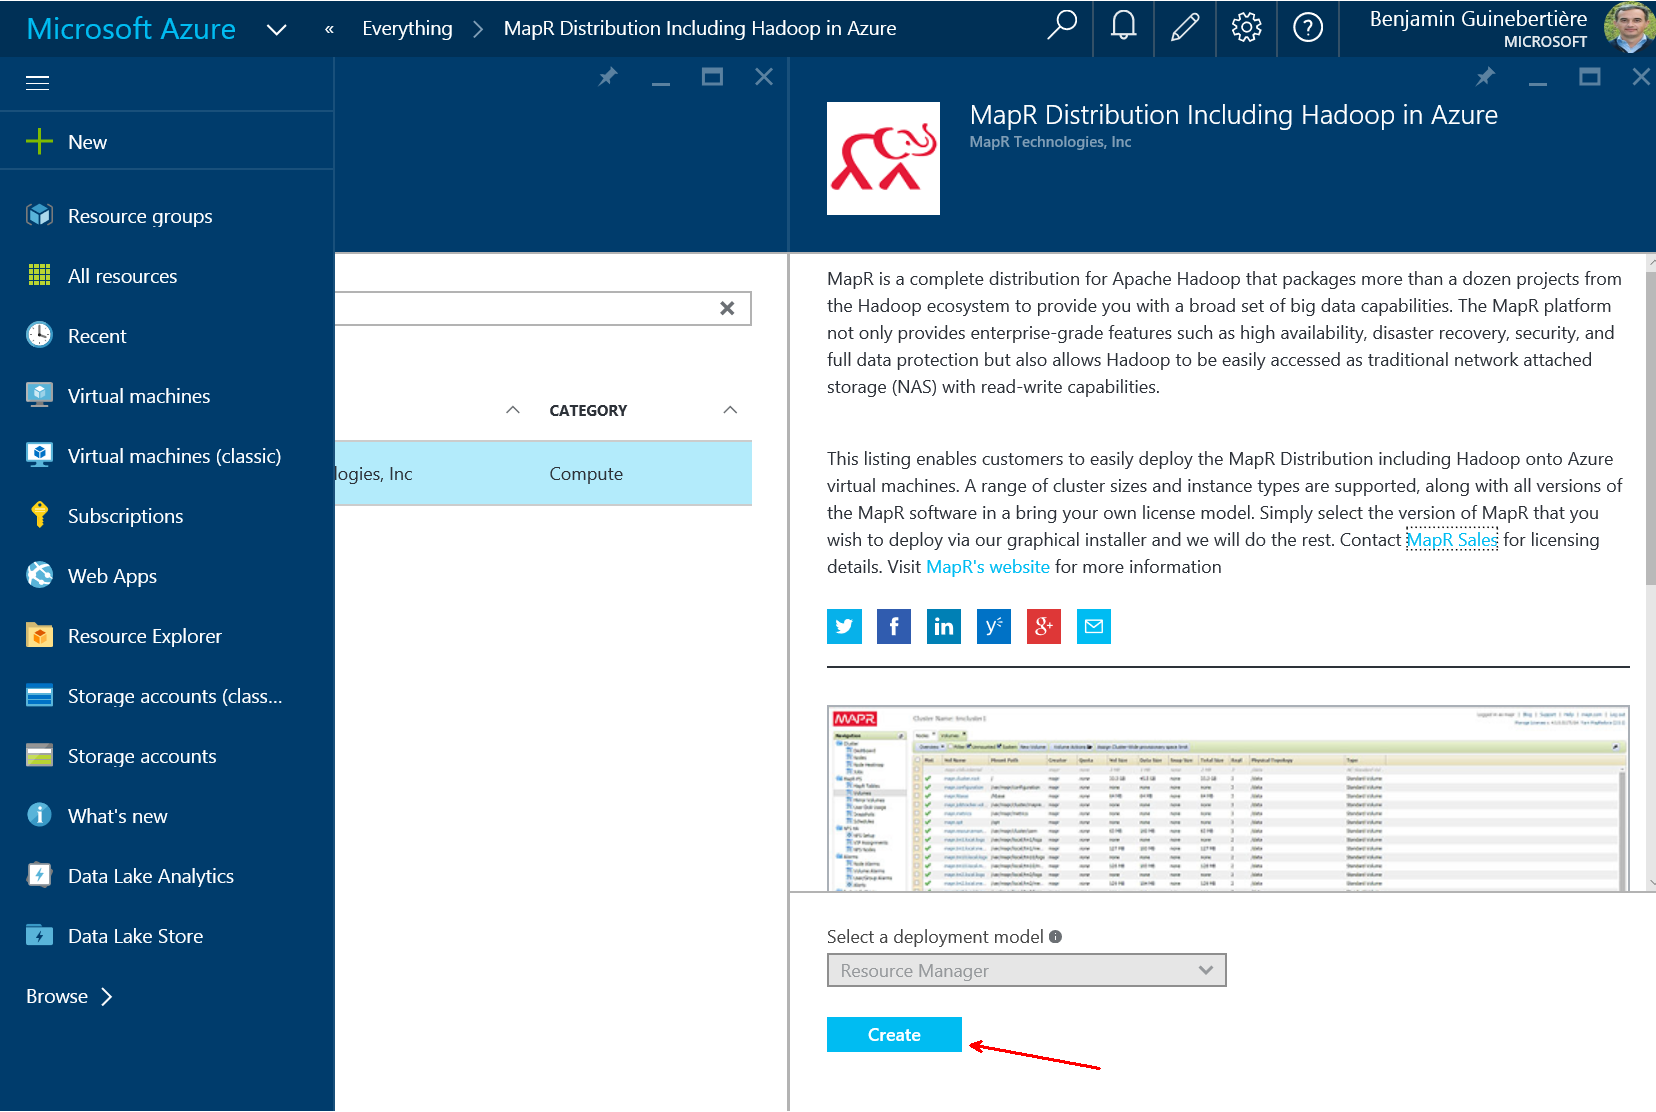
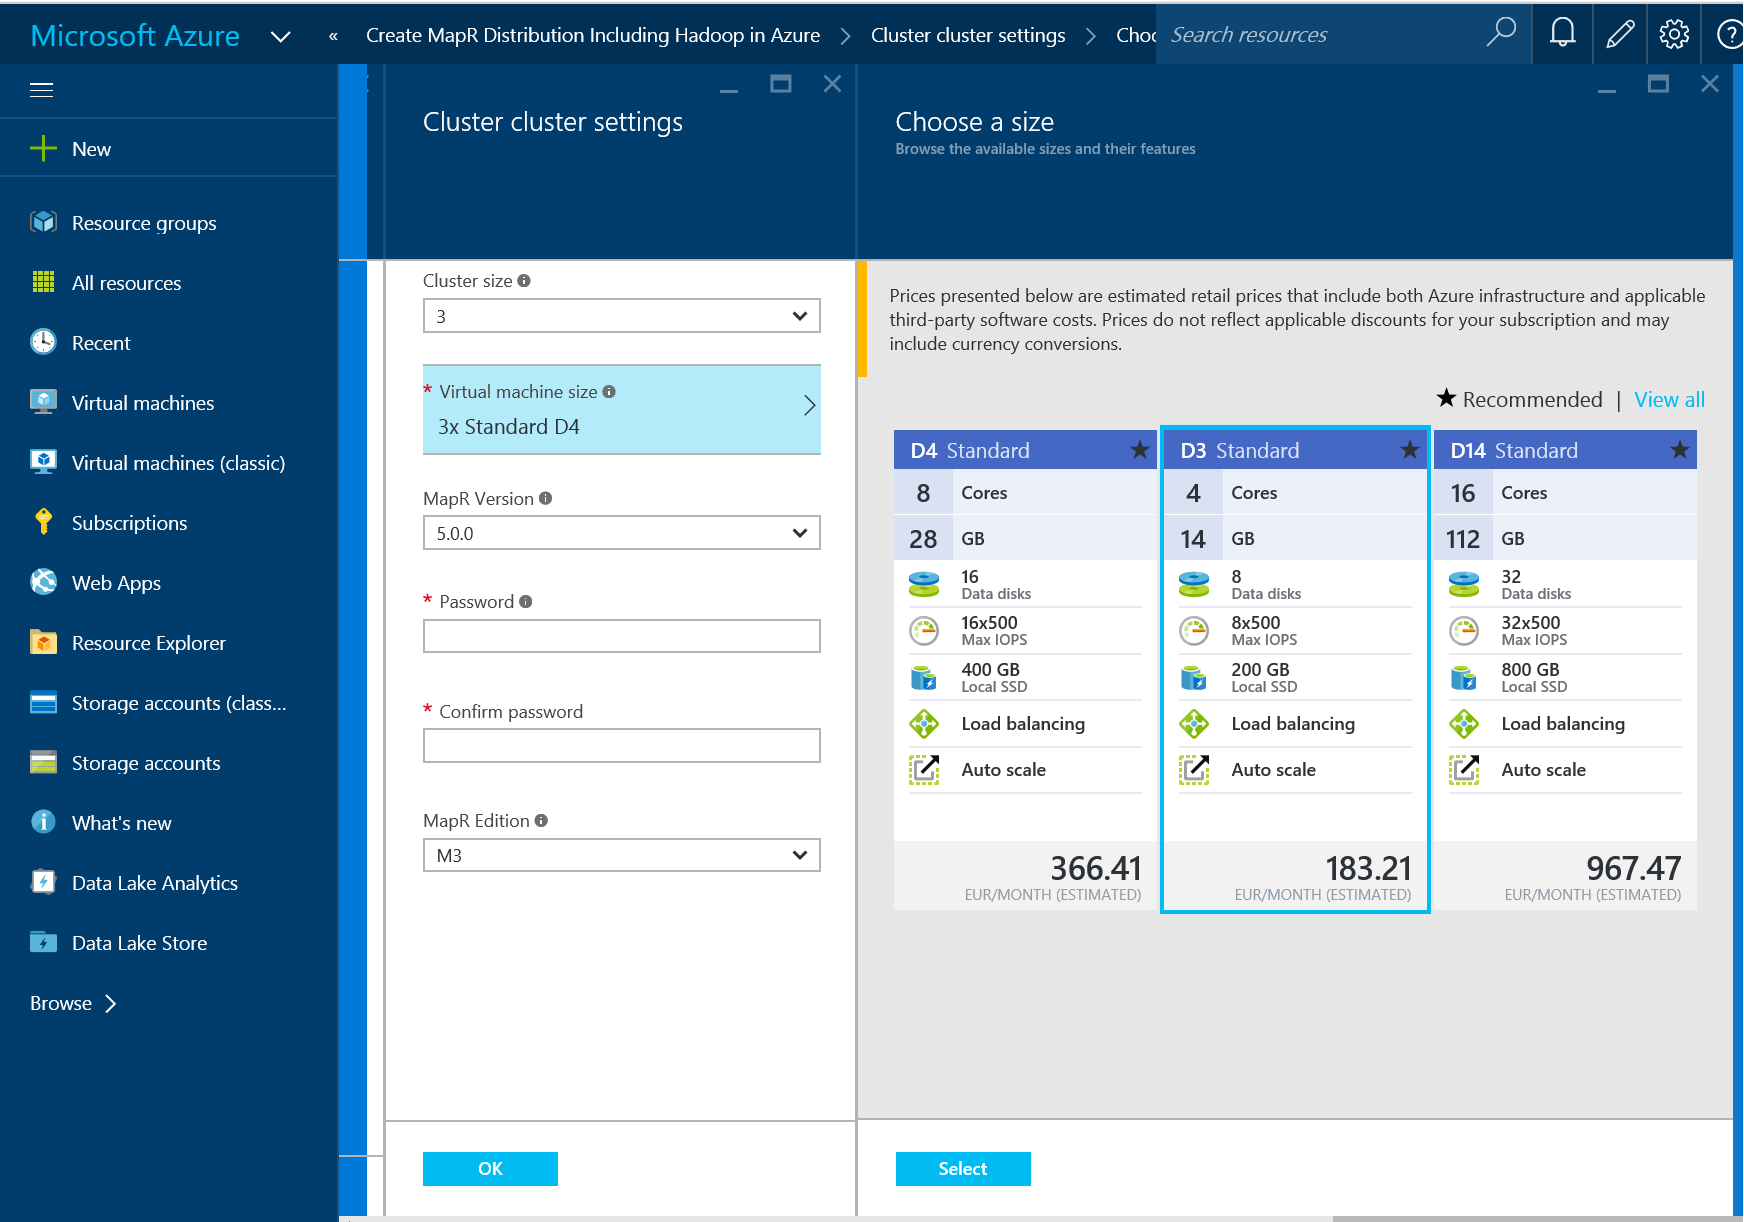
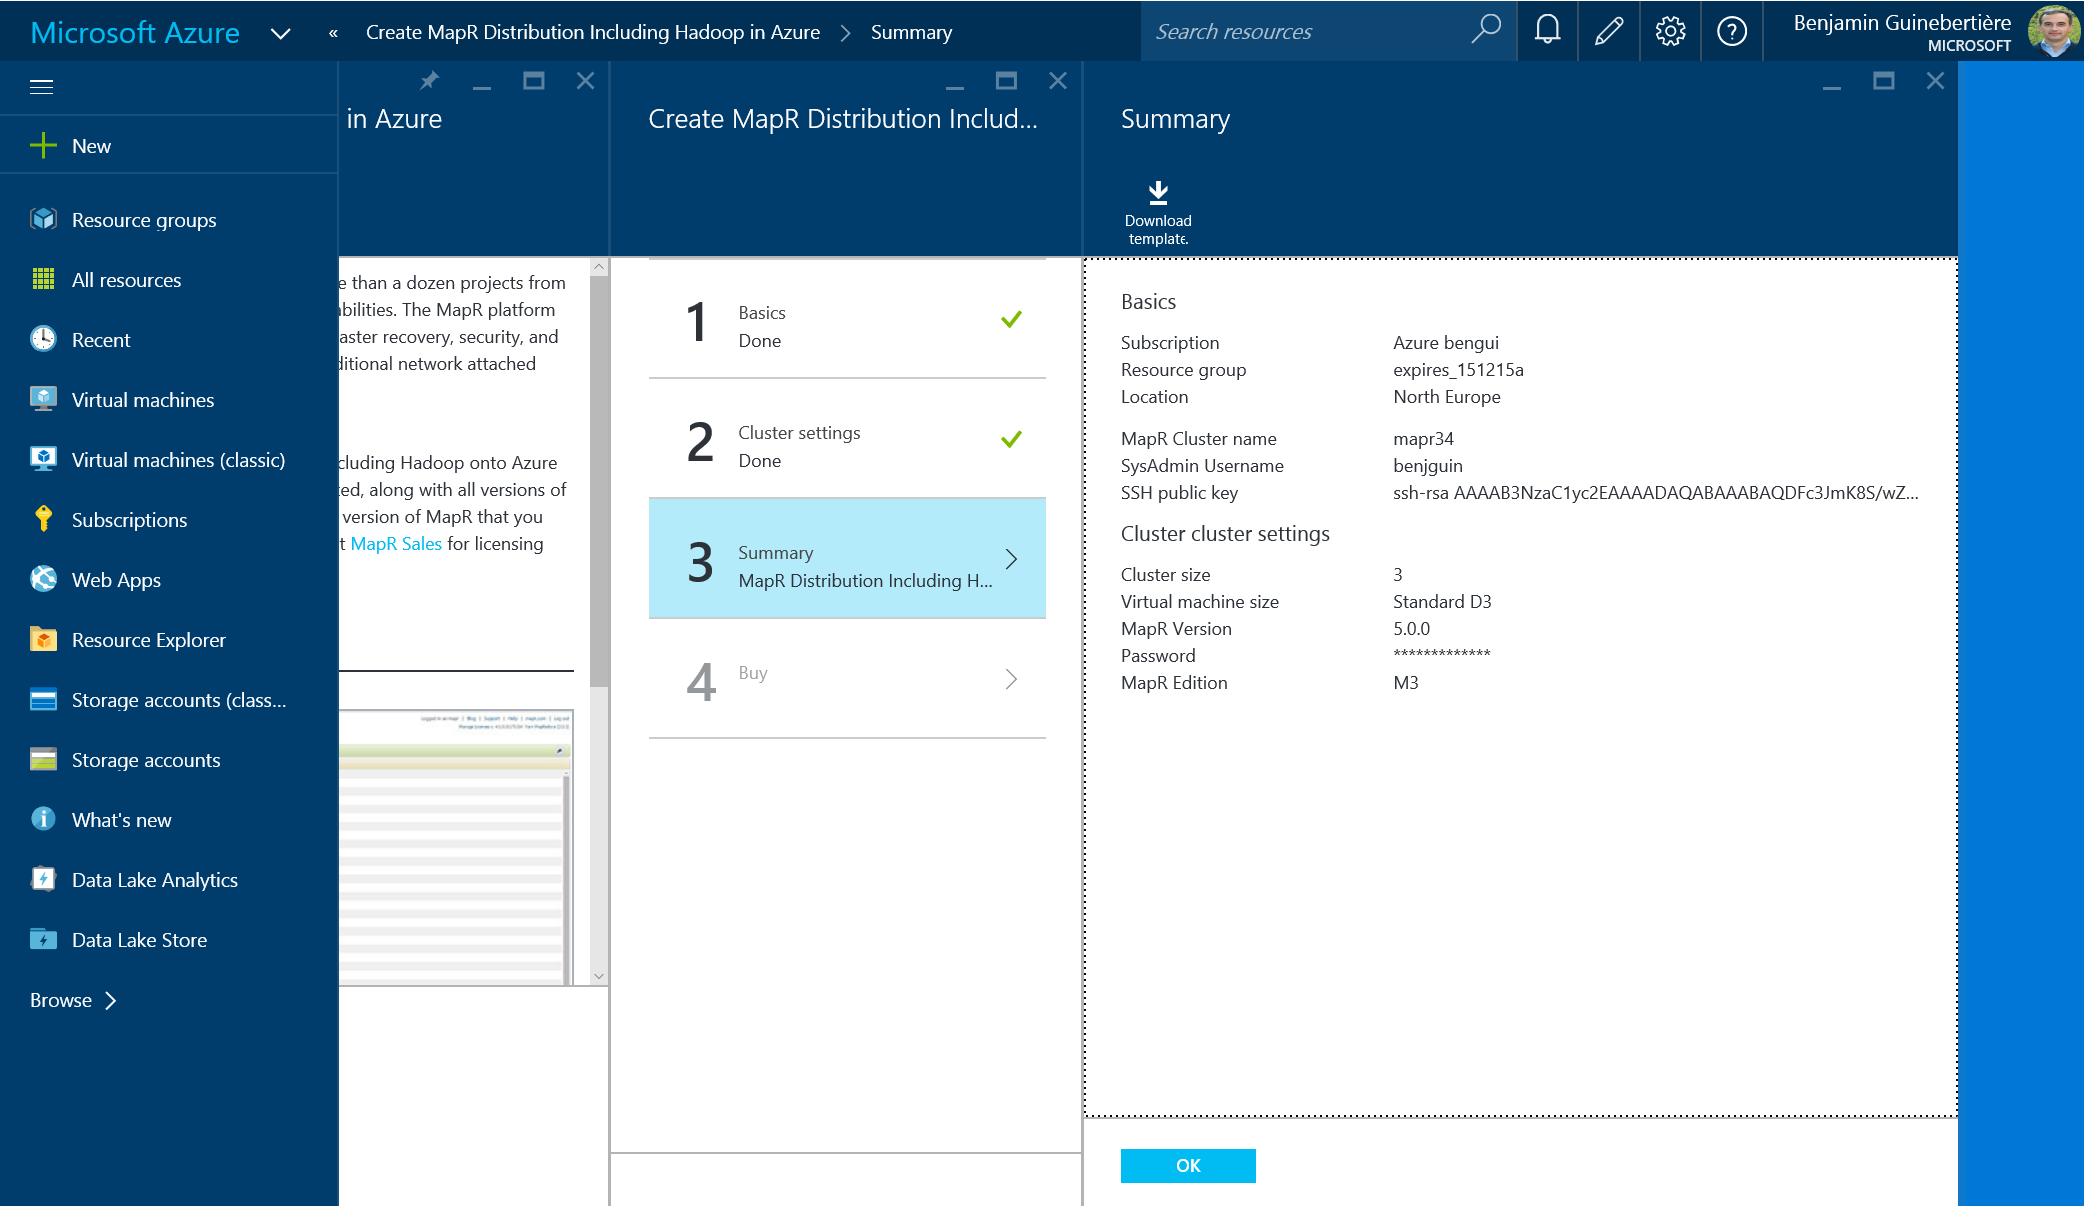
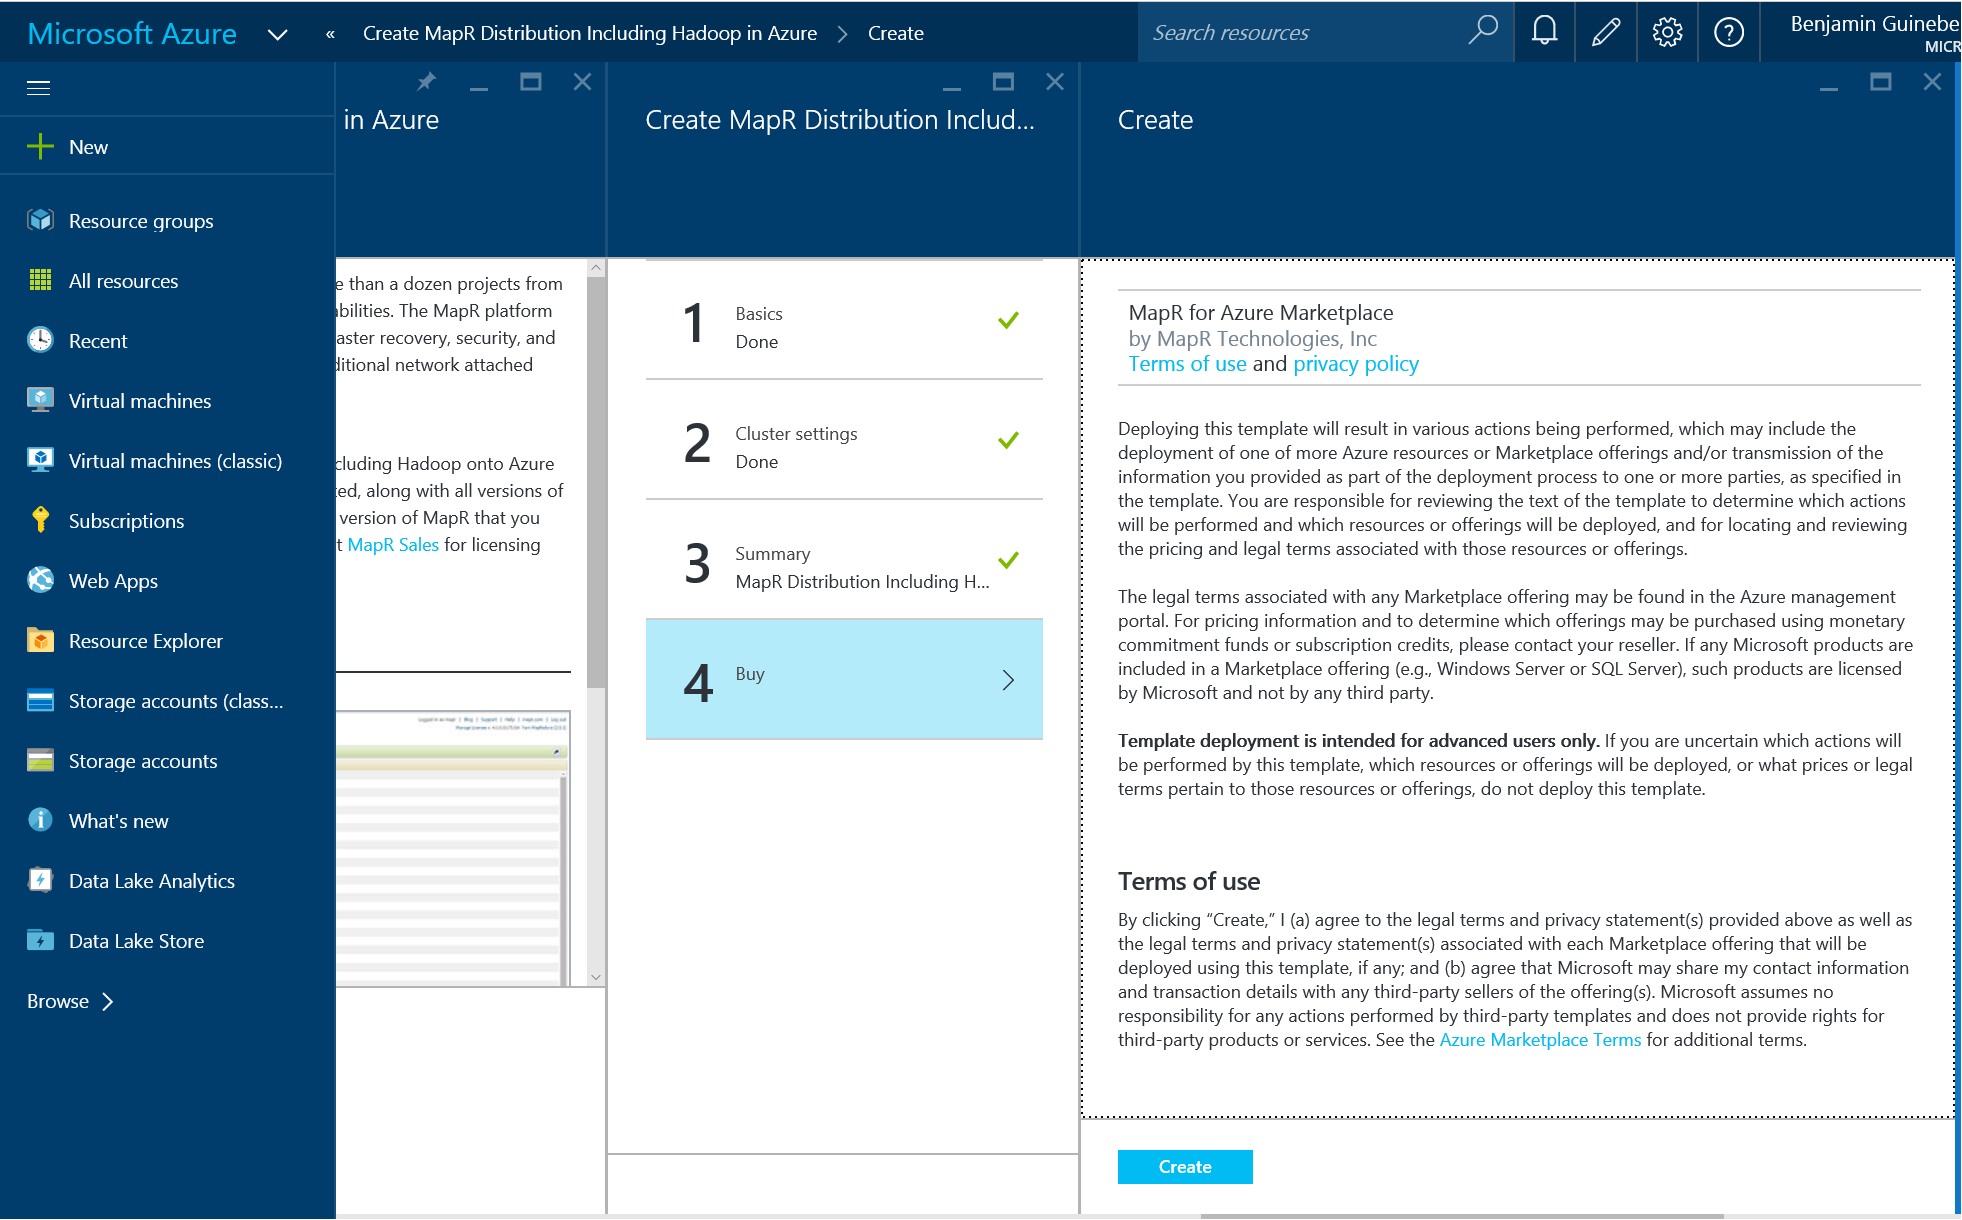
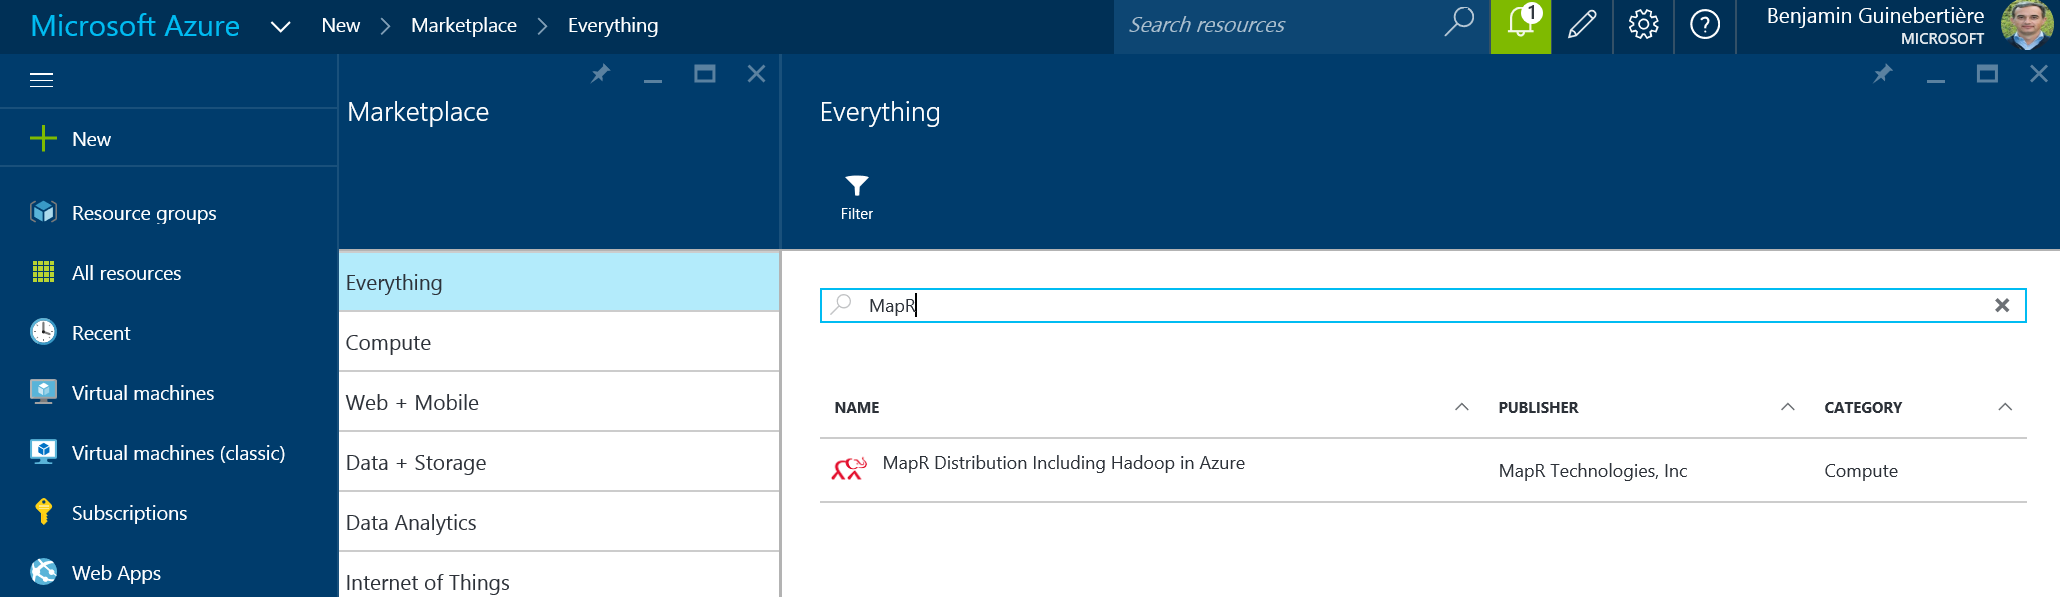
MapR is also available on the Azure marketplace:

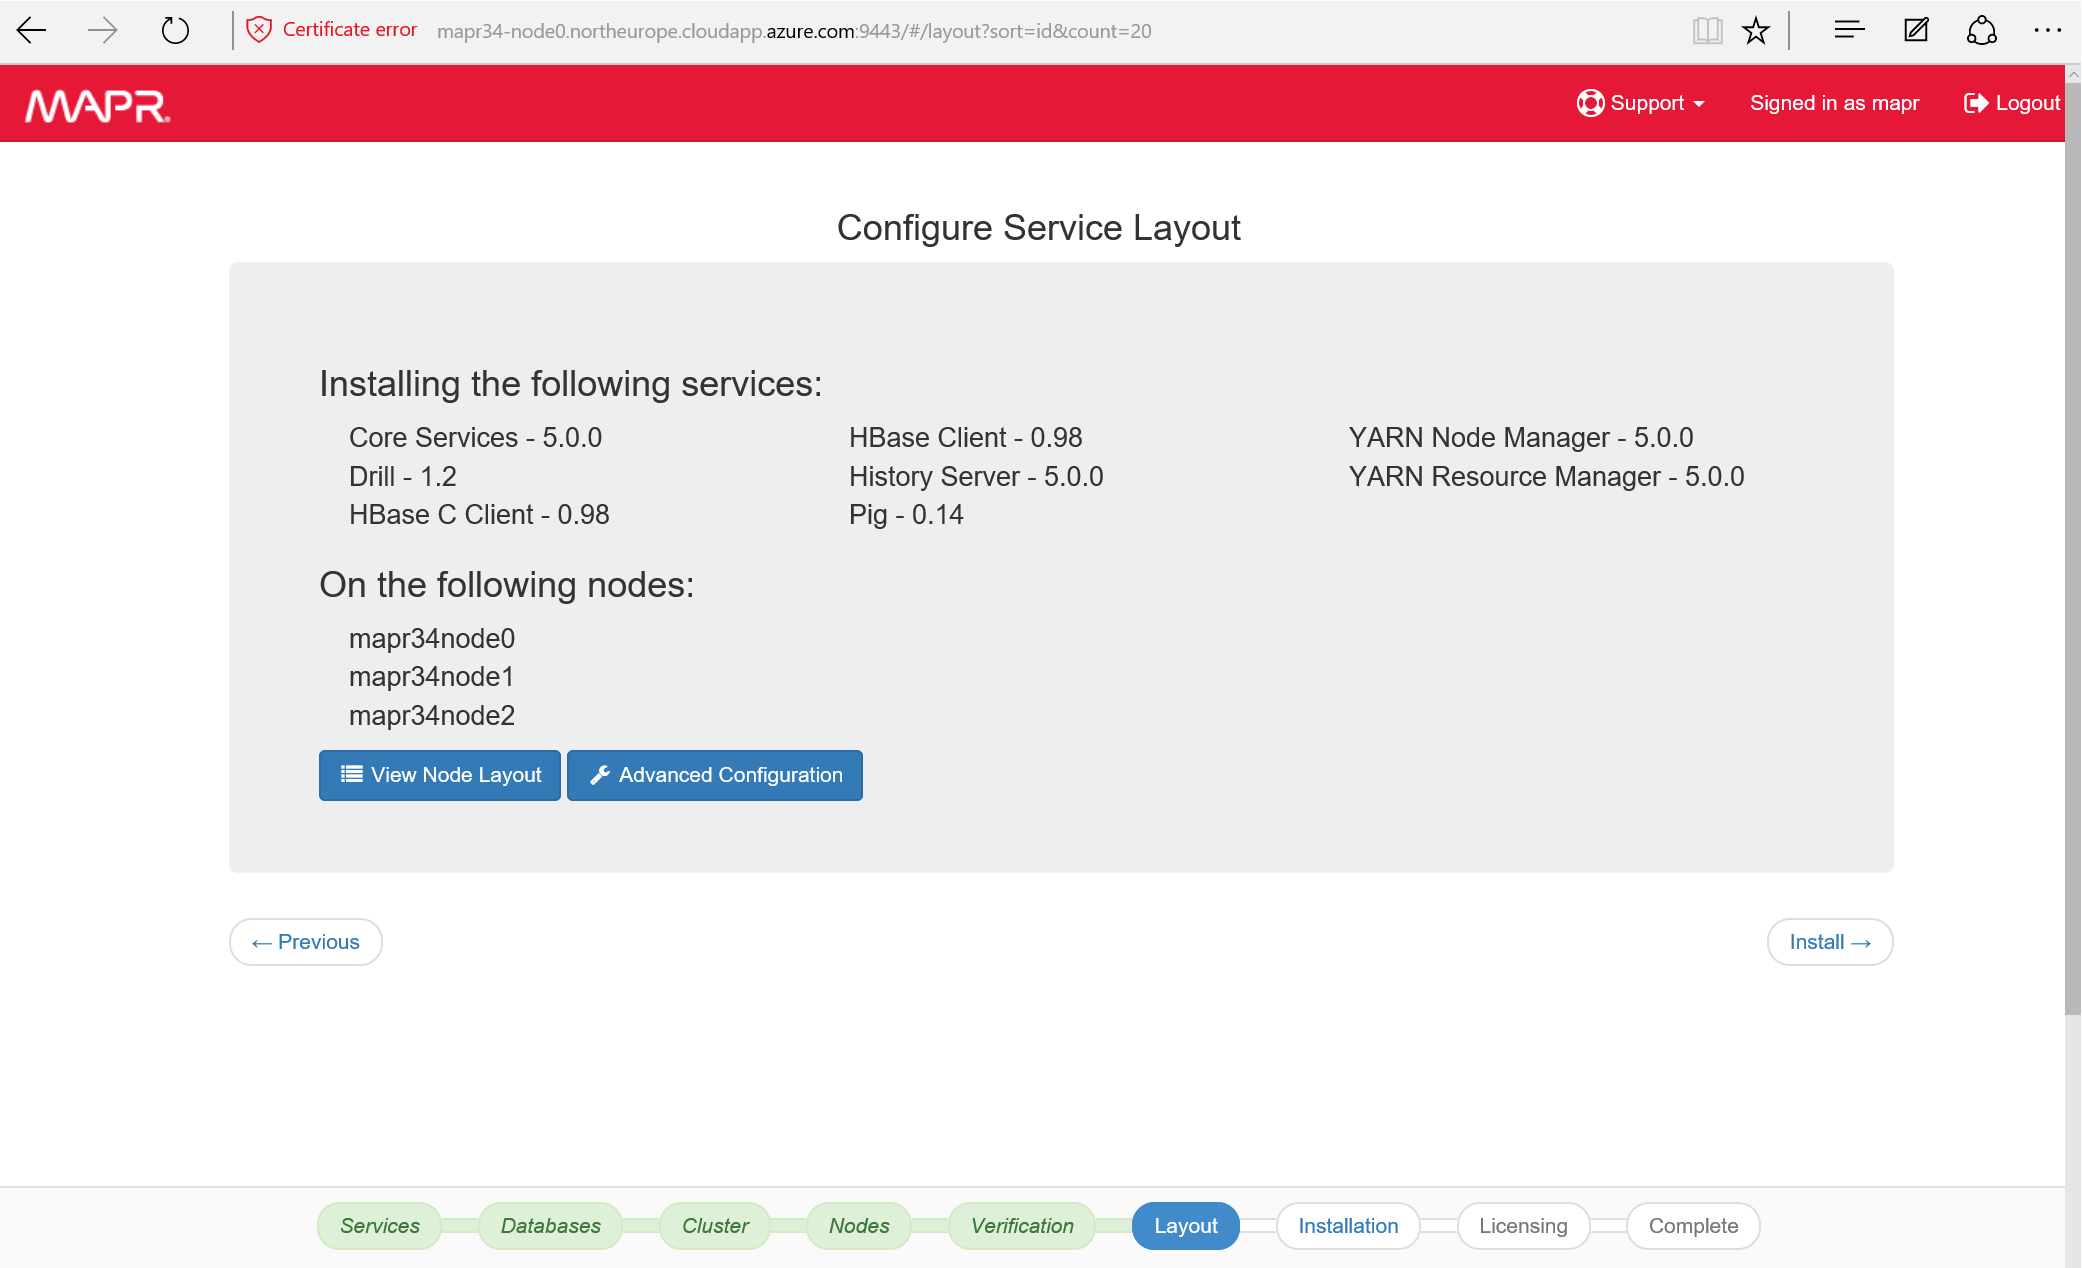
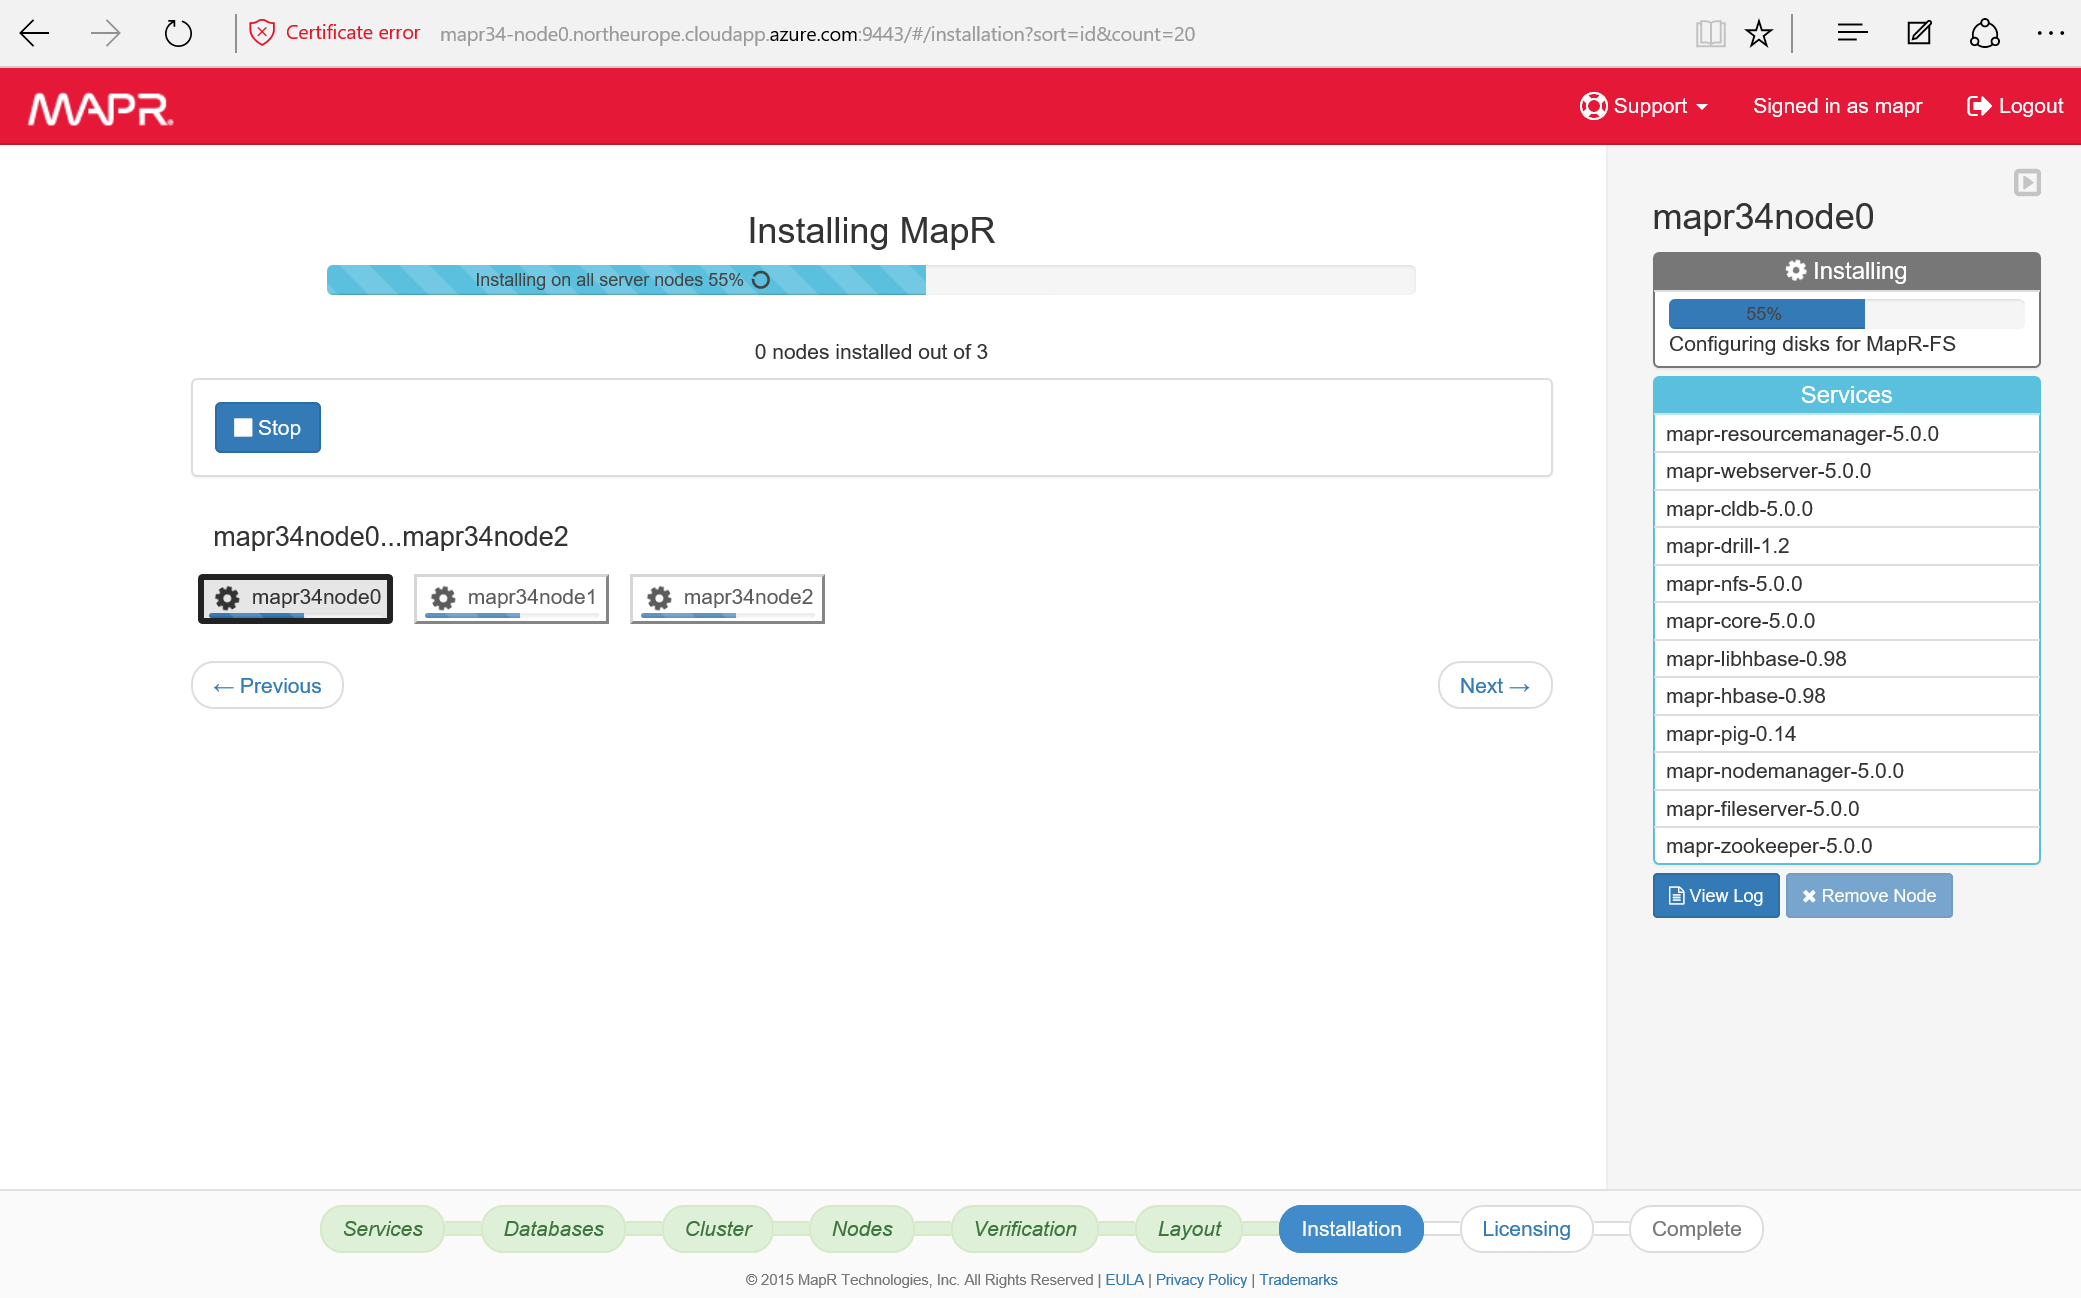
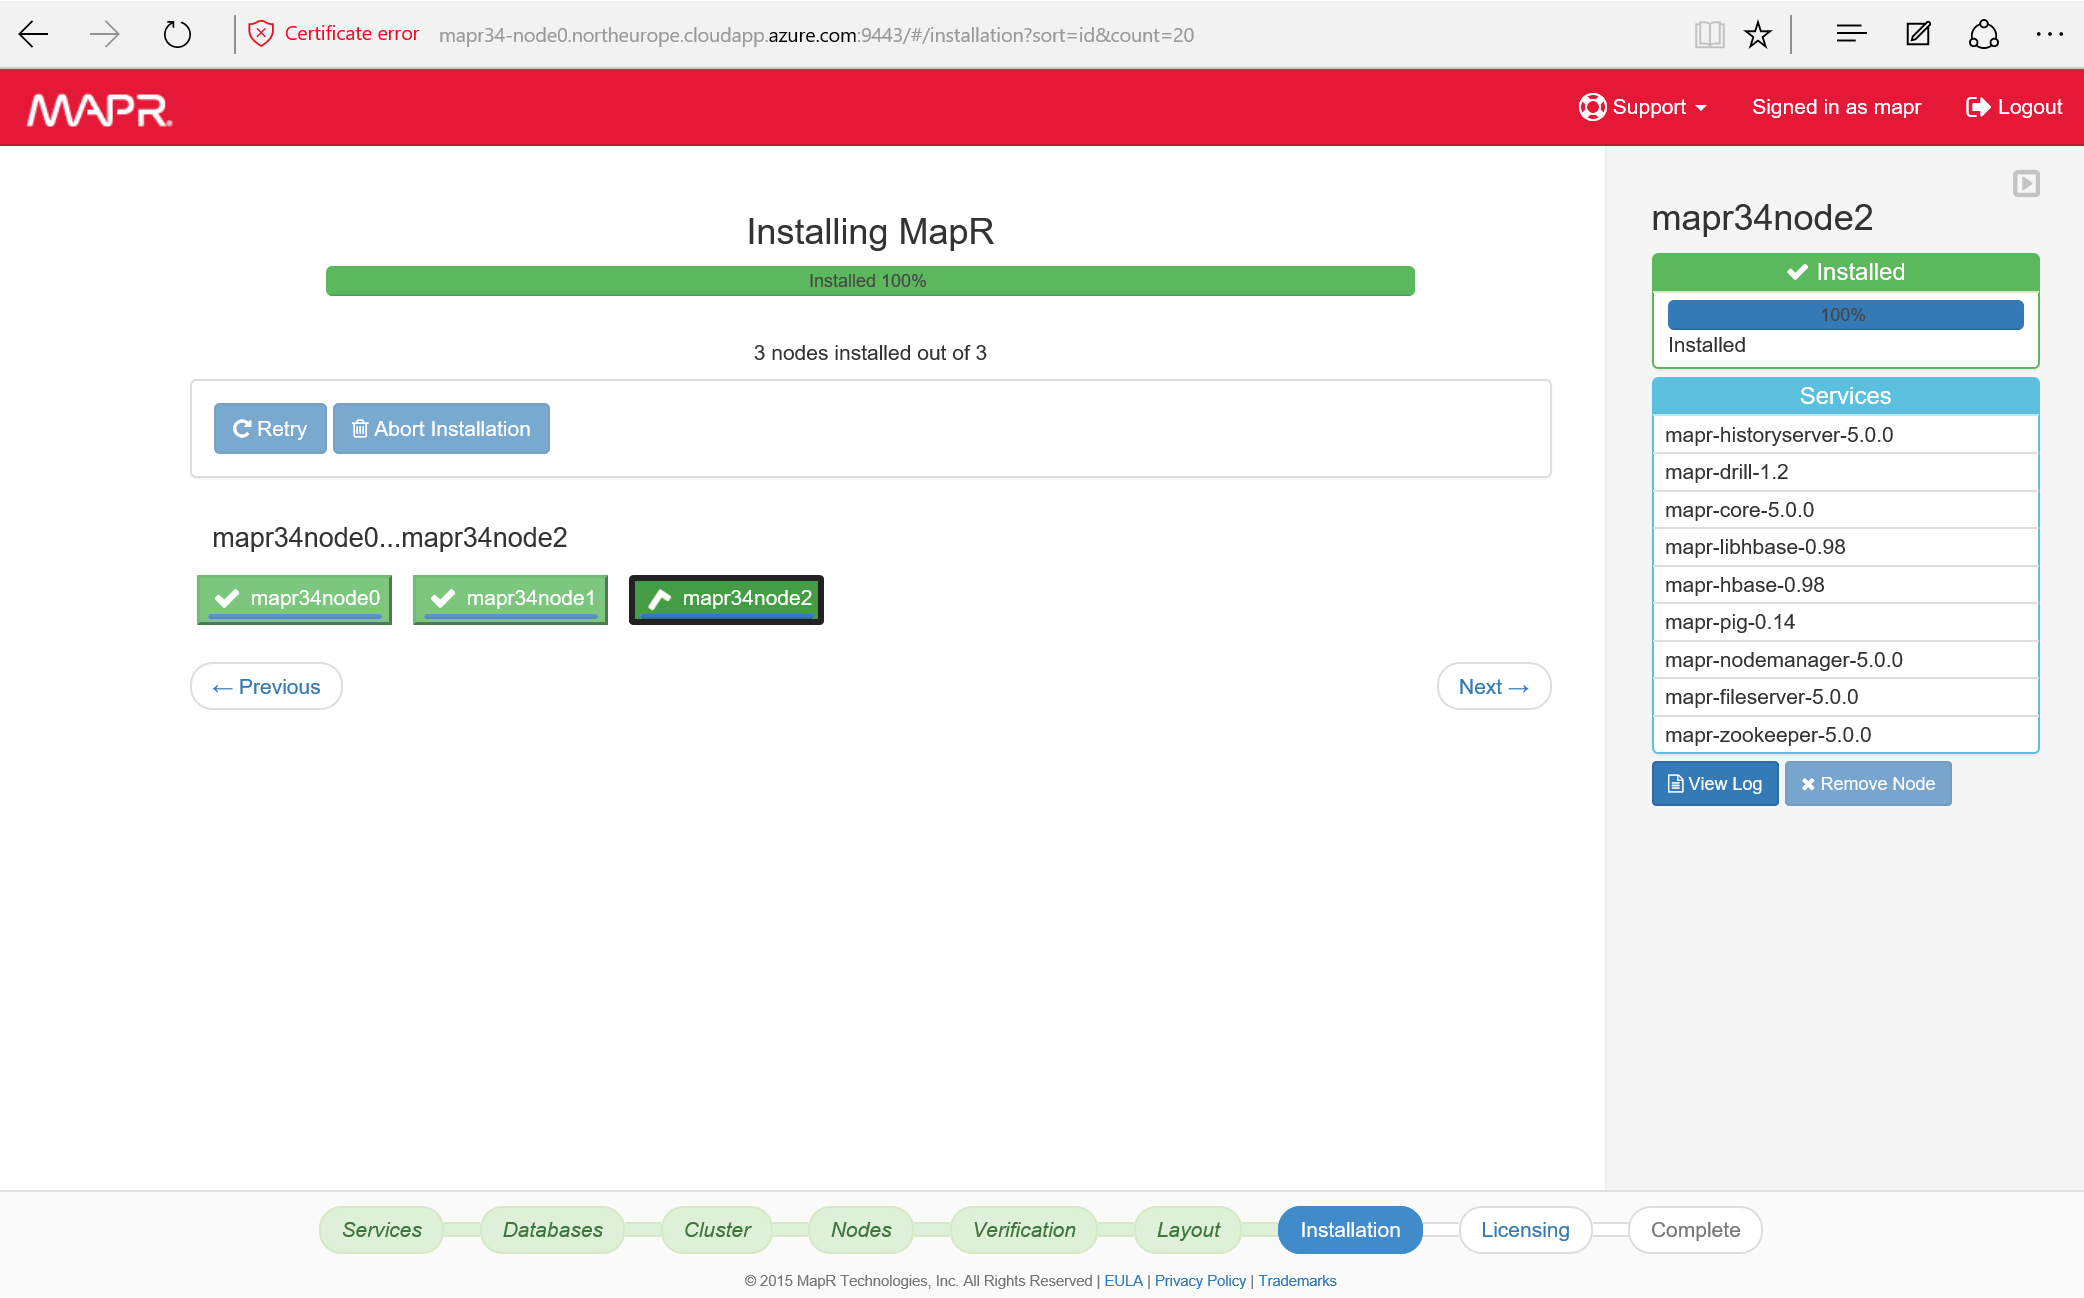
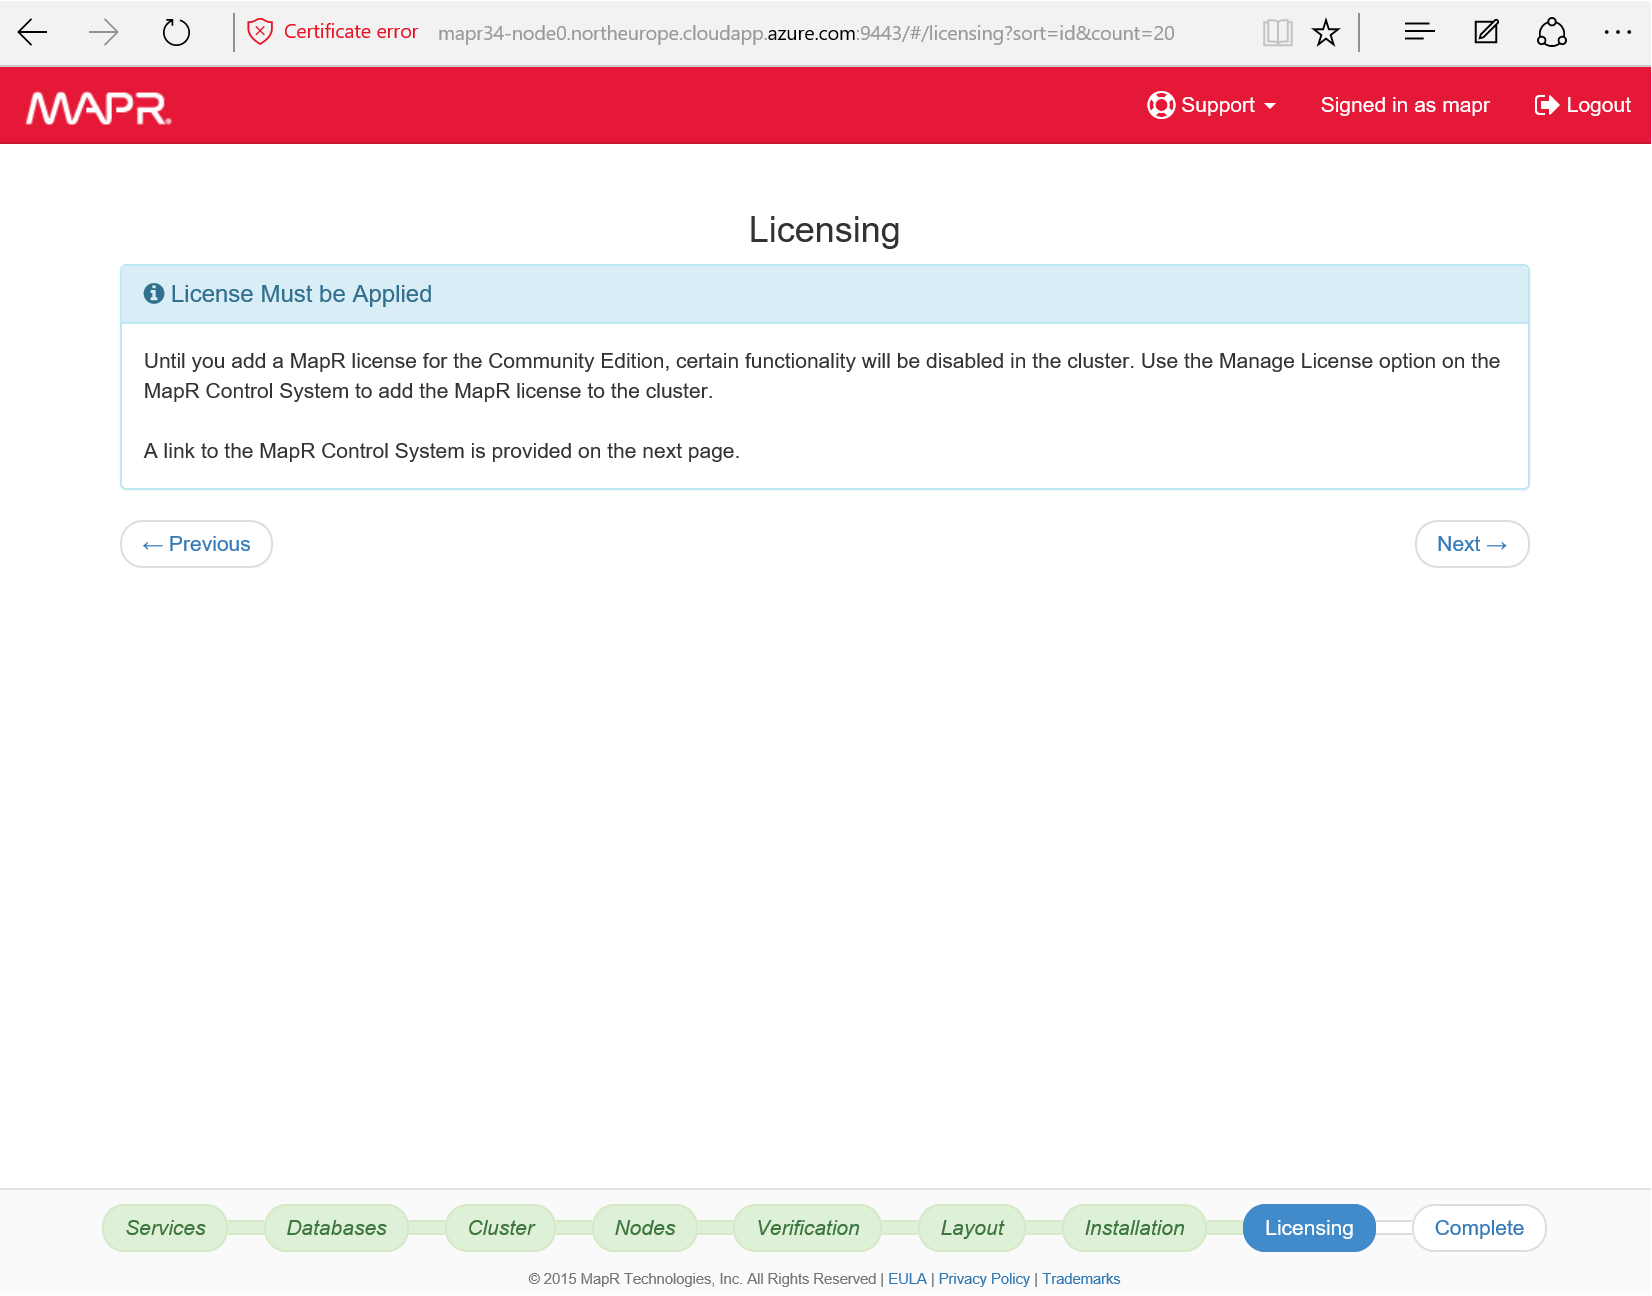
In order to install the cluster, please see this blog post

Conclusion

We saw that there are a number of options to install Hadoop on Azure.

Want to comment? I’m sorry, I didn’t leverage a tool like Disqus yet on this blog. Please feel free to e-mail me at my twitter alias at microsoft dot com and I’ll include your remarks in the body of this post.

:-)
Benjamin (@benjguin)

MapR on Azure

Introduction

There are different ways to install Hadoop on Azure. The blog post about the different flavors of Hadoop will provide more context.

This blog post shows the main steps to start with MapR on Azure.

How to

In order to install the cluster, follow the wizzard that you’ll find in Azure portal.

Here is a quick view of this wizzard:

Step 3 gives you a chance to download the generated Azure resource manager wizzard that you can modify and deploy as described in the following article: Deploy an application with Azure Resource Manager template.

Once you’ve created the cluster, go to https://{yourclustername}-node0.{install-location}.cloudapp.azure.com:9443 and connect.

In my case, I named the cluster mapr34 and installed it in North Europe region, so it is https://mapr34-node0.northeurope.cloudapp.azure.com:9443.

NB: this mapr34-node0.northeurope.cloudapp.azure.comhost name can be found in the portal when you browse the resource group where the cluster is. It’s attached to the public IP of the node.

Use mapr as the username and the password you provided in step 2 of the wizzard as the password.

Select each node and check the disks where you want to install the distributed file system.
/dev/sdb1 is the cache disk. The 1023 GB disks are VHDs.

Use the Next button to move on

Click Install -> to start the installation process.

After a number of minutes, the installation completes.

On the final step, you can find a link to a short name. Unless you’ve created an SSH tunnel to your cluster, you may need to use the long name instead. In this example where my cluster is called mapr34 and is installed in North Europe, the URL is https://mapr34node1:8443/. I replace it by https://mapr34-node1.northeurope.cloudapp.azure.com:8443.

NB: this mapr34-node1.northeurope.cloudapp.azure.comhost name can be found in the portal when you browse the resource group where the cluster is. It’s attached to the public IP of the node.

ypou connect with the same credentials as before: mapr/{the password you provided in step 2 of the creation wizzard}.

Now that the MapR file system is installed. Let’s see it as HDFS. Let’s also check if we can access Azure blob storage.

The wasb driver (wasb stands for Windows Azure Storage Blob) is not installed by default :-( .

If you go back to the installation page you’ll have the option to install additional services:

When you’re done, you can stop the services, before shutting down the Azure virtual machines. If there are many nodes, you may want to use Azure PowerShell module or Azure Command Line Interface (Azure CLI). You can find them in the resources section of azure.com.

You may also prefer to remove all the resources that consitute the cluster: VMs, storage, vNet and so on. Of course, all the data will be removed as well, so you are asked to type the resource group before deleting it.

Conclusion

We saw how to create a MapR cluster in Azure. You just have to enter a few parameters in friendly Web interfaces and wait for the cloud and MapR to create everything for you!

:-)
Benjamin (@benjguin)

SQL DataWarehouse, Azure Machine Learning, Jupyter, Power BI

This blog post shows how to load data from blob storage to the following (in order):

  • SQL Datawarehouse (SQL DW for short). SQL DW has the following advantages
    • It can scale up and down in a few seconds
    • You can load data easily from flat files in Azure Blob with Polybase
    • SQL is a well known language
    • You can do joins
    • You can query it from Azure ML
  • Azure Machine Learning
    • learn from the dataset
    • tune your model
    • evaluate scoring and how the model generalize
    • operationalize as a Web API
  • a Jupyter notebook
    • explore, plot, transform the dataset in Python
    • document in Markdown
  • Power BI
    • visualize your data
    • Share the dataviz with others

There is also a good article with demo videos in the following article: Using Azure Machine Learning with SQL Data Warehouse.

conventions

This is a sample.
By convention, all values ended by 34 should be replaced by your own values. For instance, the data storage account is mydata34. Yours should have a different name.

the sample dataset

The data is available as a number of flat delimited files in a blob storage container. In this example, there are 2 files. here are a few lines of data:

1
2
3
4
5
6
2012-01-13|02:00:00|W3SVC1273337584|RD00155D360C23|10.211.162.24|GET|/Modules/Orchard.Localization/Styles/orchard-localization-base.css|-|80|-|65.52.74.115|HTTP/1.1|Mozilla/4.0+(compatible;+MSIE+8.0;+Windows+NT+5.1)|__RequestVerificationToken_Lw__=JMngbma7rvbnvrzf3Xos7p8GDz3zu4oNwCqOMd0PpxotKkvlvfzHWsGfYm4BJL5CdOCvg7sdtSdOgRGqG9Uick5Jji4cruyaeOv4fYJeN0snqrkYNUI8M179jbaLw80XvLM2OKk8UjxRpKzwjMbBWt6CilU=|http://site.supersimple.fr/|site.supersimple.fr|304|0|0|209|554|15
2012-01-13|02:00:00|W3SVC1273337584|RD00155D360C23|10.211.162.24|GET|/|-|80|-|65.52.74.115|HTTP/1.1|Mozilla/4.0+(compatible;+MSIE+8.0;+Windows+NT+5.1)|__RequestVerificationToken_Lw__=JMngbma7rvbnvrzf3Xos7p8GDz3zu4oNwCqOMd0PpxotKkvlvfzHWsGfYm4BJL5CdOCvg7sdtSdOgRGqG9Uick5Jji4cruyaeOv4fYJeN0snqrkYNUI8M179jbaLw80XvLM2OKk8UjxRpKzwjMbBWt6CilU=|-|site.supersimple.fr|200|0|0|1917|367|203
2012-01-13|02:00:00|W3SVC1273337584|RD00155D360C23|10.211.162.24|GET|/Themes/Classic/Styles/Site.css|-|80|-|65.52.74.115|HTTP/1.1|Mozilla/4.0+(compatible;+MSIE+8.0;+Windows+NT+5.1)|__RequestVerificationToken_Lw__=JMngbma7rvbnvrzf3Xos7p8GDz3zu4oNwCqOMd0PpxotKkvlvfzHWsGfYm4BJL5CdOCvg7sdtSdOgRGqG9Uick5Jji4cruyaeOv4fYJeN0snqrkYNUI8M179jbaLw80XvLM2OKk8UjxRpKzwjMbBWt6CilU=|http://site.supersimple.fr/|site.supersimple.fr|304|0|0|92|520|218
2012-01-13|02:00:00|W3SVC1273337584|RD00155D360C23|10.211.162.24|GET|/Core/Shapes/scripts/html5.js|-|80|-|65.52.74.115|HTTP/1.1|Mozilla/4.0+(compatible;+MSIE+8.0;+Windows+NT+5.1)|__RequestVerificationToken_Lw__=JMngbma7rvbnvrzf3Xos7p8GDz3zu4oNwCqOMd0PpxotKkvlvfzHWsGfYm4BJL5CdOCvg7sdtSdOgRGqG9Uick5Jji4cruyaeOv4fYJeN0snqrkYNUI8M179jbaLw80XvLM2OKk8UjxRpKzwjMbBWt6CilU=|http://site.supersimple.fr/|site.supersimple.fr|304|0|0|209|517|218
2012-01-13|02:00:00|W3SVC1273337584|RD00155D360C23|10.211.162.24|GET|/Core/Shapes/scripts/html5.js|-|80|-|65.52.74.115|HTTP/1.1|Mozilla/4.0+(compatible;+MSIE+8.0;+Windows+NT+5.1)|__RequestVerificationToken_Lw__=2aNXfgccF5TrHacVp9ReeLniHeKovLv/1lYP13EyQ4pYy21MvX4WFH+1Kg9/R+02r4vhkZo0wvOLXZ233O0Sn2QC+n+7EobKV6+7J0lqG0F1g/oc/RCSO3NhrWAoFNzqIEUm0AgJkY0MIhA5XPTX0s0jFLw=|http://site.supersimple.fr/|site.supersimple.fr|304|0|0|209|517|265
2012-01-13|02:00:00|W3SVC1273337584|RD00155D360C23|10.211.162.24|GET|/Core/Shapes/scripts/html5.js|-|80|-|65.52.74.115|HTTP/1.1|Mozilla/4.0+(compatible;+MSIE+8.0;+Windows+NT+5.1)|__RequestVerificationToken_Lw__=JMngbma7rvbnvrzf3Xos7p8GDz3zu4oNwCqOMd0PpxotKkvlvfzHWsGfYm4BJL5CdOCvg7sdtSdOgRGqG9Uick5Jji4cruyaeOv4fYJeN0snqrkYNUI8M179jbaLw80XvLM2OKk8UjxRpKzwjMbBWt6CilU=|http://site.supersimple.fr/|site.supersimple.fr|304|0|0|209|517|218

Fields are separated by the pipe character (‘|’). The name of the fields are:

1
date|time|s-sitename|s-computername|s-ip|cs-method|cs-uri-stem|cs-uri-query|s-port|cs-username|c-ip|cs-version|cs(User-Agent)|cs(Cookie)|cs(Referer)|cs-host|sc-status|sc-substatus|sc-win32-status|sc-bytes|cs-bytes|time-taken

The data is available in a storage account.

In this example, the storage account name is mydata34 and its key is k2JOuW/nru2nW0y3Icpm9yNTYCrUuNSFm9RDyMuBvIKuYqhtPHAK8MW4bVQfWssXp184pGhlKraaOc7sZTDijQ==.

The key can be found in the portal, for example:

NB: by the time your read this page, the key may have change. I share the key so that you can find it in code where it is necessary.

SQL Datawarehouse (SQL DW)

Let’s create a SQL DW.

choose SQL Data Warehouse and click Create.

Here is the data you can enter:

  • mysqldw34
  • 200 DWU
  • Create a new Server
    • mysqldbsrv34
    • admin34
    • DDtgjiuz96____
    • West Europe

Once the SQL DW has been created, we must connect to it. One of the tools you can use is Visual Studio; you can download Visual Studio community edition from visualstudio.com. Please refer to Connect to SQL Data Warehouse with Visual Studio for details.

You must allow your own IP address to access the SQL DB server:

Let’s load the data.
Here is the code that you can paste in Visual Studio and execute:

1
2
3
4
5
6
7
8
9
10
11
12
13
14
15
16
17
18
19
20
21
22
23
24
25
26
27
28
29
30
31
32
33
34
35
36
37
38
39
40
41
42
43
44
45
46
47
48
49
50
51
52
53
54
55
56
57
58
59
60
61
62
63
64
65
66
67
68
69
70
71
--also refer to https://azure.microsoft.com/en-us/documentation/articles/sql-data-warehouse-load-with-polybase/


-- Create a master key
CREATE MASTER KEY;

CREATE DATABASE SCOPED CREDENTIAL mydata_secret
WITH IDENTITY = 'dummy',
Secret = 'k2JOuW/nru2nW0y3Icpm9yNTYCrUuNSFm9RDyMuBvIKuYqhtPHAK8MW4bVQfWssXp184pGhlKraaOc7sZTDijQ==';

SELECT * FROM sys.database_credentials;

CREATE EXTERNAL DATA SOURCE mydata_datasource WITH
(
TYPE=Hadoop,
LOCATION='wasbs://container1@mydata34.blob.core.windows.net',
CREDENTIAL=mydata_secret
);

CREATE EXTERNAL FILE FORMAT PIPE_fileformat WITH (
FORMAT_TYPE = DELIMITEDTEXT,
FORMAT_OPTIONS (
FIELD_TERMINATOR='|')
);

drop external table mydata_externaltable;
create external table mydata_externaltable
(
[date] varchar(255),
[time] varchar(255),
[s-sitename] varchar(255),
[s-computername] varchar(255),
[s-ip] varchar(255),
[cs-method] varchar(255),
[cs-uri-stem] varchar(255),
[cs-uri-query] varchar(4000),
[s-port] varchar(255),
[cs-username] varchar(255),
[c-ip] varchar(255),
[cs-version] varchar(255),
[cs(User-Agent)] varchar(255),
[cs(Cookie)] varchar(4000),
[cs(Referer)] varchar(255),
[cs-host] varchar(255),
[sc-status] varchar(255),
[sc-substatus] varchar(255),
[sc-win32-status] varchar(255),
[sc-bytes] varchar(255),
[cs-bytes] varchar(255),
[time-taken] varchar(255)
)
WITH (
LOCATION='/flat_files',
DATA_SOURCE = mydata_datasource,
FILE_FORMAT = PIPE_fileformat,
REJECT_TYPE = percentage,
REJECT_VALUE = 90,
REJECT_SAMPLE_VALUE = 200
);


-- create table as select: https://azure.microsoft.com/en-us/documentation/articles/sql-data-warehouse-develop-ctas/
CREATE TABLE [dbo].[mydata]
WITH
(
DISTRIBUTION = ROUND_ROBIN,
CLUSTERED COLUMNSTORE INDEX
)
AS
SELECT * FROM mydata_externaltable;

the result of the last statement is

1
2
3
4
5
6
7
8
9
10

(44819 row(s) affected)

Query completed. Rows were rejected while reading from external source(s).
4 rows rejected from external table [mydata_externaltable] in plan step 5 of query execution:
Location: '/flat_files/weblogs1.txt' Column ordinal: 6, Expected data type: VARCHAR(255) collate SQL_Latin1_General_CP1_CI_AS, Offending value: #Software:|Microsoft|Internet|Information|Services|7.5 (Tokenization failed), Error: Not enough columns in this line.
Location: '/flat_files/weblogs1.txt' Column ordinal: 2, Expected data type: VARCHAR(255) collate SQL_Latin1_General_CP1_CI_AS, Offending value: #Version:|1.0 (Tokenization failed), Error: Not enough columns in this line.
Location: '/flat_files/weblogs1.txt' Column ordinal: 3, Expected data type: VARCHAR(255) collate SQL_Latin1_General_CP1_CI_AS, Offending value: #Date:|2012-01-13|01:59:59 (Tokenization failed), Error: Not enough columns in this line.
Location: '/flat_files/weblogs1.txt' Column ordinal: 21, Expected data type: VARCHAR(255) collate SQL_Latin1_General_CP1_CI_AS, Offending value: |time-taken (Tokenization failed), Error: Too many columns in the line.

each file has ~22000 lines so the total numlber of lines seems good.

The rejected lines are some headers that are inside regular rows:

We can now query the data:

Azure Machine Learning

Let’s now get a subset of the data in Azure Machine Learning.
For example, the query we need is

1
select top 1500 * from mydata WHERE [sc-status]='200' ORDER BY date, time asc

Let’s assume you have an Azure Machine learning available. You’ve created a new experiment from the Studio at studio.azureml.net.

Then add a reader

In the properties, choose and fill:

  • Azure SQL Database
  • mysqldbsrv34.database.windows.net
  • mysqldw34
  • admin34
  • DDtgjiuz96____
  • select top 1500 * from mydata WHERE [sc-status]=’200’ ORDER BY date, time asc

click Run at the bottom of the page, then you can visualize the dataset

Jupyter

You may also want to use the dataset in a Jupyter notebook.
For that, you just have to convert the dataset to CSV and then generate the code to access the dataset from Azure Machine Learning.

Drag & drop the Convert to CSV shape, connect it to the reader. Then you can generate the Python code to access that dataset or directly ask for a new notebook that will have access to the dataset:

PowerBI

You may also want to see your dataset

For that, you can go to your Power BI environment at app.powerbi.com, choose Get Data, Databases & More and choose Azure SQL Data Warehouse.

  • mysqldbsrv34.database.windows.net
  • mysqldw34
  • Next
  • admin34
  • DDtgjiuz96____

from there, you have the dataset available, and can visualize it:

Conclusion

We saw how to load flat files in a SQL DW, then in Azure Machine Learning and Jupyter, as well as Power BI.

:-) benjguin

Une Machine Virtuelle Dans Azure Avec Des Outils De Data Science

Une machine virtuelle dans Azure avec des outils de data science

Microsoft a mis à disposition récemment un modèle de machine virtuelle avec un ensemble d’outils utiles en data science. On peut créer cette machine virtuelle depuis la marketplace Azure. Il existe d’autres VM sur le même thème, comme vous pouvez le voir en allant à https://azure.microsoft.com/en-us/marketplace/?term=data+science:

Penchons-nous plus spécifiquement sur la machine virtuelle “Standard Data Science VM” de Microsoft. Elle comprend les outils suivants:
Revolution R Open, une distribution Anaconda Python incluant Jupyter notebook server, Visual Studio Community Edition, Power BI Desktop, SQL Server Express edition et le SDK Azure.

Pour créer votre propre VM à partir de ce modèle, voici comment procéder.

Depuis la page de présentation de la VM, il vous suffit de cliquer sur le bouton “Create Virtual Machine>”, ce qui vous amène dans la page de création dans le portail.

NB: Depuis le portail, on peut aussi chercher cette VM:

On arrive donc sur cette page de description qui permet de créer la machine virtuelle:

Vous remplissez ensuite les différentes rubriques.

Voici quelques éléments notables:

  • Basics
    • Vous ne pouvez mettre qu’un mot de passe, pas de clef SSH, car la VM est sous Windows et que Windows ne supporte pas encore SSH.
    • Location: Si vous travaillez depuis la France, je vous recommande North Europe ou West Europe.
  • Size
    • Quelques tailles recommandées sont proposées. Regardez aussi “View All” pour voir s’il n’y a pas des rapports qualité/prix qui vous intéressent plus.
  • Settings:
    • Storage account. Pour les utilisateurs habituels d’Azure, si vous avez déjà des comptes de stockage, seuls ceux qui apparaissent dans la rubrique “storage account” peuvent être utilisés ici. Ceux dans la rubrique “storage accounts (classic)” ne sont pas utilisables pour héberger le disque VHD de cette VM que vous créez en mode “Resource Manager”. Voir par exemple cette session pour plus de détails.
    • vous pouvez garder les options par défaut des autres rubriques de cette section

Quand la machine virtuelle a été créée, vous pouvez vous y connecter en cliquant sur le lien suivant dans le portail:

Cela télécharge un fichier .rdp (rdp=remote desktop protocol) que vous pouvez ouvrir ou conserver pour les prochaines connexions.

Vous pouvez ignorer ce genre de warning

et cliquer sur Connect.

Vous vous connectez avec le compte et le mot de passe que vous avez définis lors de la création de la machine virtuelle.