Introduction
There are different ways to install Hadoop on Azure. The blog post about the different flavors of Hadoop will provide more context.
This blog post shows the main steps to start with MapR on Azure.
How to
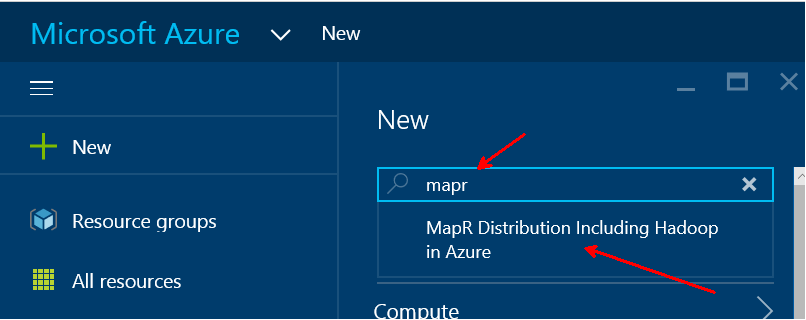
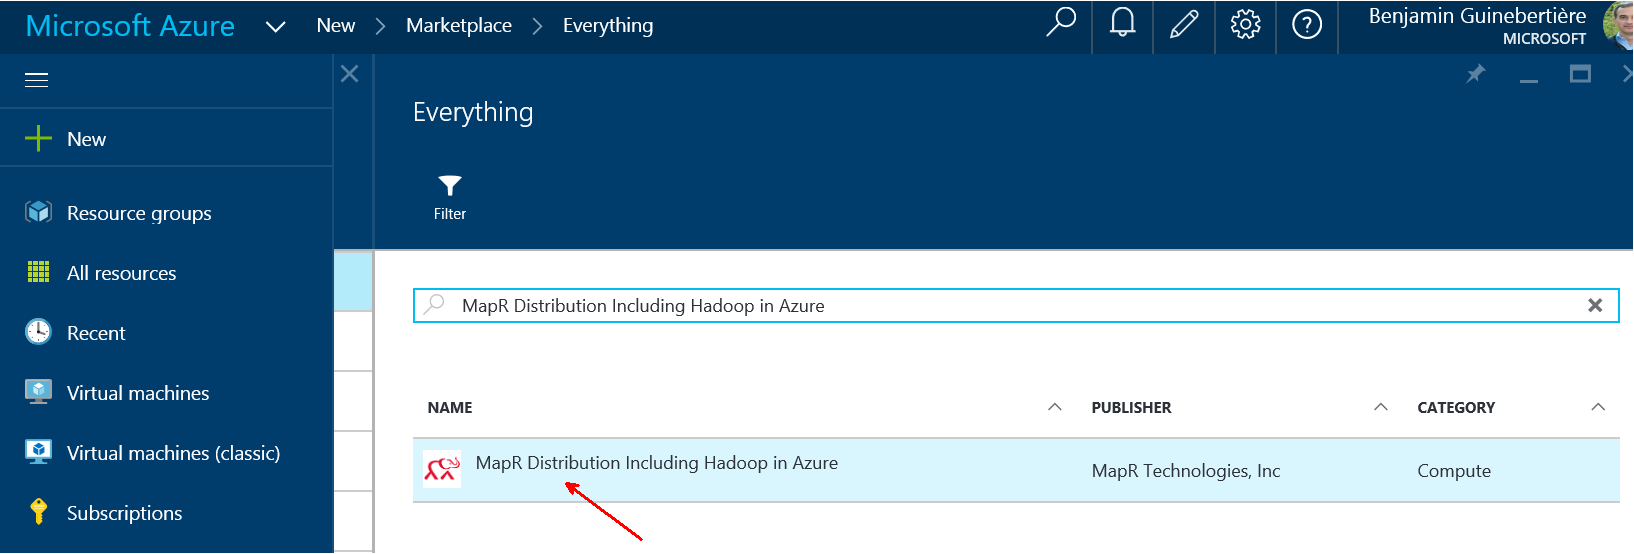
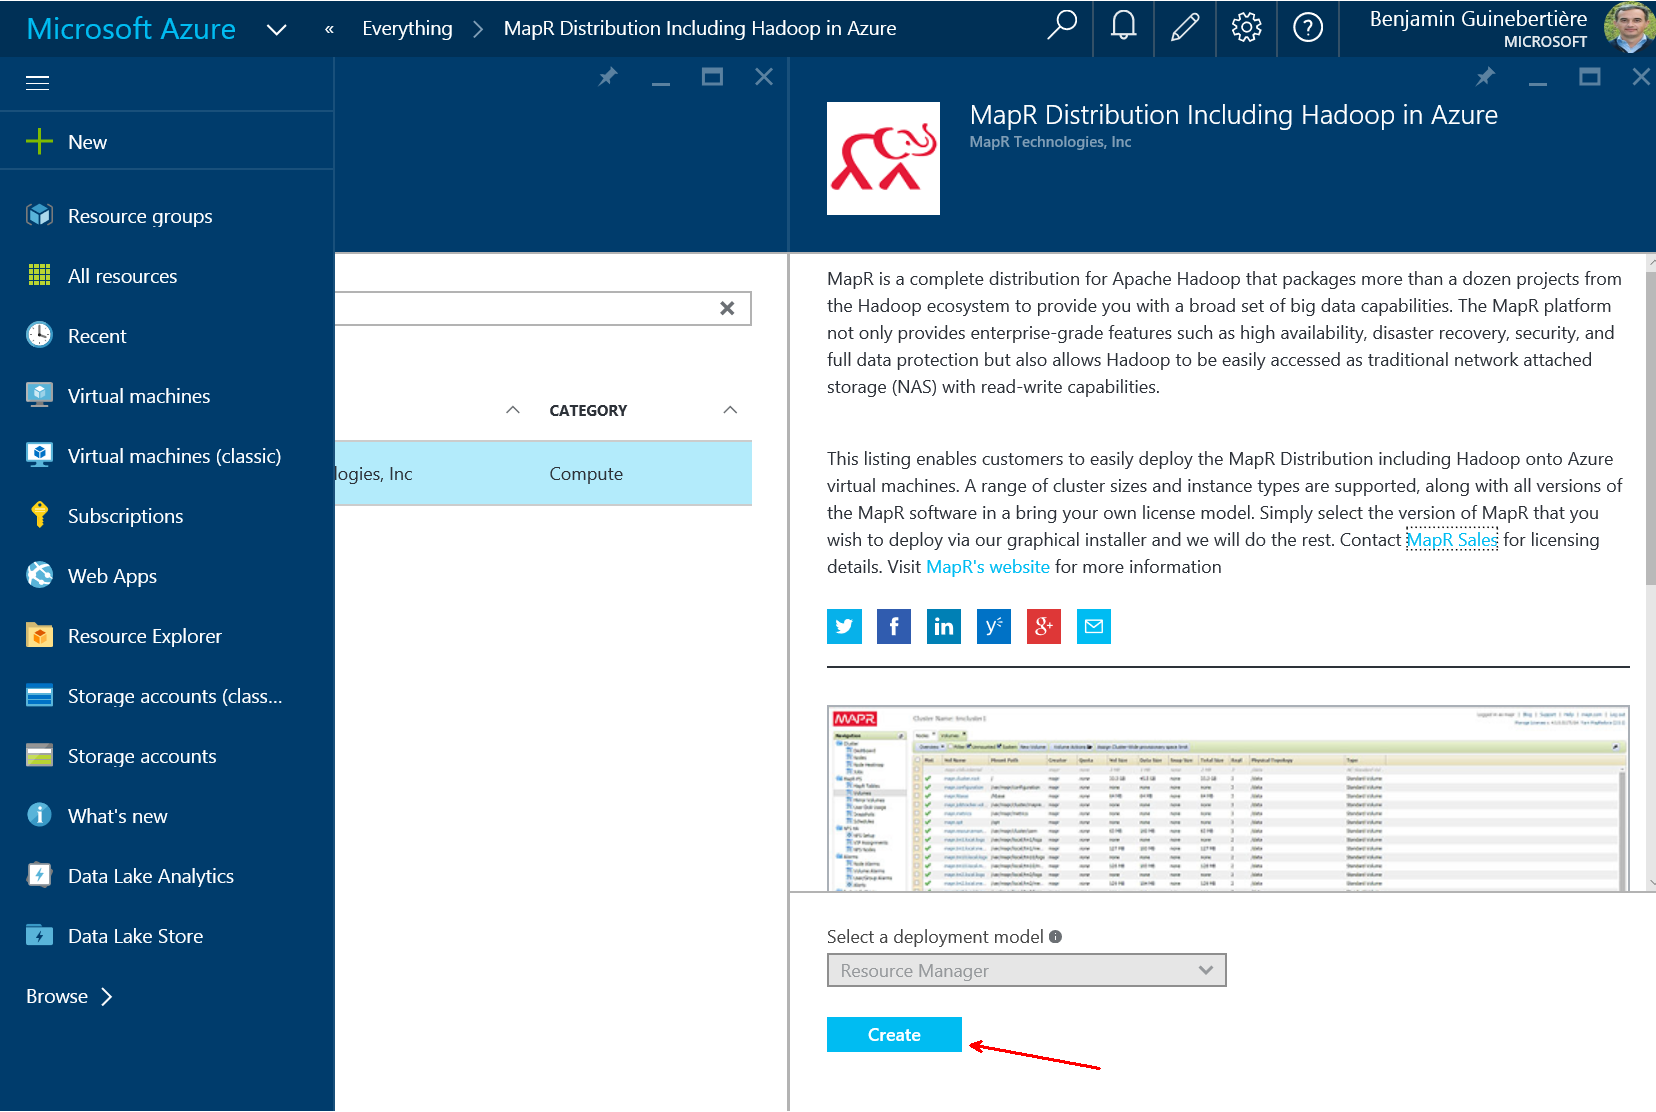
In order to install the cluster, follow the wizzard that you’ll find in Azure portal.
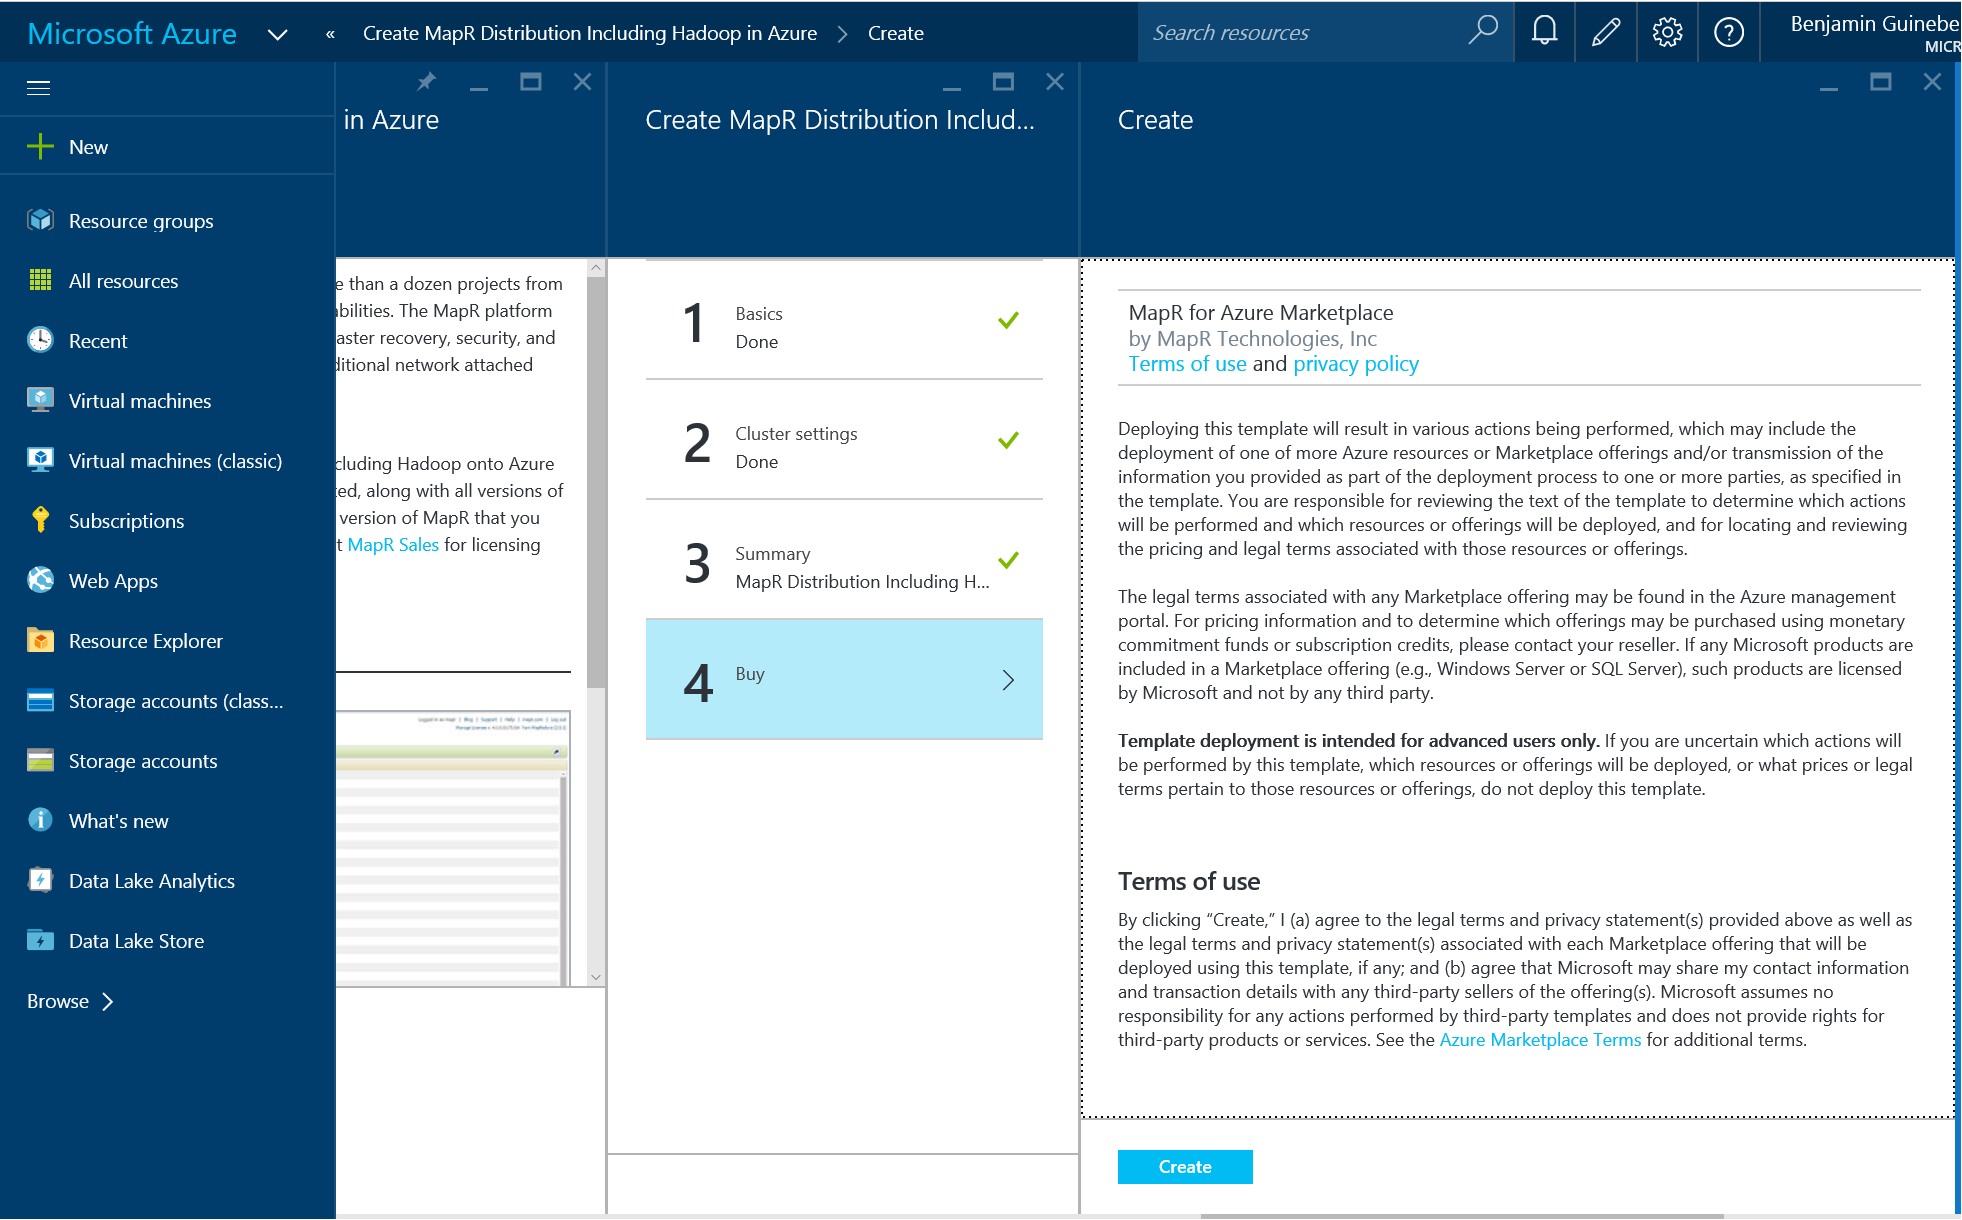
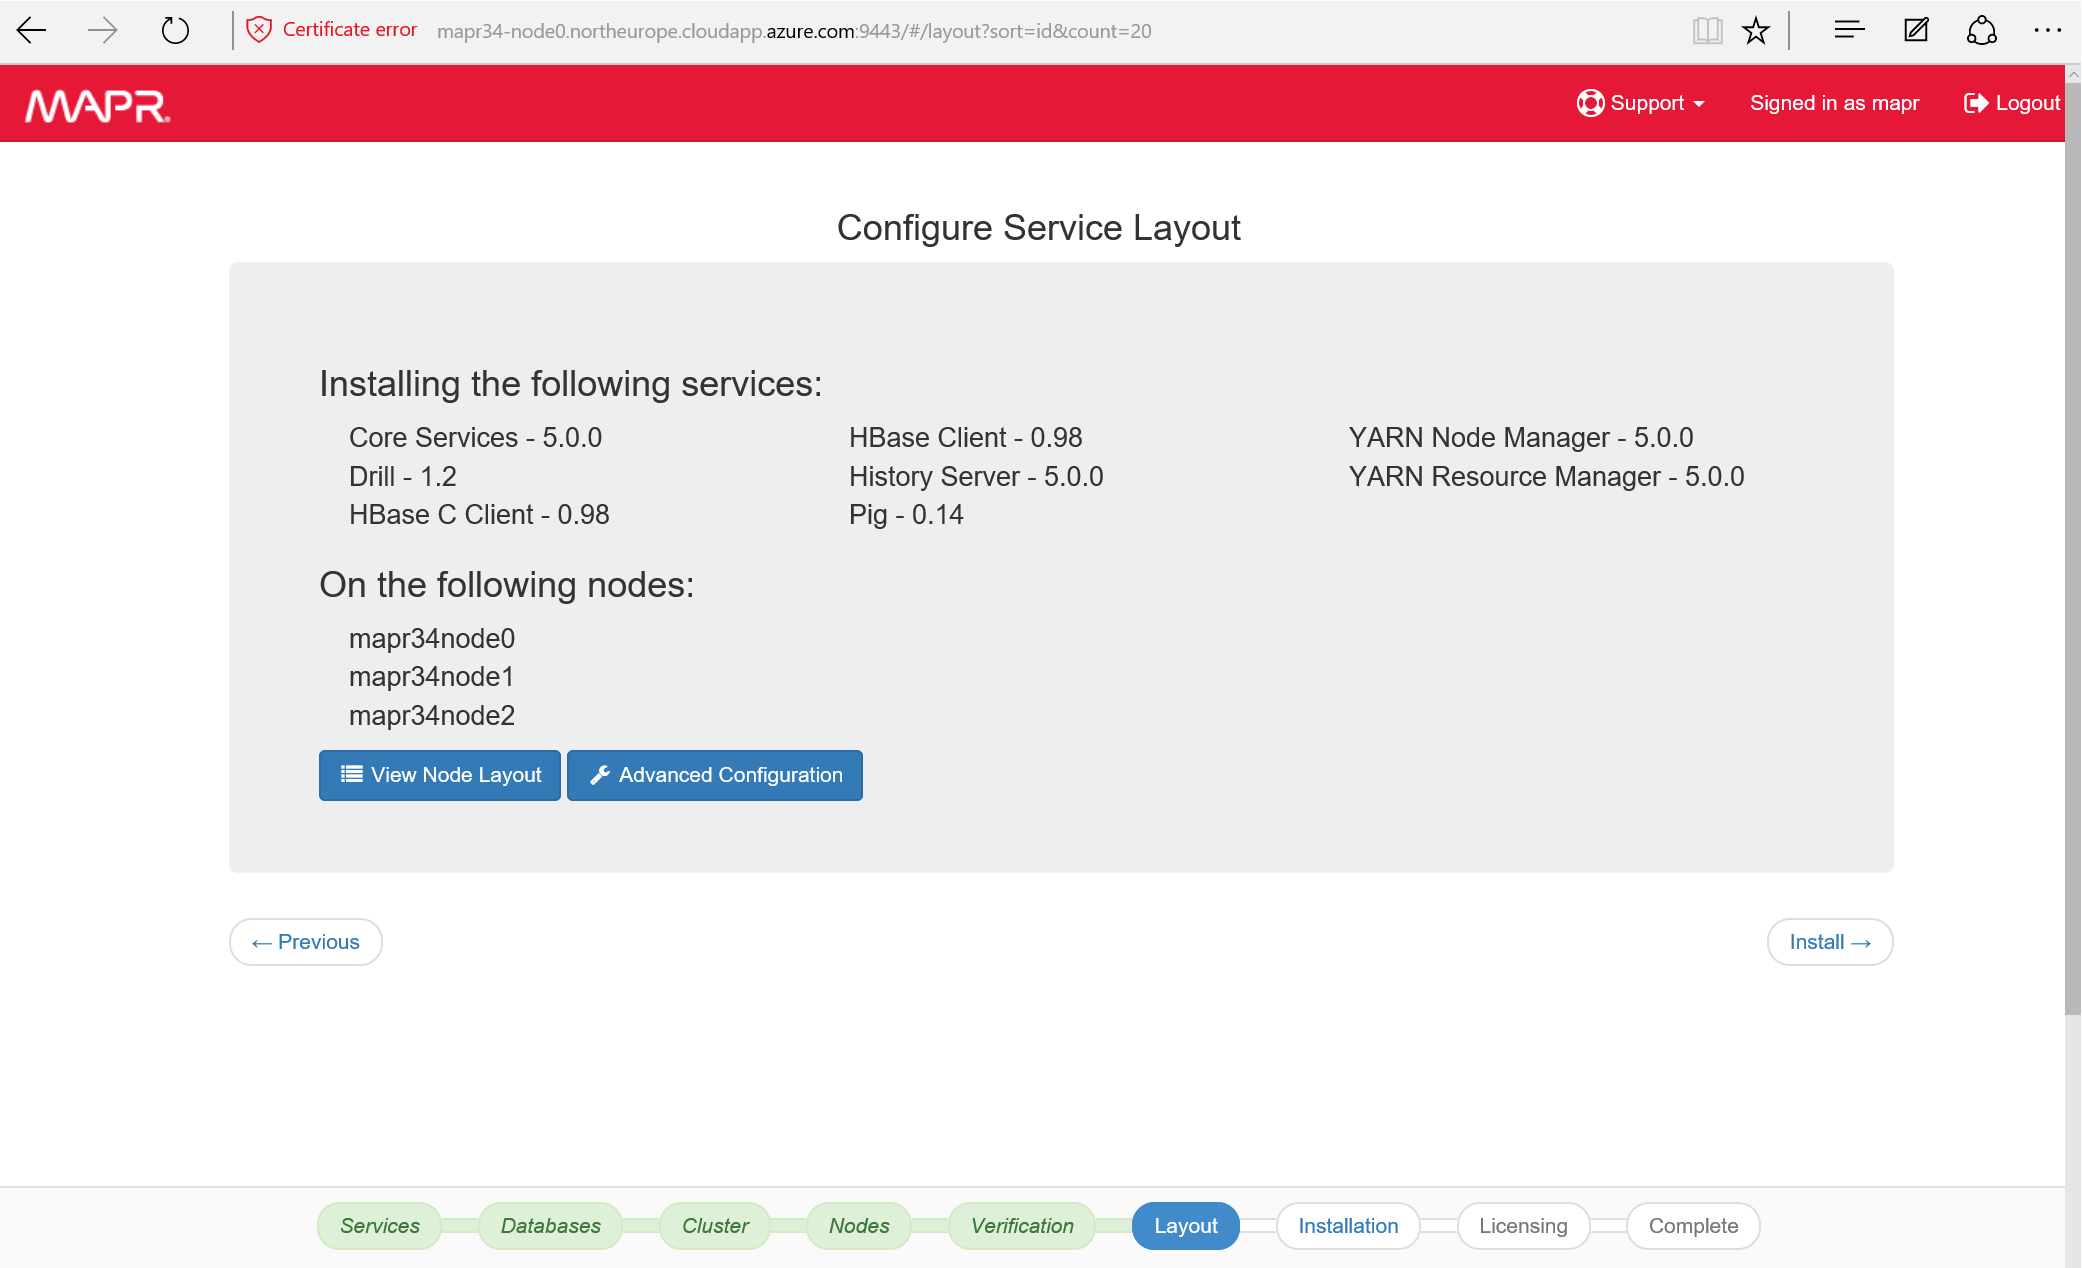
Here is a quick view of this wizzard:
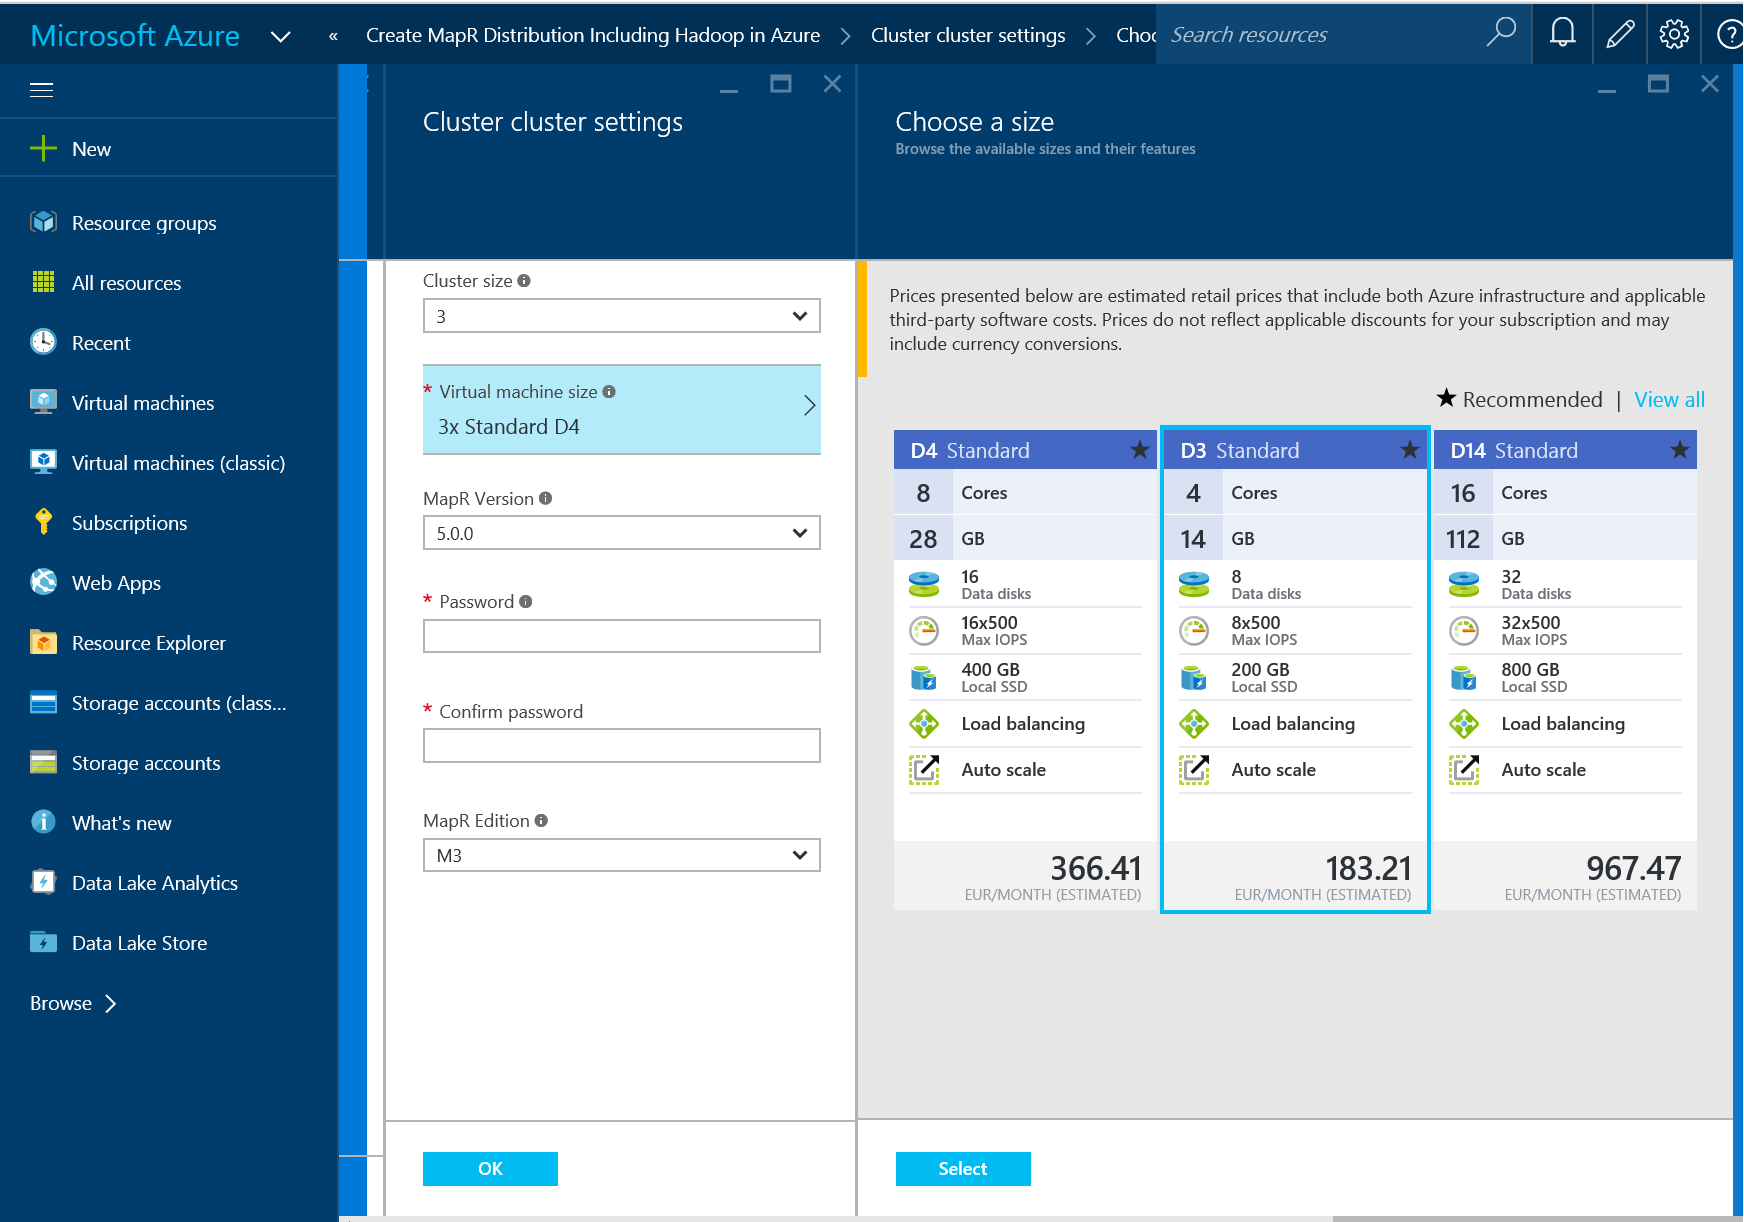
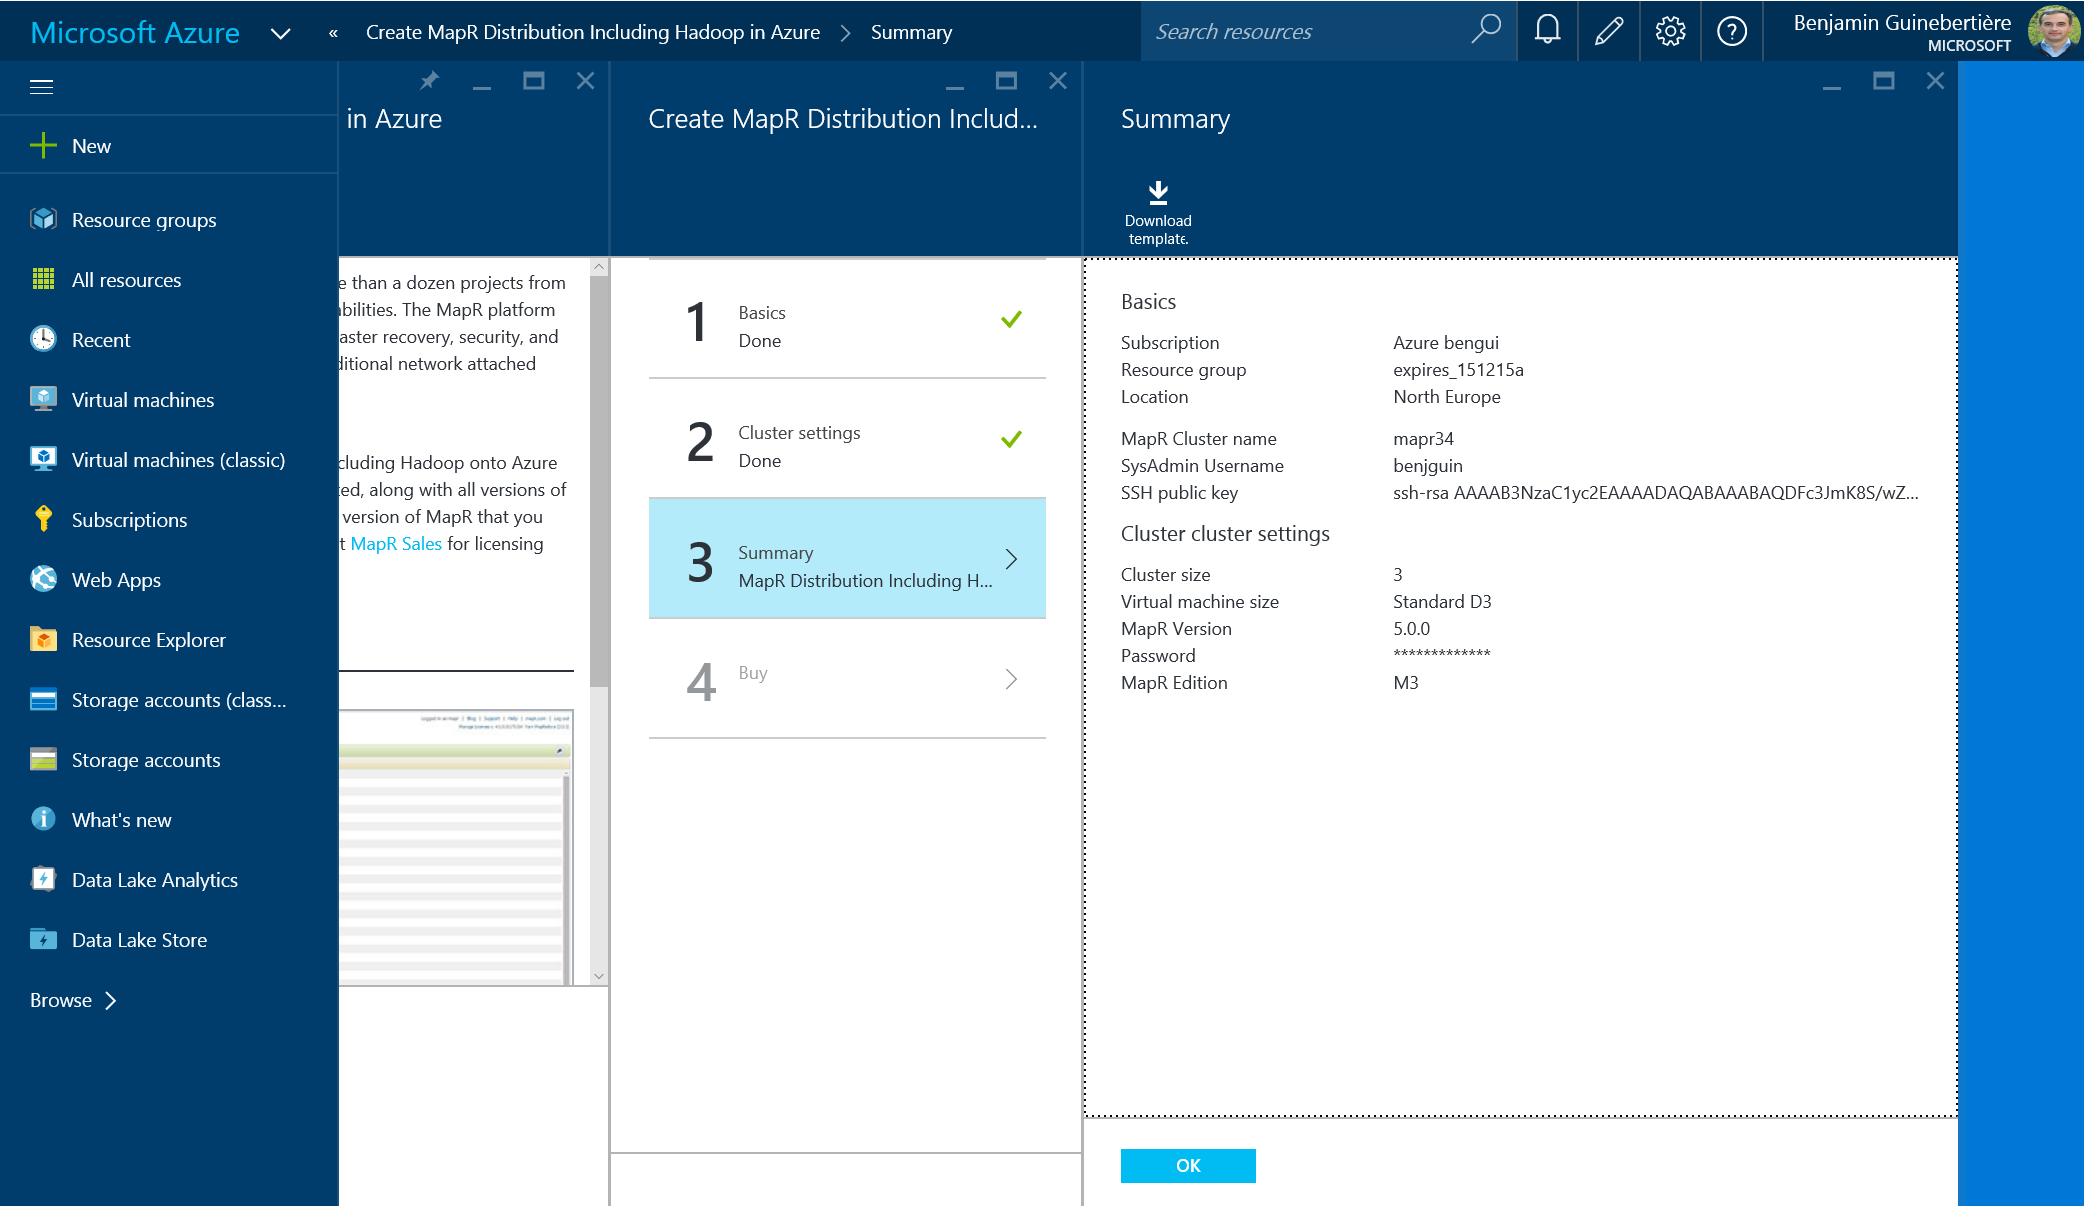
Step 3 gives you a chance to download the generated Azure resource manager wizzard that you can modify and deploy as described in the following article: Deploy an application with Azure Resource Manager template.
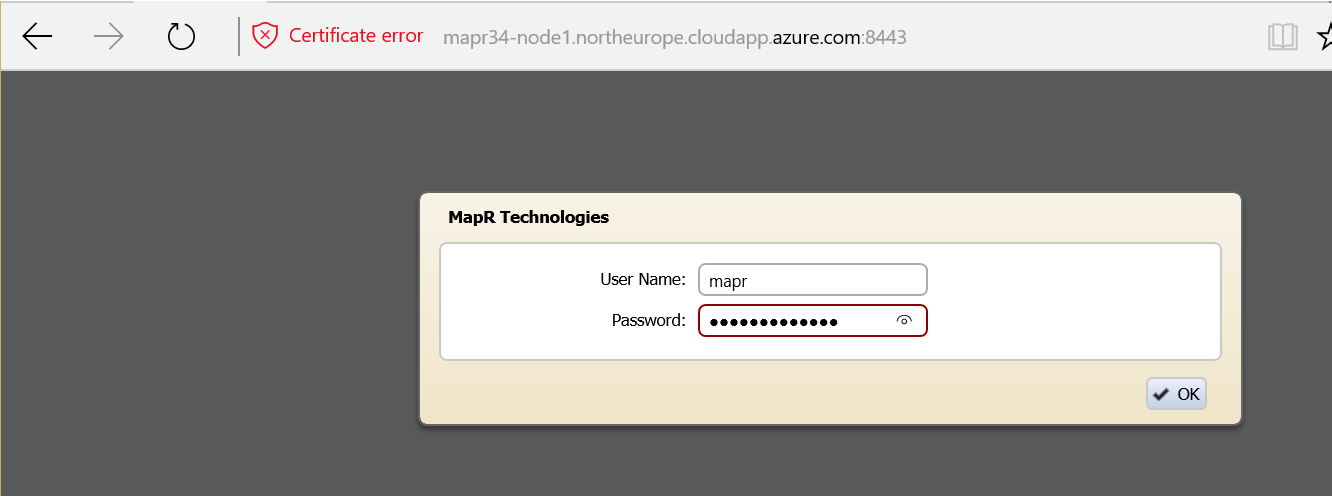
Once you’ve created the cluster, go to https://{yourclustername}-node0.{install-location}.cloudapp.azure.com:9443 and connect.
In my case, I named the cluster mapr34 and installed it in North Europe region, so it is https://mapr34-node0.northeurope.cloudapp.azure.com:9443.
NB: this mapr34-node0.northeurope.cloudapp.azure.comhost name can be found in the portal when you browse the resource group where the cluster is. It’s attached to the public IP of the node.
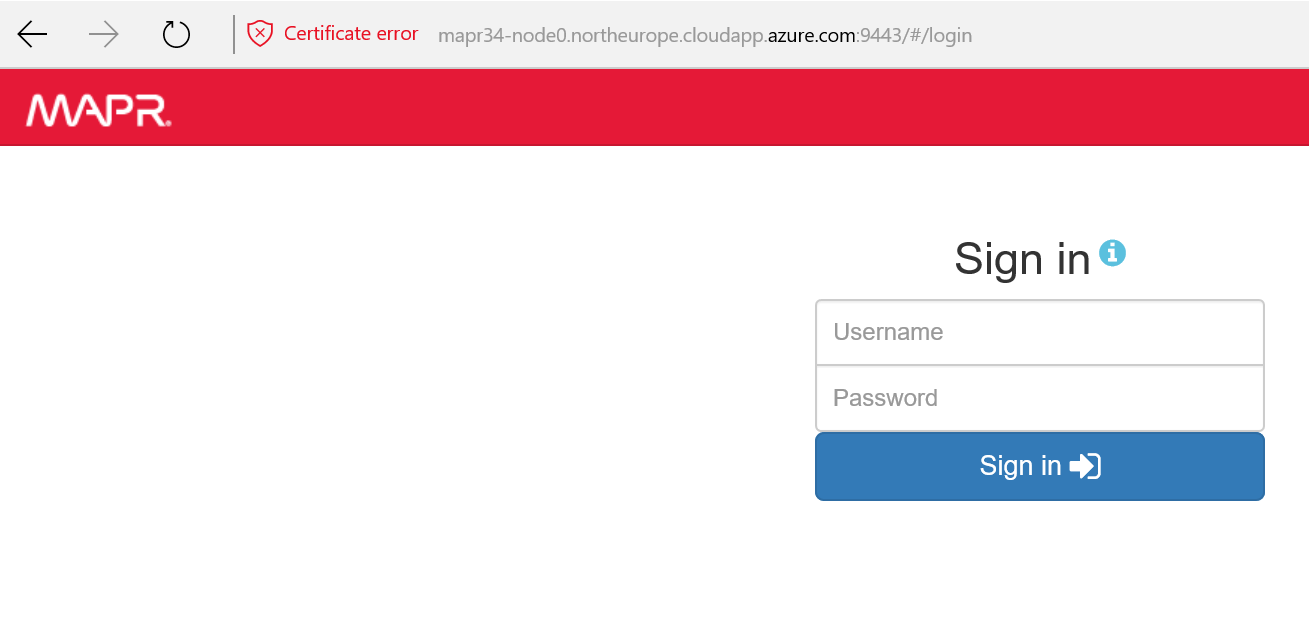
Use mapr as the username and the password you provided in step 2 of the wizzard as the password.
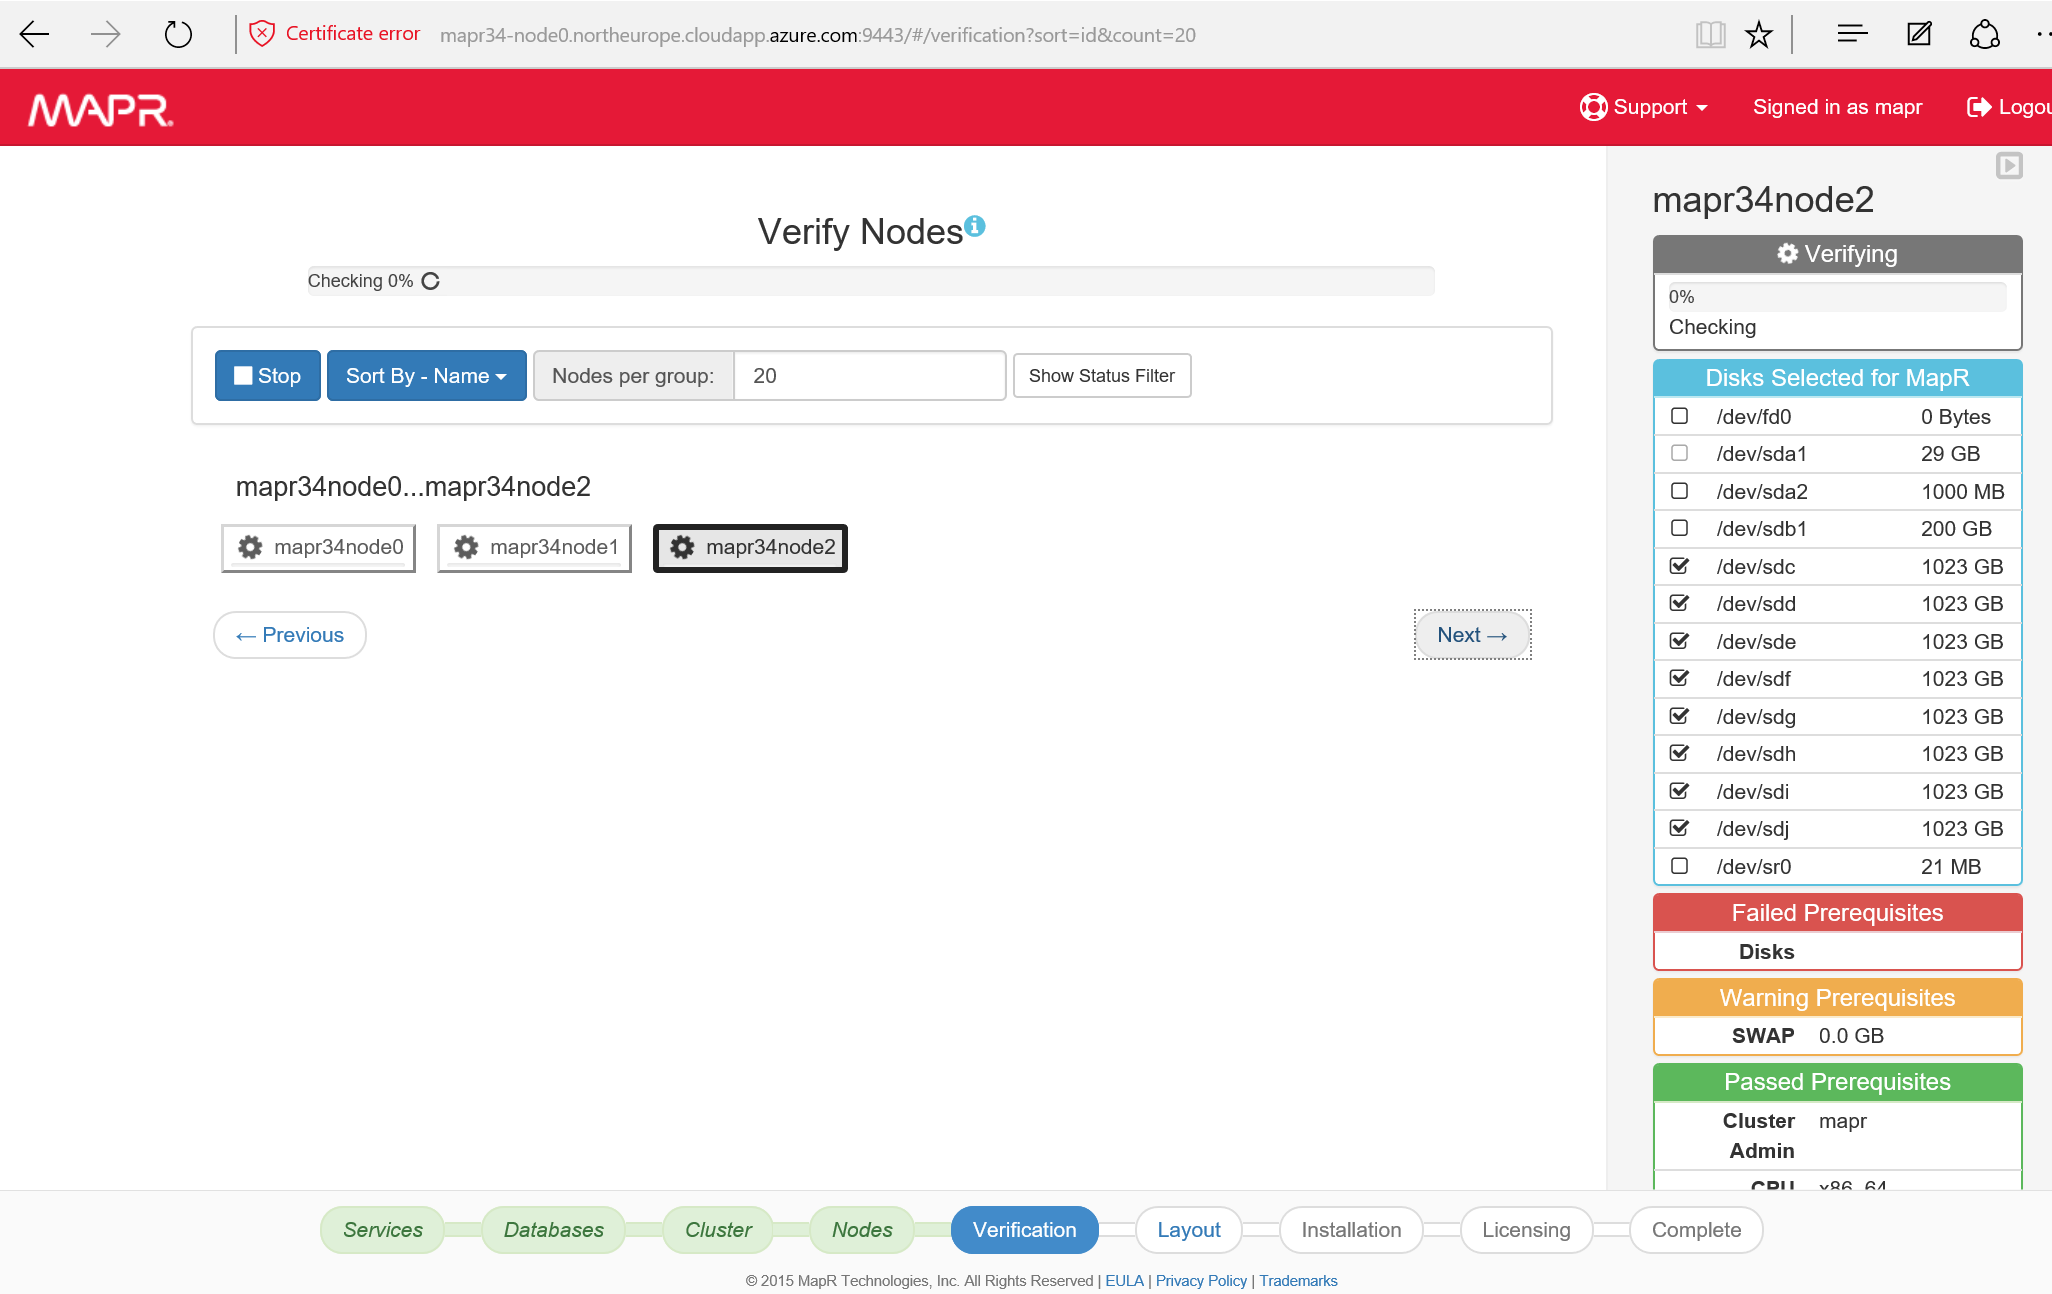
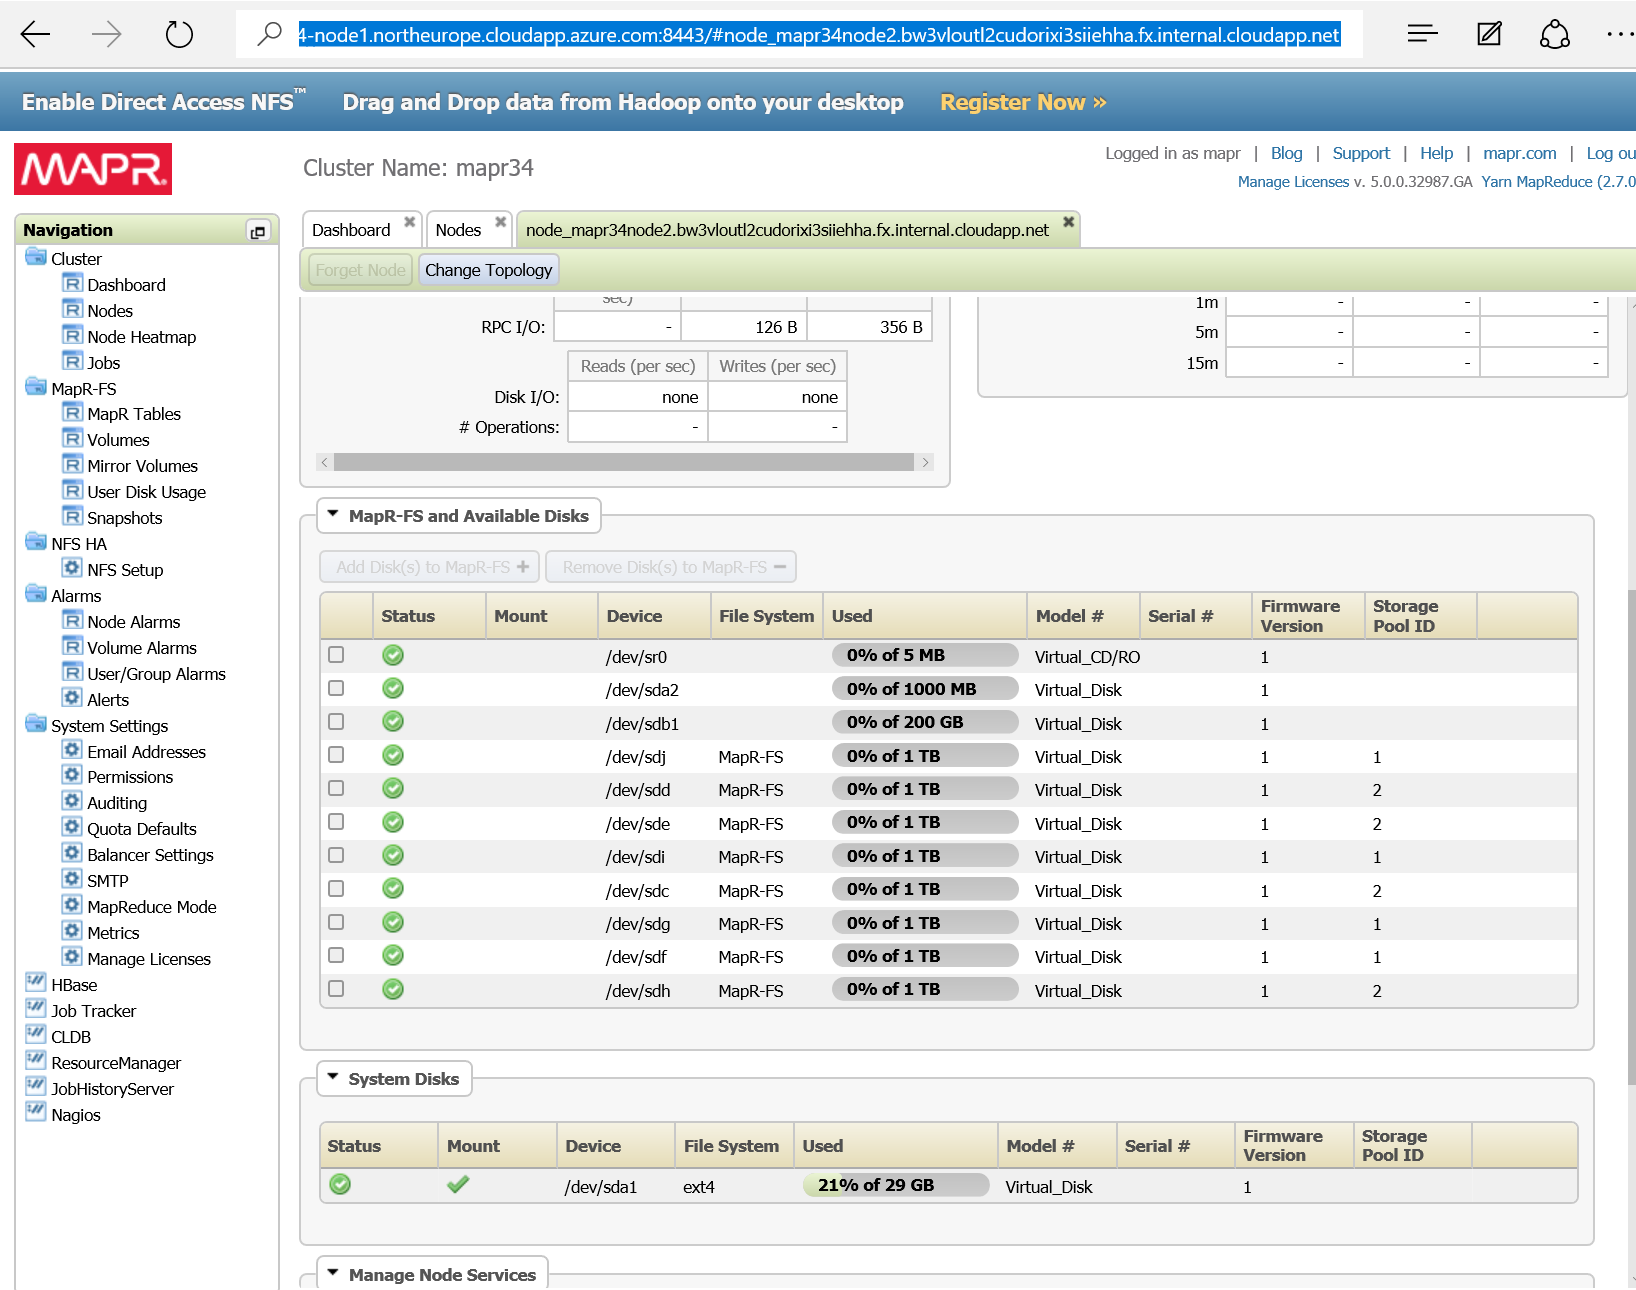
Select each node and check the disks where you want to install the distributed file system.
/dev/sdb1 is the cache disk. The 1023 GB disks are VHDs.
Use the Next button to move on
Click Install -> to start the installation process.
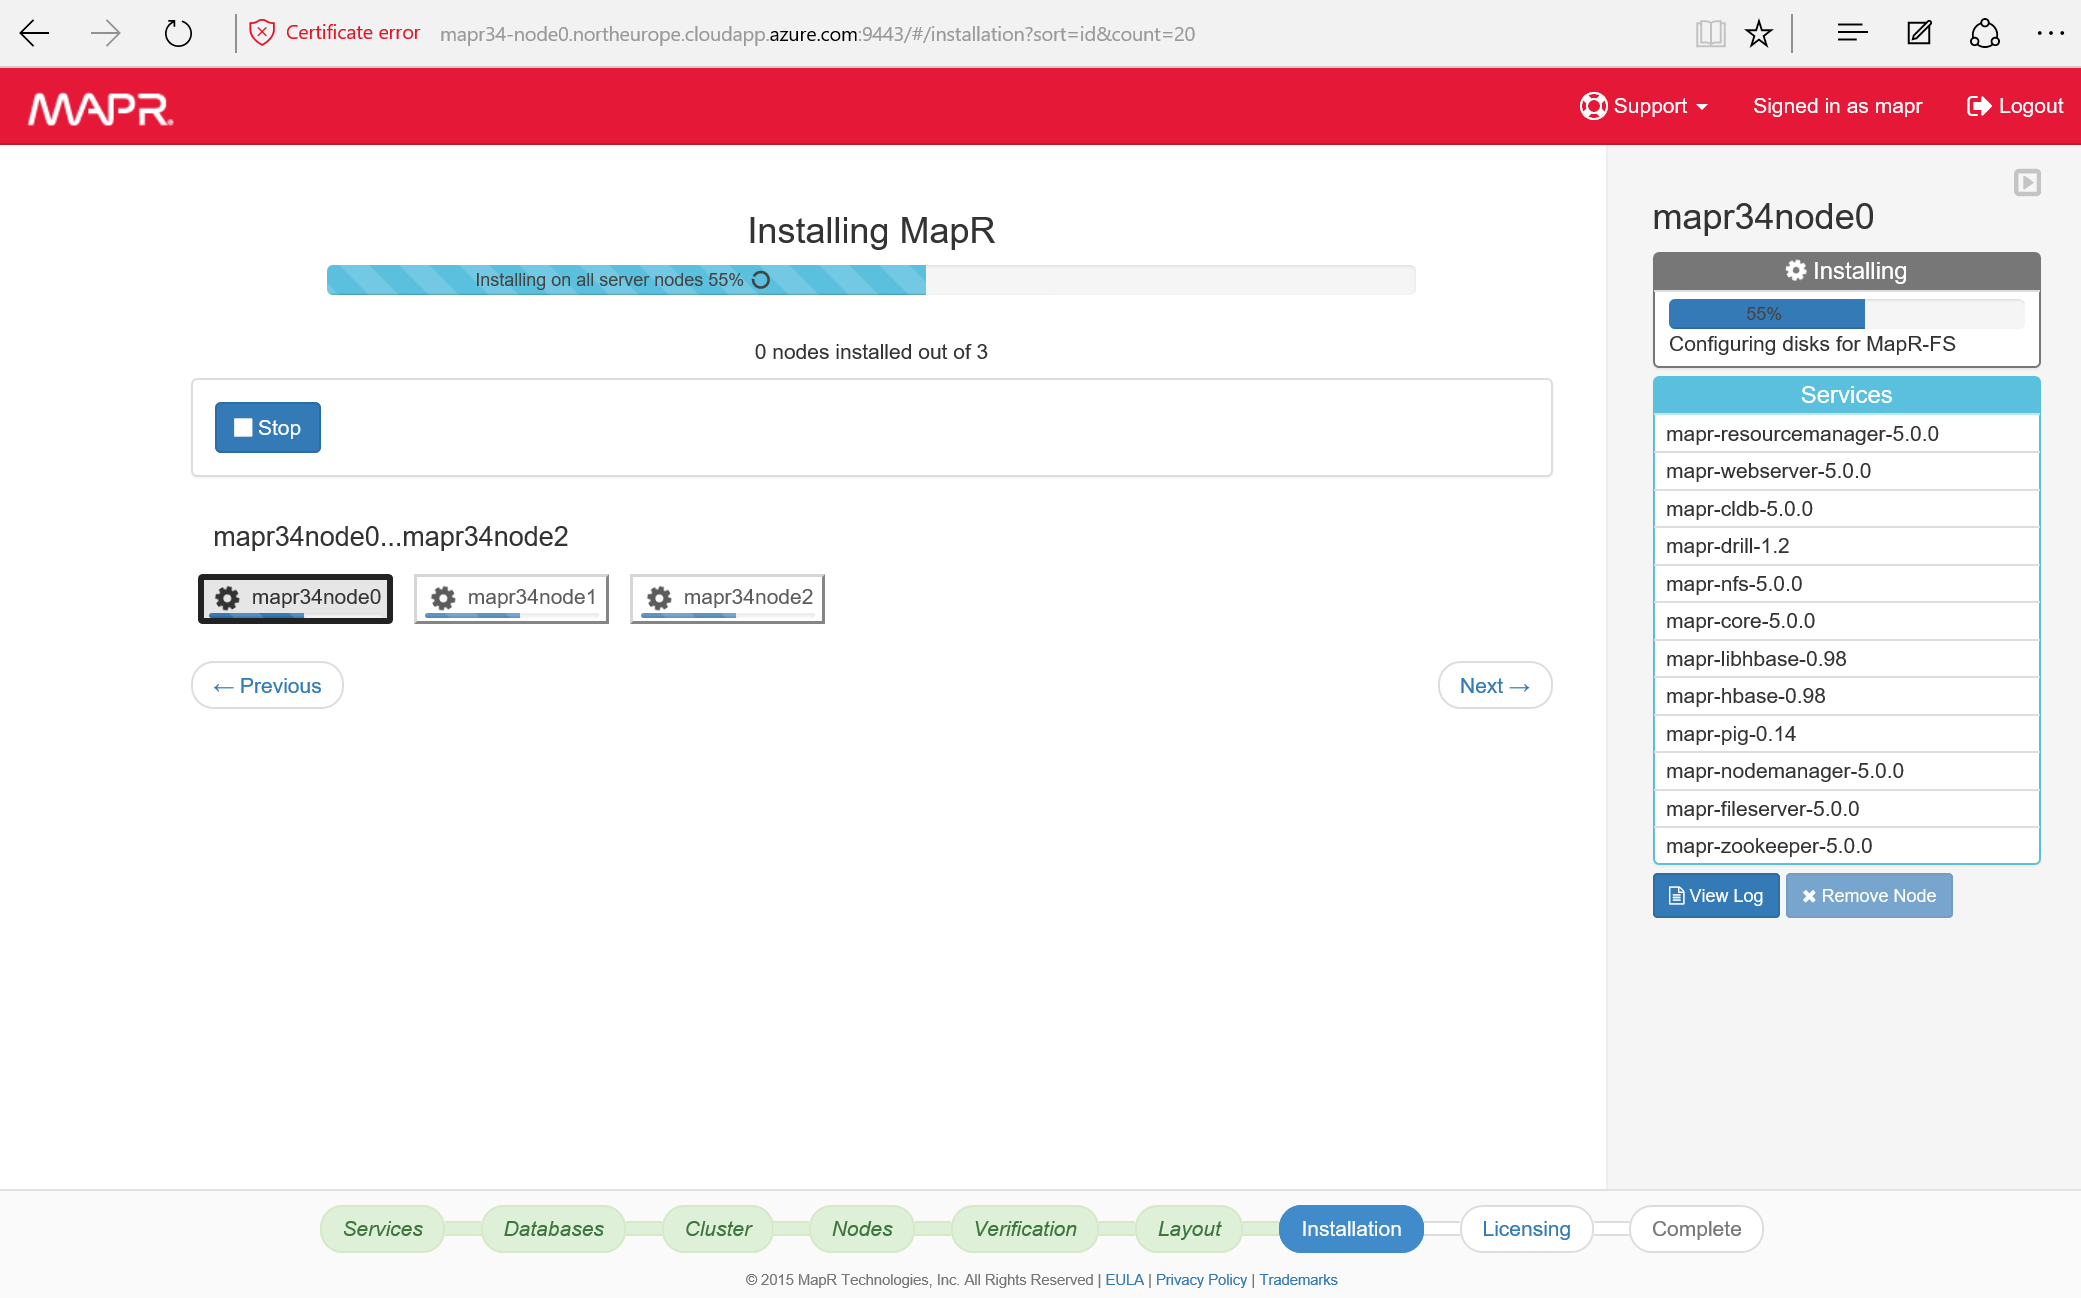
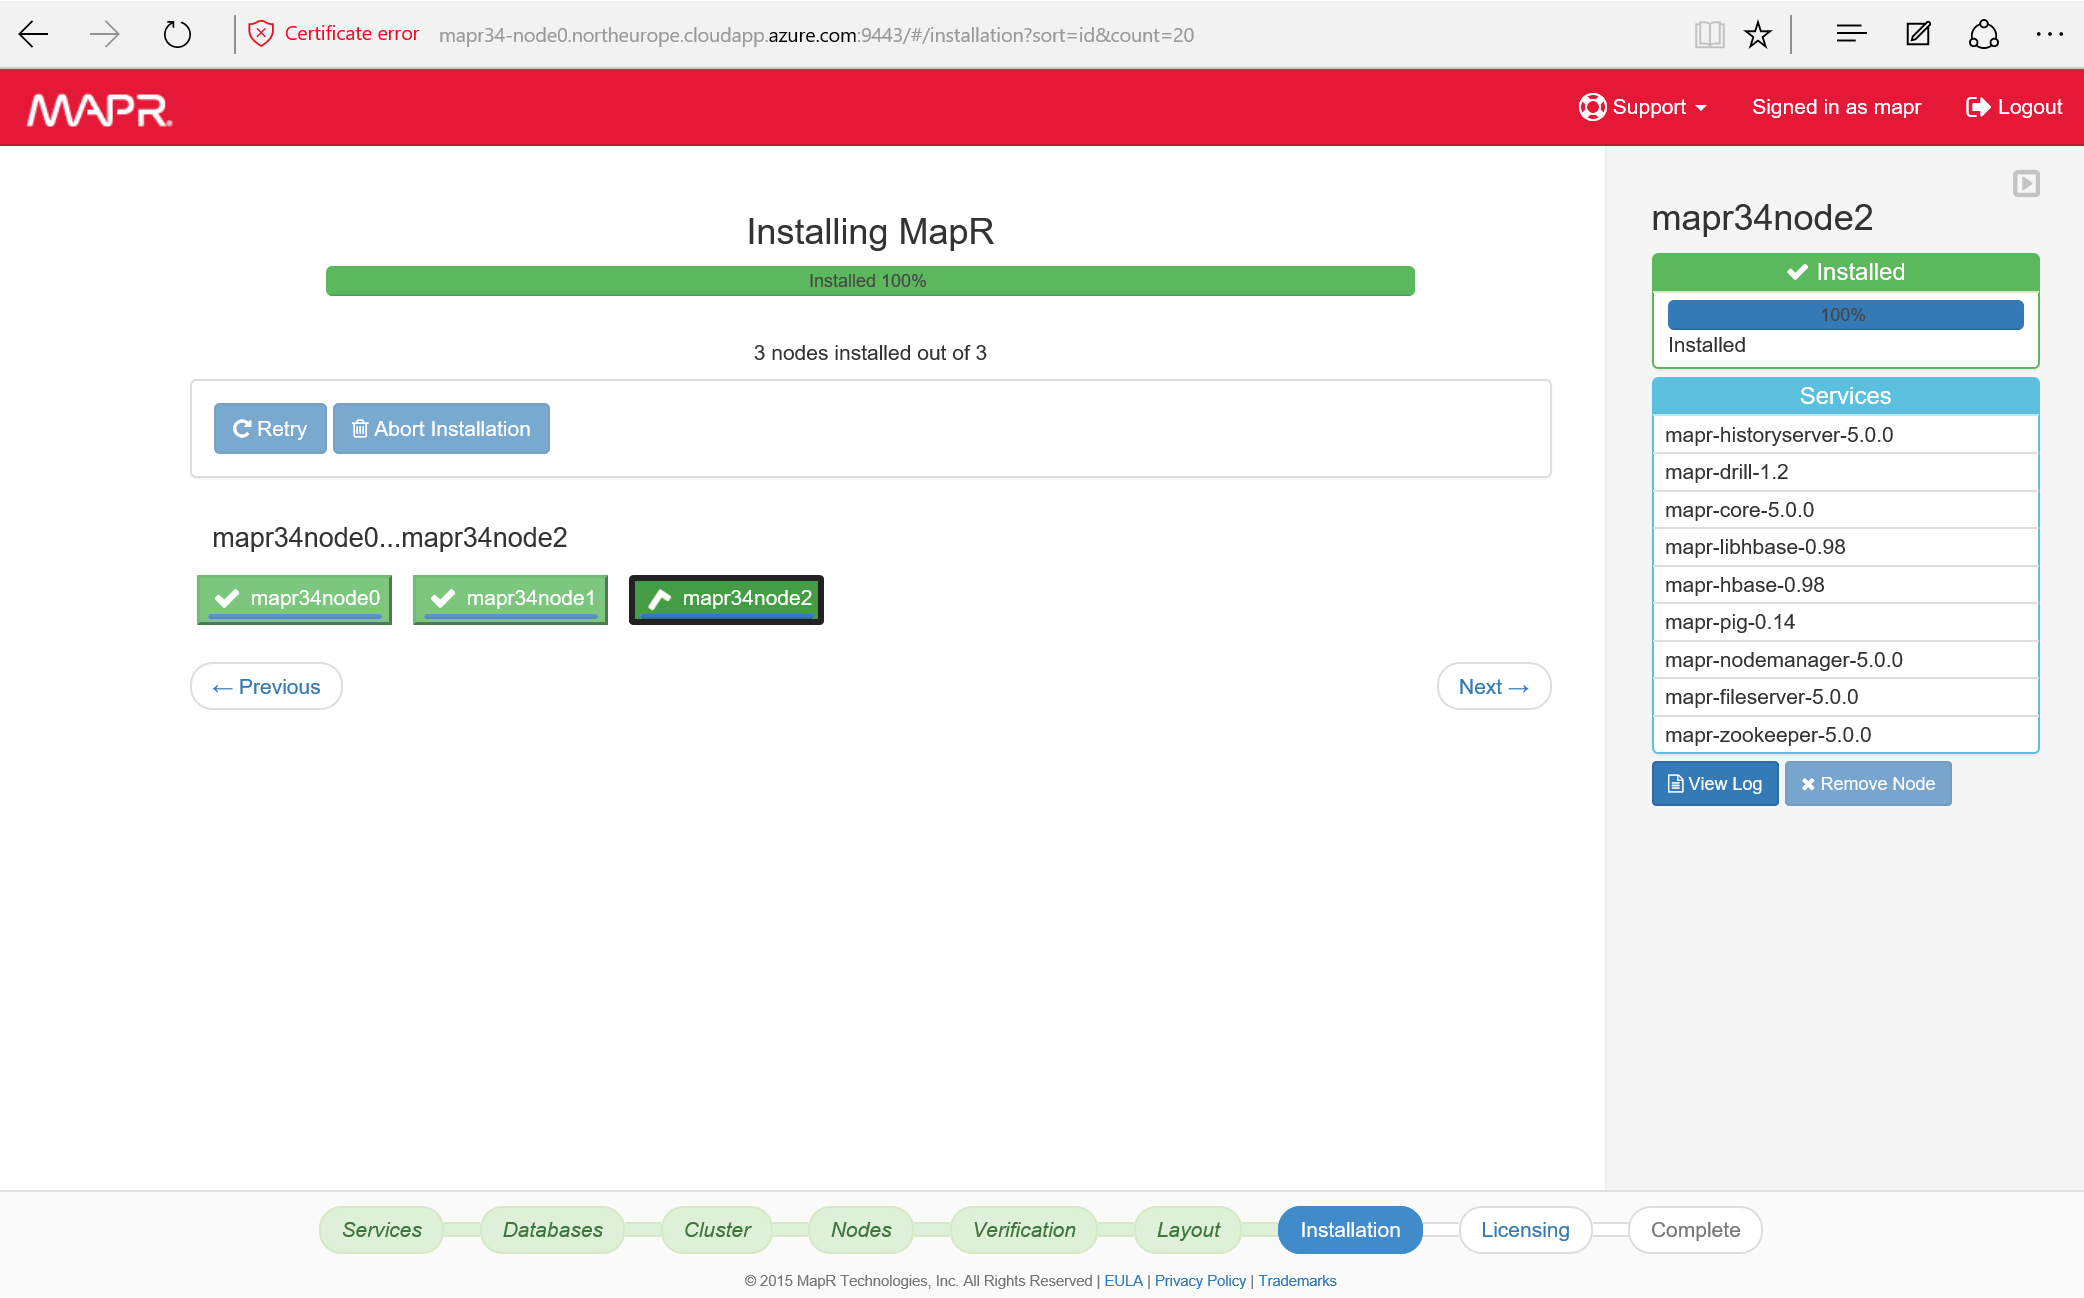
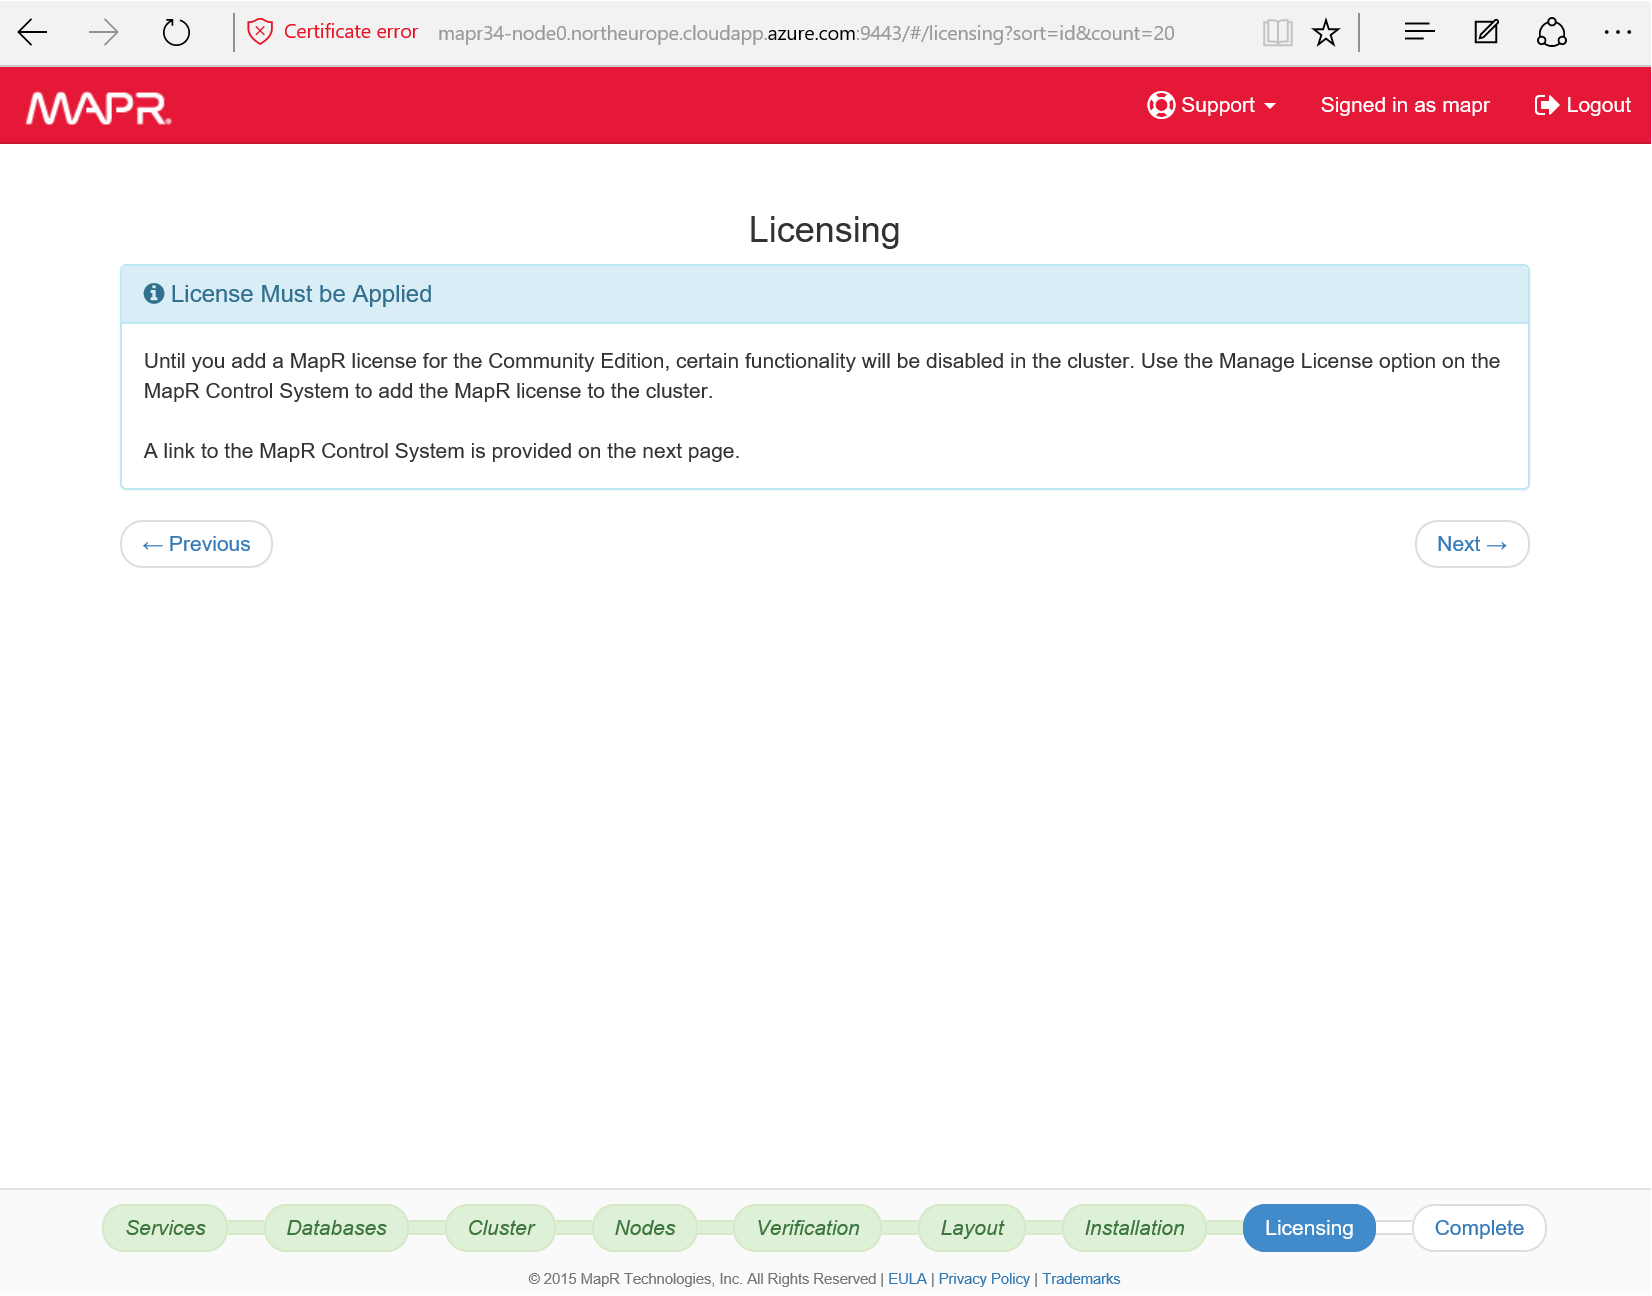
After a number of minutes, the installation completes.

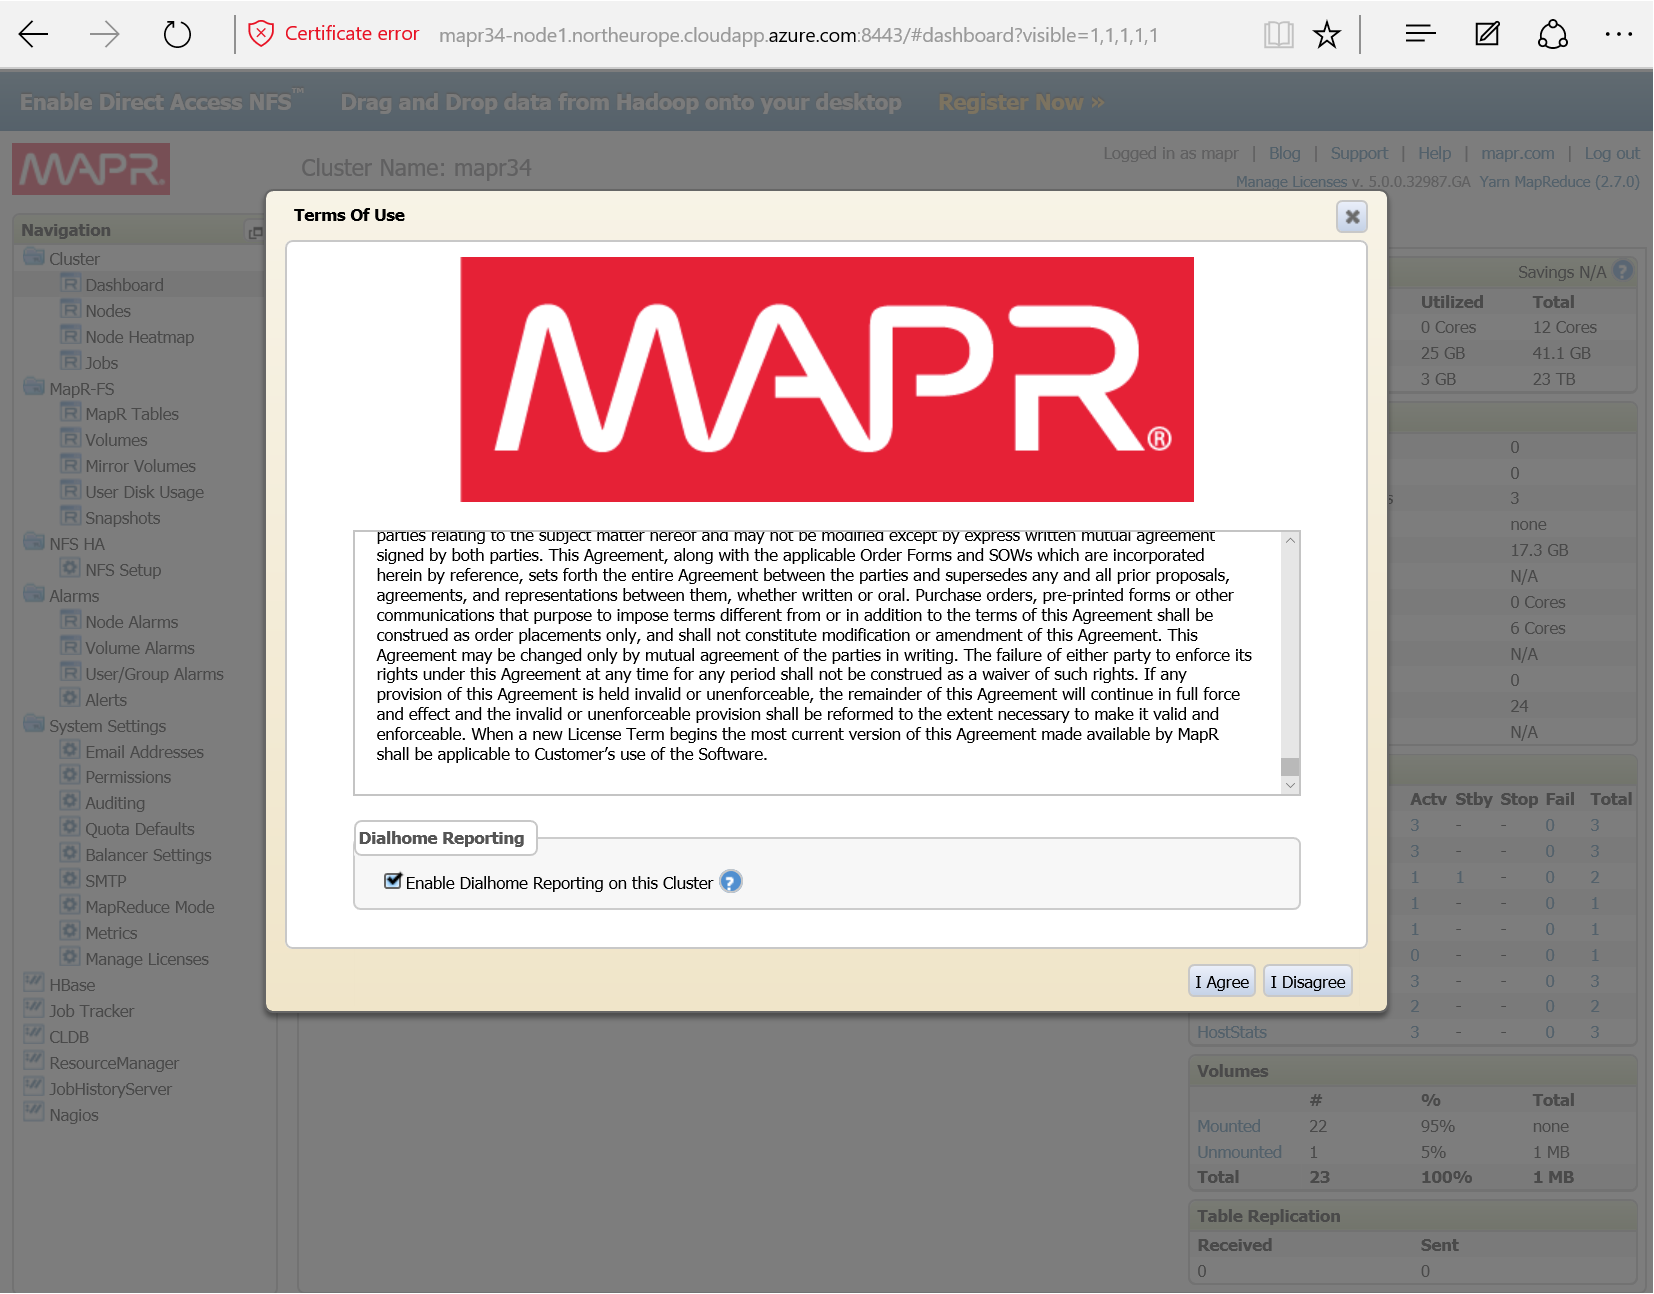
On the final step, you can find a link to a short name. Unless you’ve created an SSH tunnel to your cluster, you may need to use the long name instead. In this example where my cluster is called mapr34 and is installed in North Europe, the URL is https://mapr34node1:8443/. I replace it by https://mapr34-node1.northeurope.cloudapp.azure.com:8443.
NB: this mapr34-node1.northeurope.cloudapp.azure.comhost name can be found in the portal when you browse the resource group where the cluster is. It’s attached to the public IP of the node.
ypou connect with the same credentials as before: mapr/{the password you provided in step 2 of the creation wizzard}.
Now that the MapR file system is installed. Let’s see it as HDFS. Let’s also check if we can access Azure blob storage.
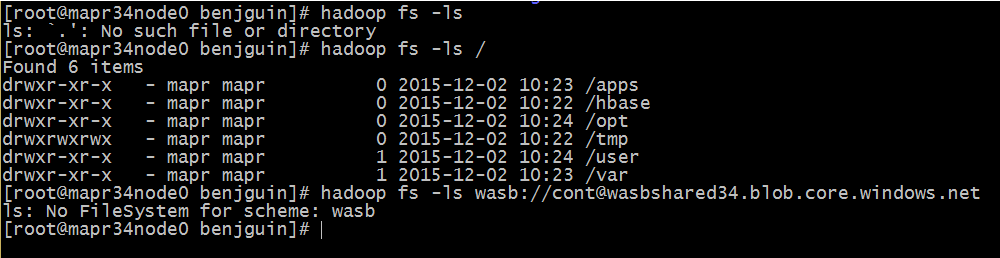
The wasb driver (wasb stands for Windows Azure Storage Blob) is not installed by default :-( .
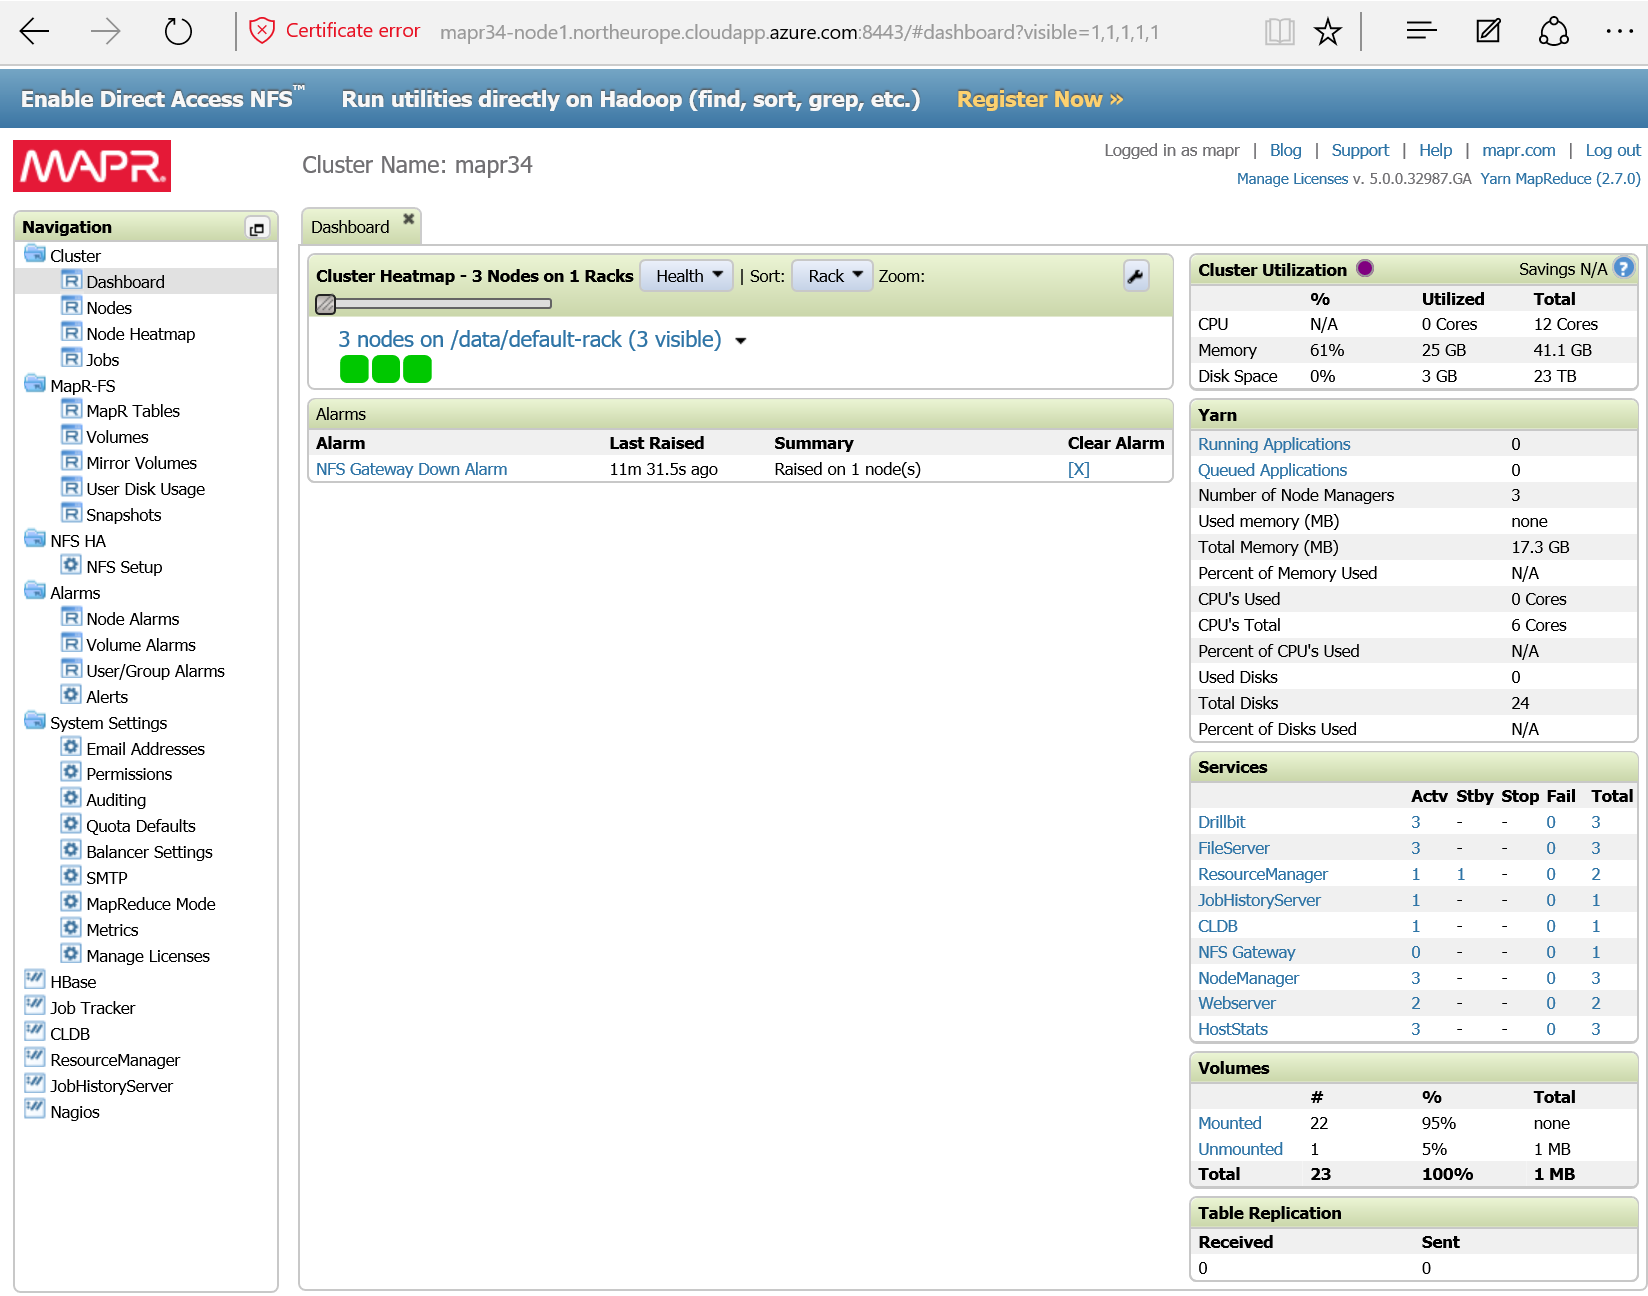
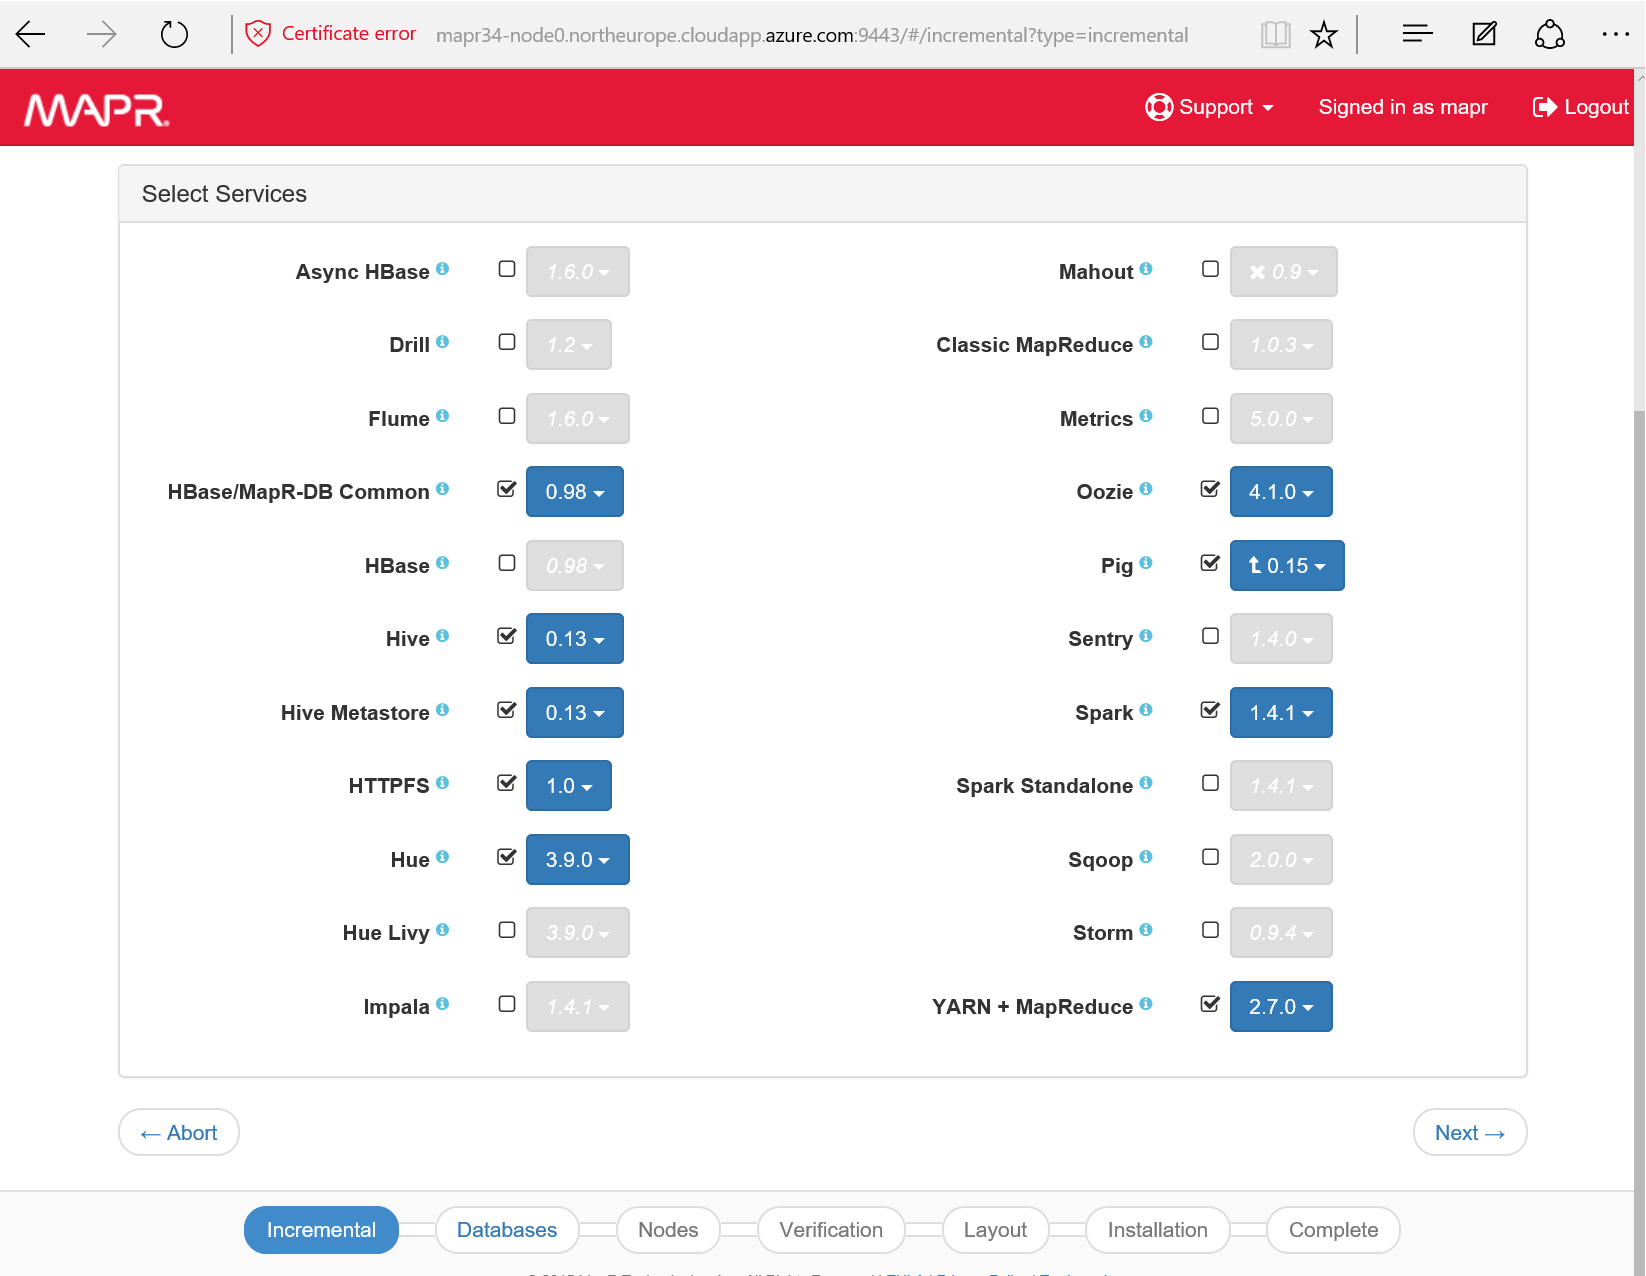
If you go back to the installation page you’ll have the option to install additional services:
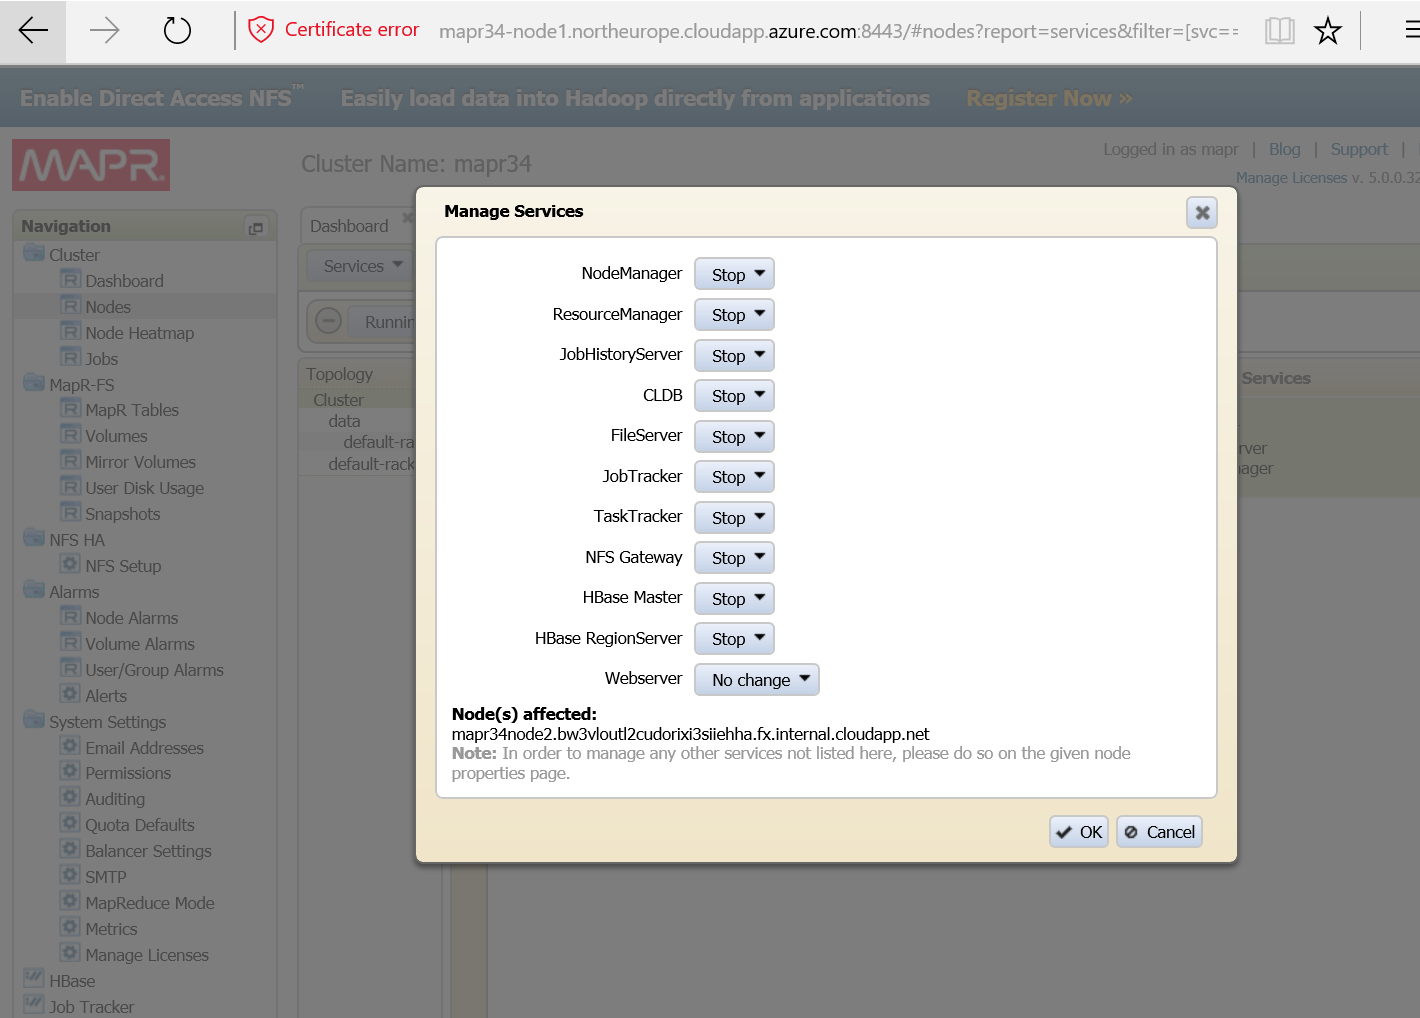
When you’re done, you can stop the services, before shutting down the Azure virtual machines. If there are many nodes, you may want to use Azure PowerShell module or Azure Command Line Interface (Azure CLI). You can find them in the resources section of azure.com.
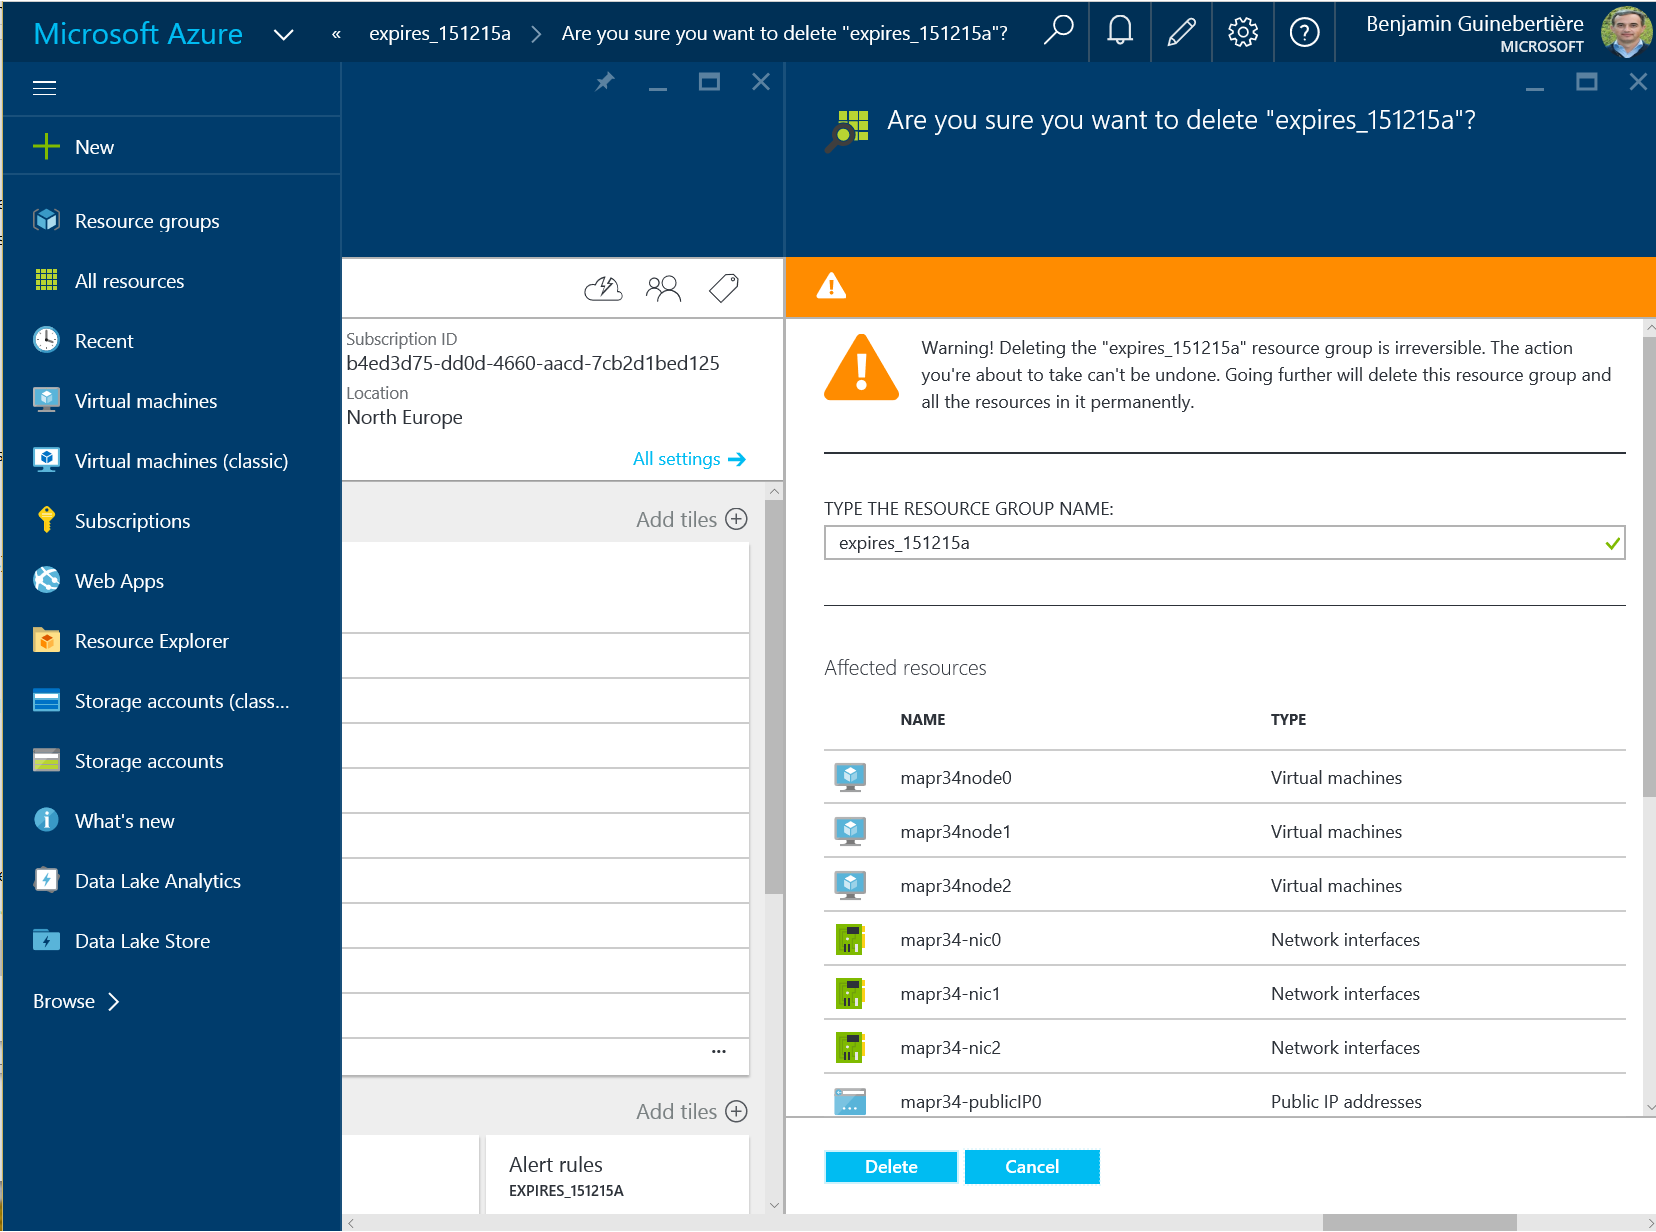
You may also prefer to remove all the resources that consitute the cluster: VMs, storage, vNet and so on. Of course, all the data will be removed as well, so you are asked to type the resource group before deleting it.
Conclusion
We saw how to create a MapR cluster in Azure. You just have to enter a few parameters in friendly Web interfaces and wait for the cloud and MapR to create everything for you!
:-)
Benjamin (@benjguin)